In this section, we will explain how to install Liquid UI Designer using the InstallShield Wizard, a user interface that enables users to install Liquid UI Designer through a series of steps.
The default Liquid UI Designer installation location on a Windows machine is as follows:
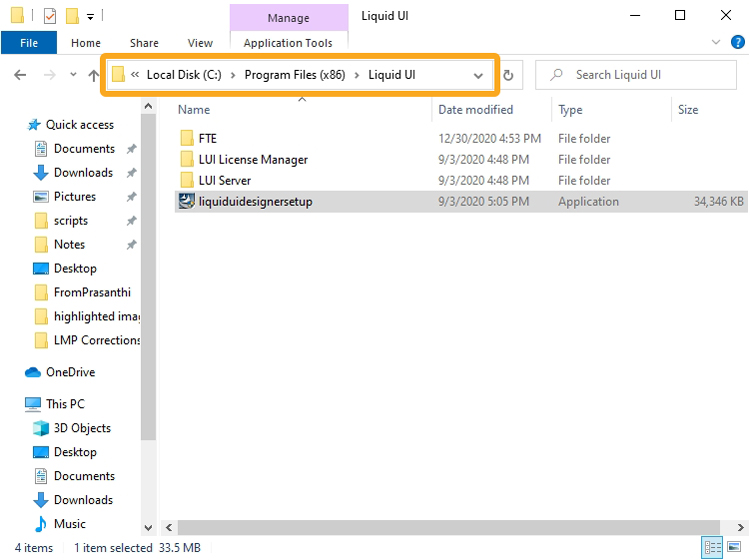
- 64-bit systems --> C:\Program Files\Liquid UI\LUI Designer
- 32-bit systems --> C:\Program Files (x86)\Liquid UI\LUI Designer (older operating system)
Now, let’s look into the process of installing Liquid UI Designer using the Installation Wizard. The process is the same for both 64-bit and 32-bit systems, as explained below.
64-bit Installation
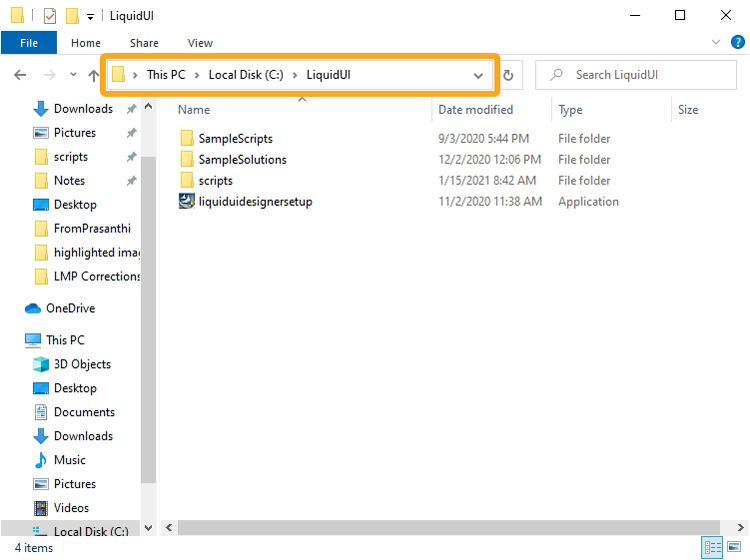
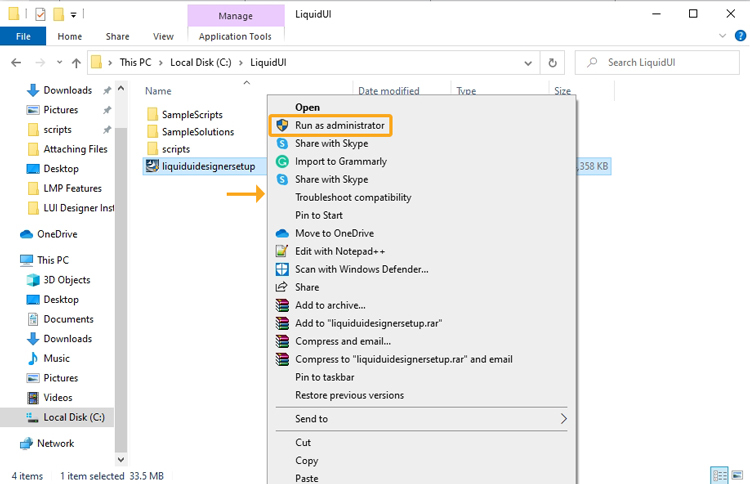
- Download the Installer package from a location specified by a Synactive Support or Sales representative. The install package is named 'liquiduidesignersetup.exe'’.
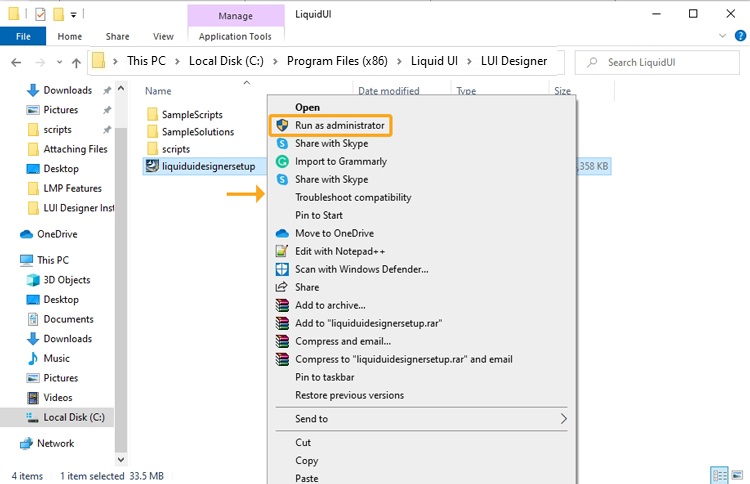
- Right-click on the LiquidUI Designer software file (liquiduidesignersetup.exe). Select Run as administrator to make sure that the software is installed with the correct privileges.
 Note: Make sure that your antivirus software is not blocking Liquid UI files: designer.exe and webscript.dll. You need to have admin privileges to install the designer software.
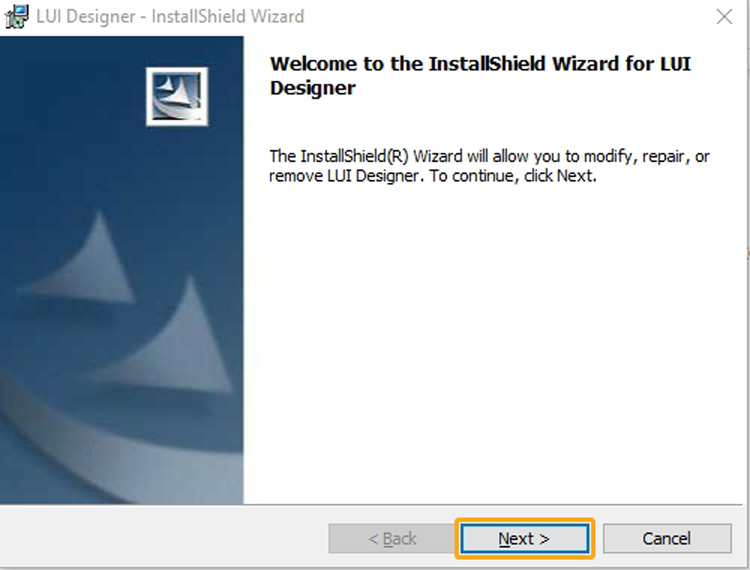
 - The InstallShield Wizard will start and the Welcome screen will appear. Click Next.
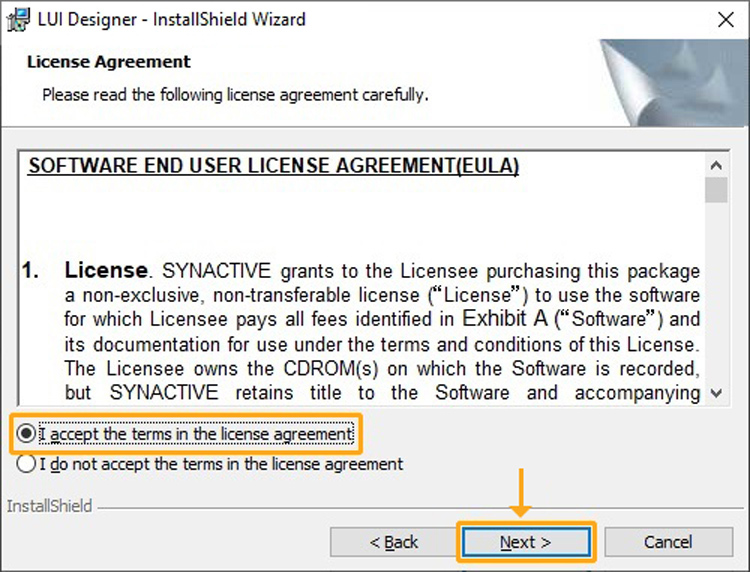
- The End User License Agreement (EULA) window will display. Check the I accept..the license agreement radio button, and then click Next.
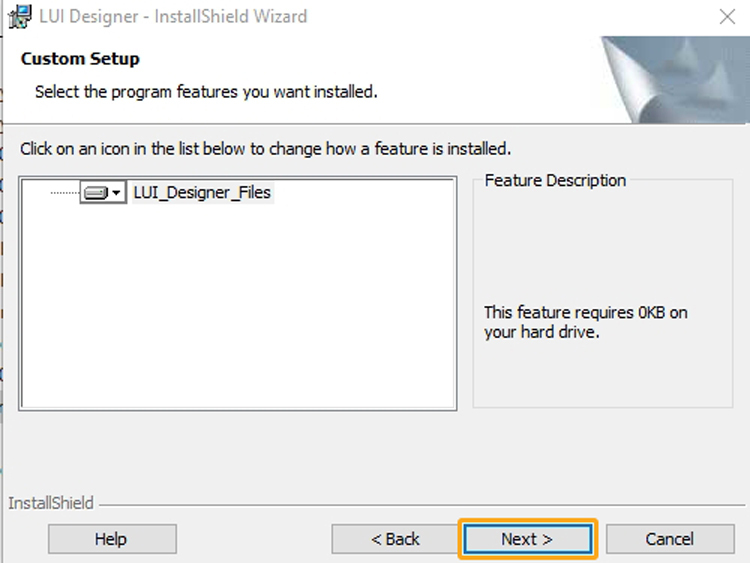
- Then appears the destination folder in which the Liquid UI designer setup is installed. Click Next.
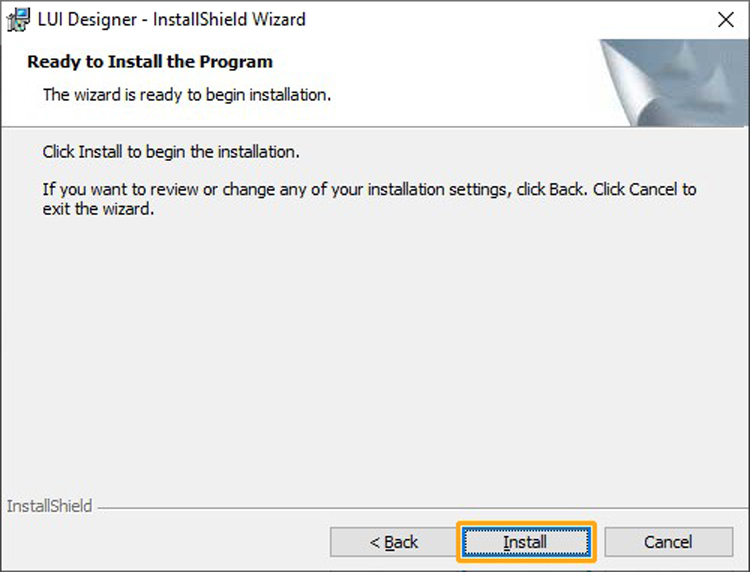
- The Ready to Install window will appear. Click the Install button.
- The install status screen will appear during the installation. After successful installation, the Finish window appears as confirmation; click Finish.
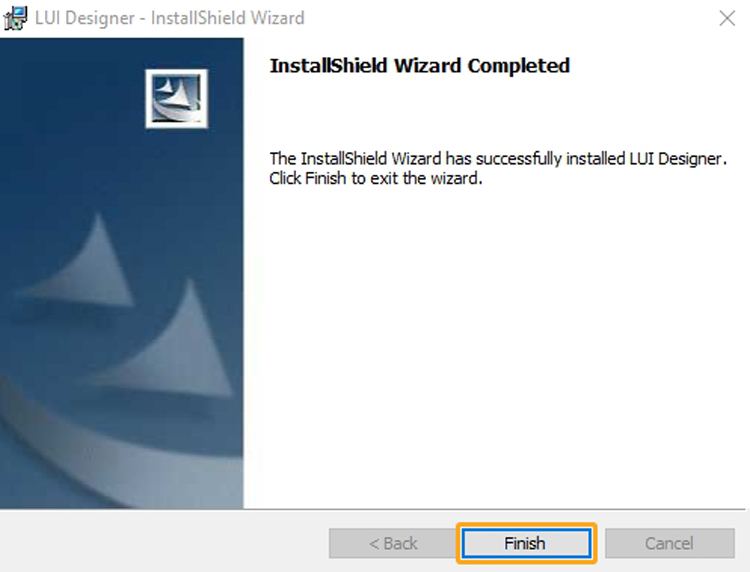
- The 64-bit Liquid UI Designer has now been successfully installed on your target system.
32-bit Installation
Now, let’s look into the process to install the Liquid UI Designer on a 32-bit system.
- Download the Installer package from a location specified by a Synactive Support or Sales representative. The install package is named 'liquiduidesignersetup.exe'’.
- Right-click on the LiquidUI Designer software file (liquiduidesignersetup.exe). Select Run as administrator to make sure that the software is installed with the correct privileges.
Note: Make sure that your antivirus software is not blocking Liquid UI files: designer.exe and webscript.dll. You need to have admin privileges to install the designer software. - The InstallShield Wizard will start and the Welcome screen will appear. Click Next.
- The End User License Agreement (EULA) window will display. Check the I accept..the license agreement radio button, and then click Next.
- Then appears the Destination folder in which the Liquid UI designer setup is installed. Click Next.
- The Ready to Install window will appear. Click the Install button.
- The install status screen will appear during the installation. After successful installation, the Finish window appears as confirmation; click Finish.
- The 32-bit Liquid UI Designer has now been successfully installed on your target system.
-
Note: For information on obtaining and managing Liquid UI Designer licenses, please see the Licensing section later in this document.


