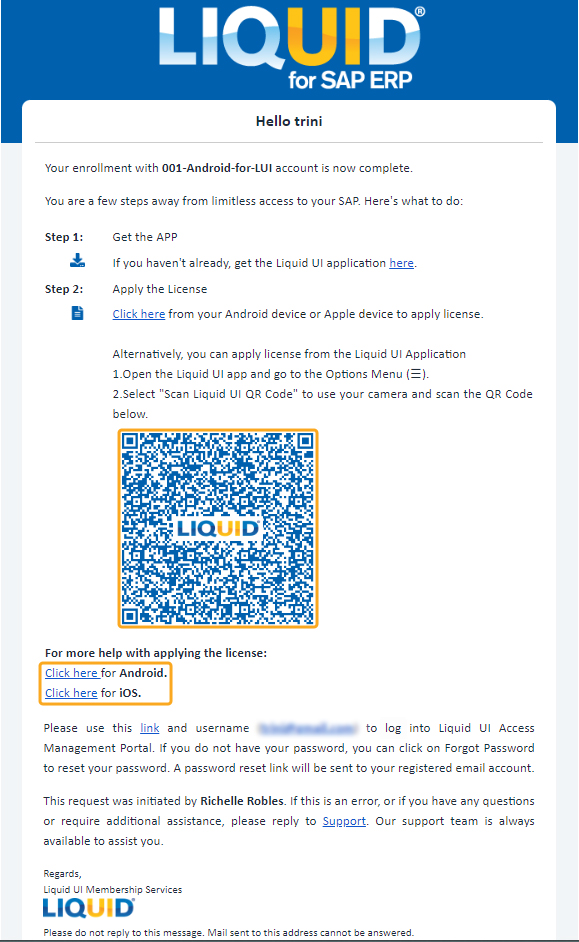
Admin has all the privileges to add users to the Liquid UI Access Management Portal (LAMP). All the users added to the LAMP account will receive the license activation email.
This license activation email includes license links and a QR code for activating the license in your Liquid UI for Android / iOS devices. Admins can add the users manually or upload .csv files into the Add Users Table in LAMP. Here, we explain how to add users to your LAMP account.
To add a user, log in to LAMP and navigate to your Account Administration screen. Click on the Add User tab to add users, as shown below:
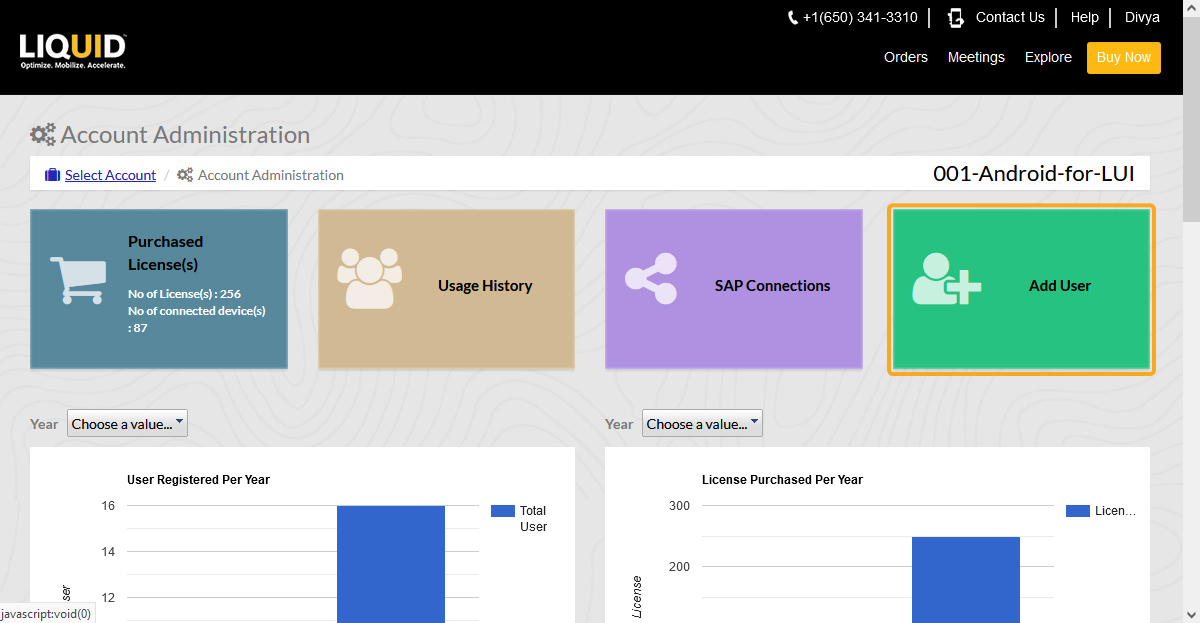
You will have two different options for adding users to LAMP.
Manual Entry
Admin can add users manually by entering values in the respective fields in the Add Users table, as shown below:
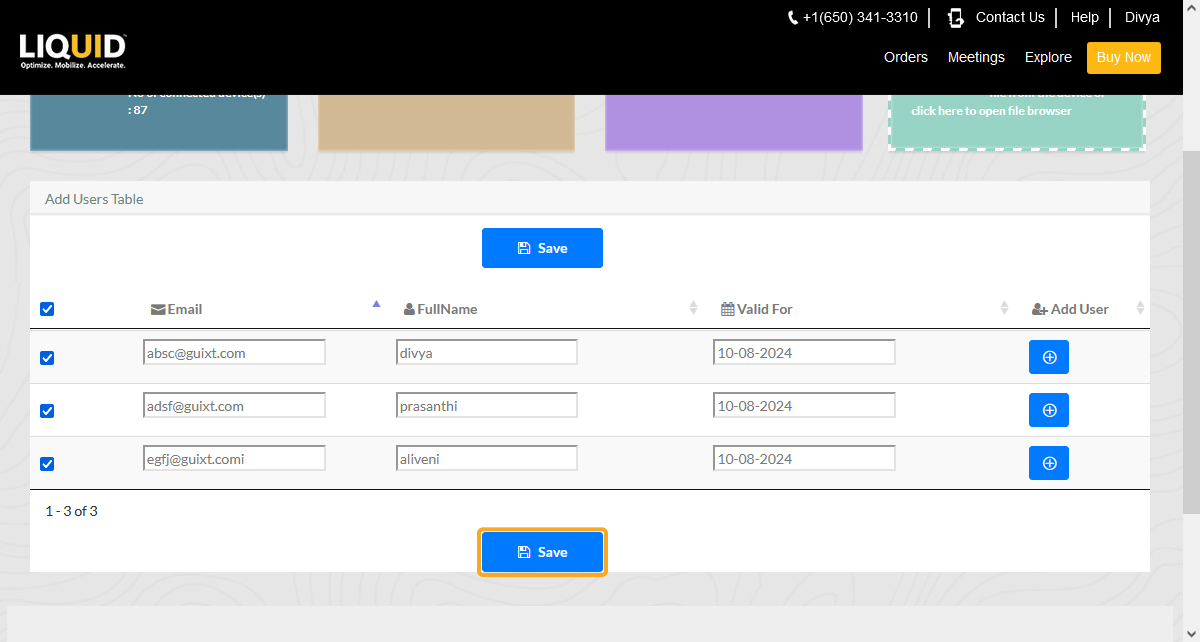
- Navigate to the Add Users Table. Enter the Email, FullName, and Valid For details for all the users in the table. Make sure to select the checkbox for the users you wish to add to the LAMP portal. Then, click the Save button to add the selected users.

- Once the users are added, you will get the following popup window:
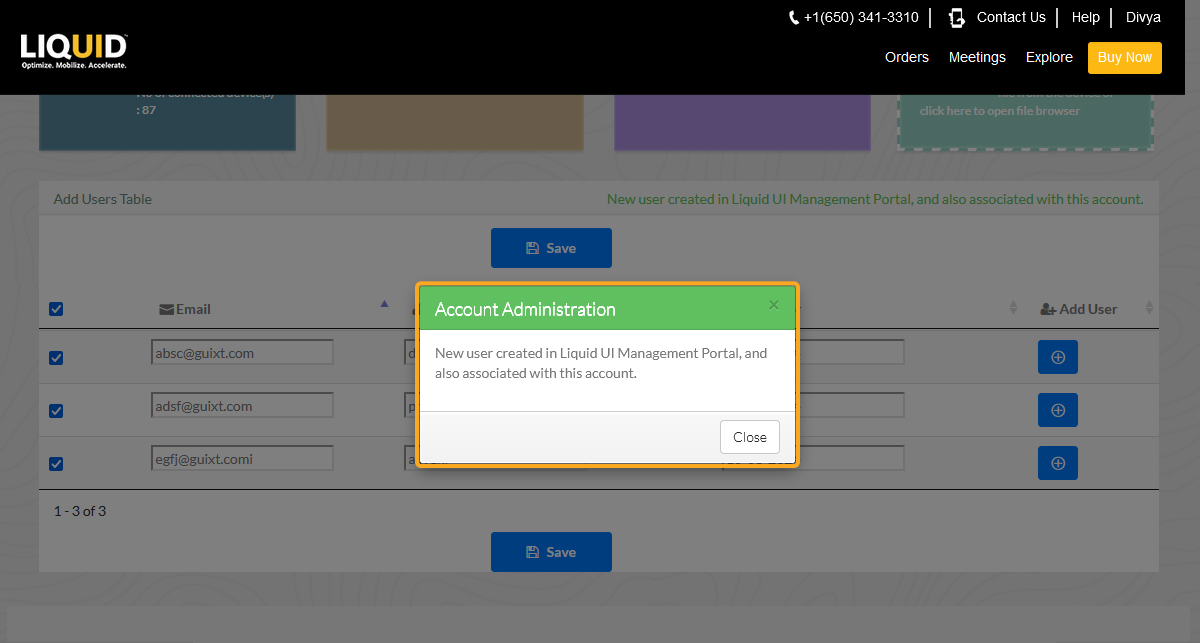
- Then, the users will receive an email from the LAMP portal containing the license links and QR Code for activating licenses in your Liquid UI for Android/iOS devices.
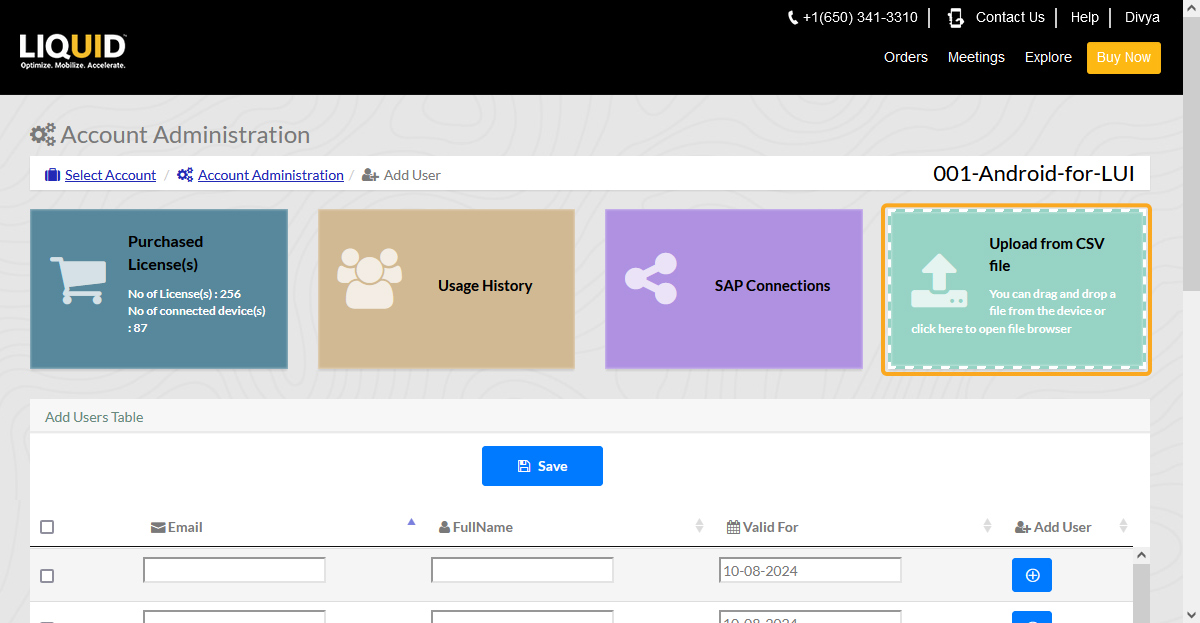
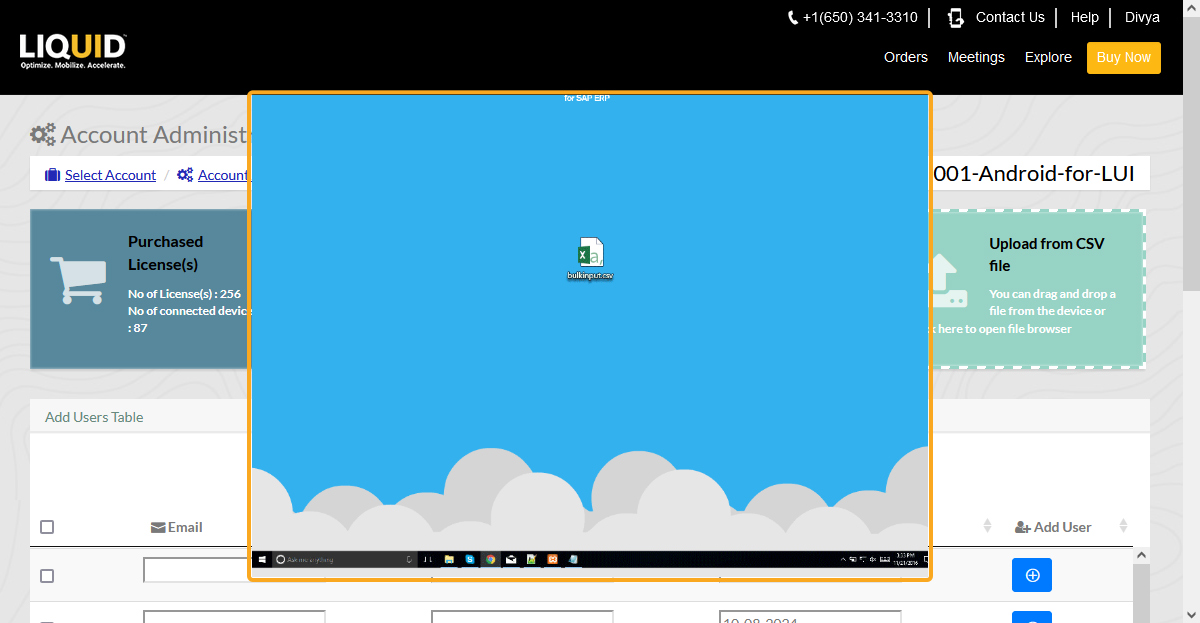
Uploading .csv file
The add user page includes Upload from CSV file tab. This tab allows you to upload the .csv file to add multiple users at a time, thus reducing your user data entry time. In the .csv file, you need to include the valid email ID, user name, and license expiry date in the same sequence for a successful upload. You can add a .csv file in LAMP in two ways:
- Drag and drop .csv file.
- Upload .csv file.
- Drag the .csv file from your device to the Upload from CSV file tab location. It validates whether the user has chosen the appropriate format or not
- In case of incorrect file format, a GIF video will present a short scenario to drag and drop the respective file format.
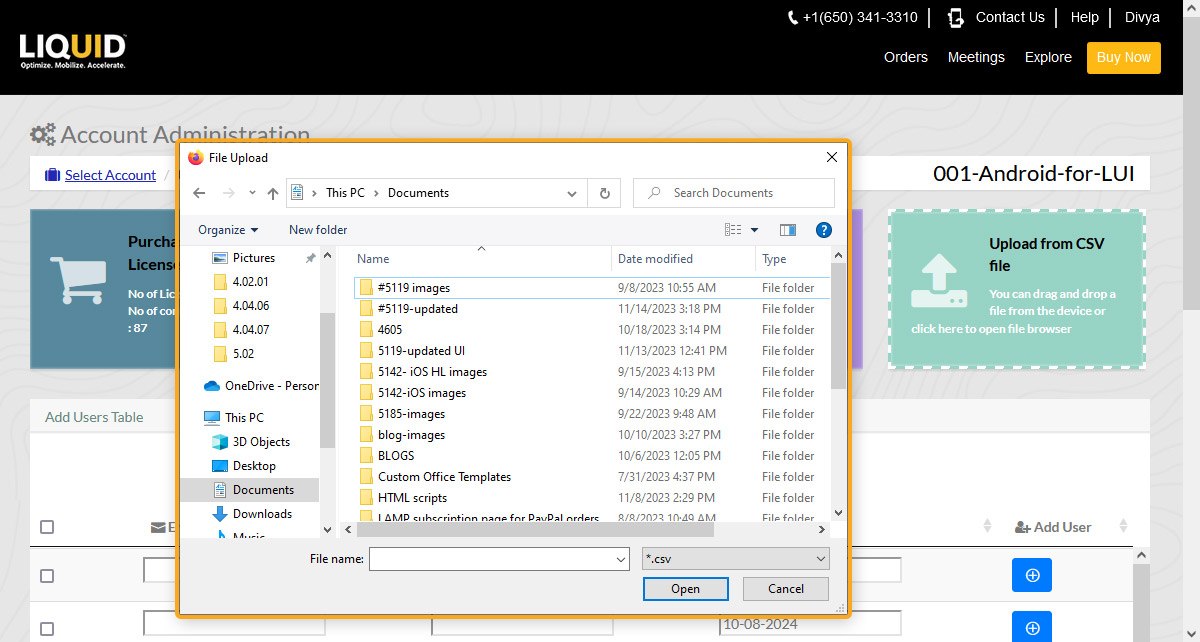
- You can also click the Upload from CSV file tab to upload the file. Browse for a valid .csv file from your device to upload the file to the LAMP portal.
- After the successful upload of the file using either the Browse or Drag and Drop option, the Add Users Table will automatically retrieve the values in the corresponding fields and pre-select the users. To save the selected users to the LAMP, click Save.
- Once the users have been added, you will get the following popup.


