The Excel template generates an Excel spreadsheet and will generate a script that can transfer data from that spreadsheet to SAP. Additionally, includes error handling and enables you to correct any errors before transmitting the data to SAP. To run an Excel script, please do the following.
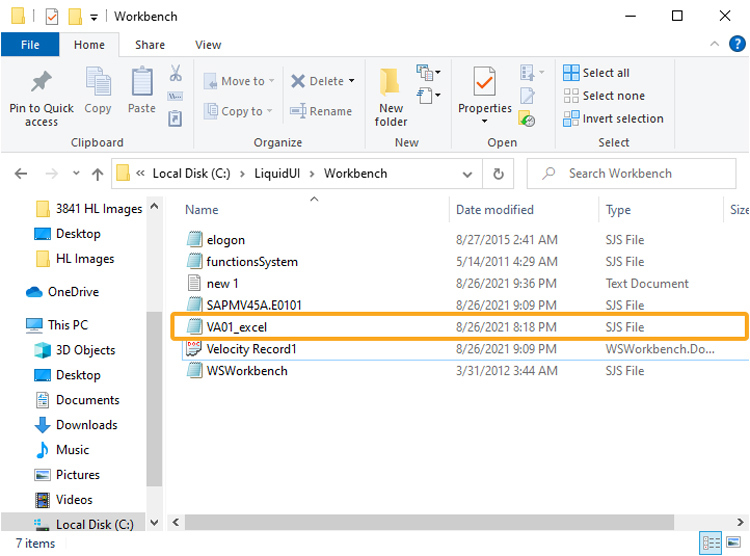
- Find the generated Workbench script. If you are logged into SAP, the script file will be generated in the script directory specified in the Liquid UI configuration file. If you are not logged into SAP, the script file will be generated in the Workbench directory. The script file name will be named TCODE_excel.sjs, so if you use the VA01 transaction, the script file will be named VA01_excel.sjs. The name can be found in the Screen Name field in the Workbench Settings tab.
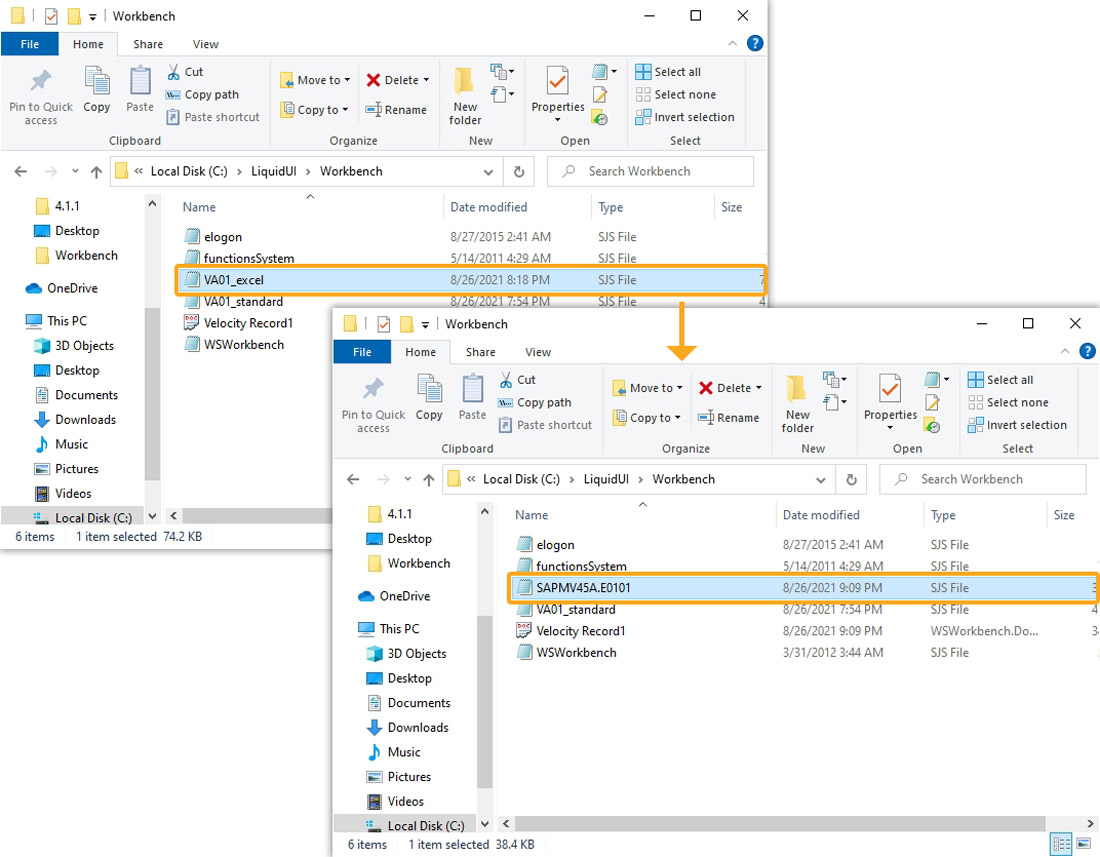
- Rename the generated script to the actual name of the SAP screen in question. In our example, we are using the VA01 transaction, so the new script file name will be SAPMV45A.E0101.sjs.

Note: If there is an existing script with the same name in the script directory, temporarily rename the existing script to something else.
- Go to the script directory and ensure that the ELOGON.sjs file is present and it contains the command to load the wsoffice and functionsSystem.sjs extensions.
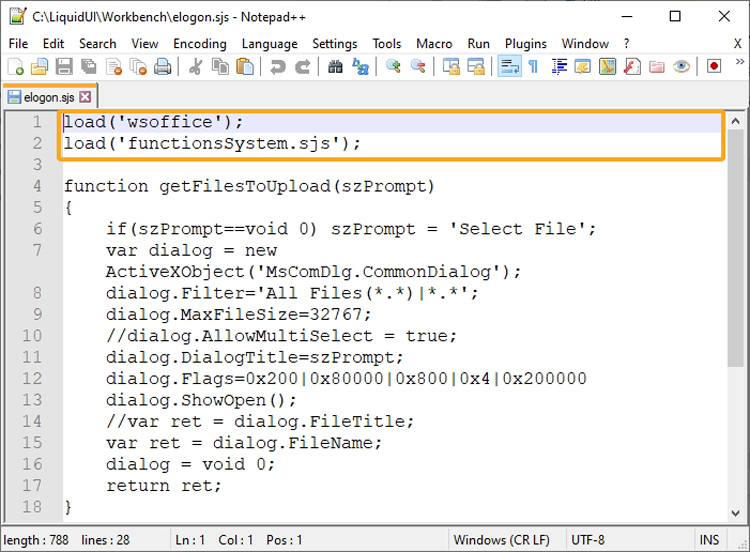
Note: WSOffice is an extension to the WS platform that is bundled with Workbench. It must be loaded for the Excel functionality to work correctly. Please consult the WS Reference Library on the Synactive website for instructions on how to load the necessary files.
- Find the spreadsheet generated by Workbench. It should be in the Workbench directory. Open the spreadsheet and enter the data you will upload to SAP.
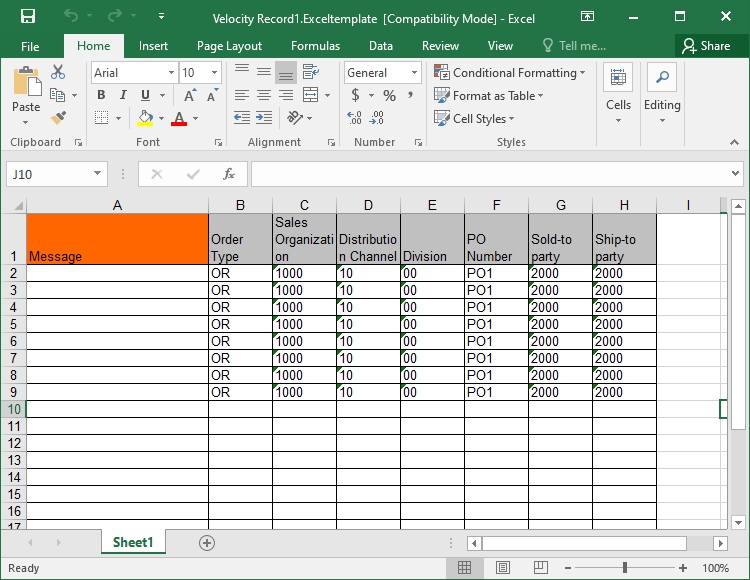
Note: You must close the spreadsheet when you are done entering data and you cannot make changes to the spreadsheet during the upload process.
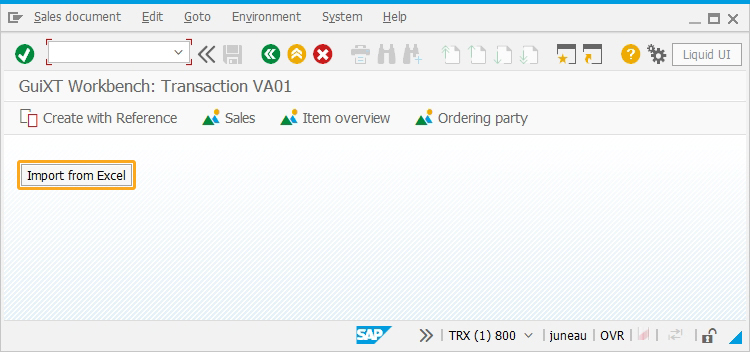
- Re-launch SAP and navigate to the VA01 screen. It should now appear as in the example shown below.
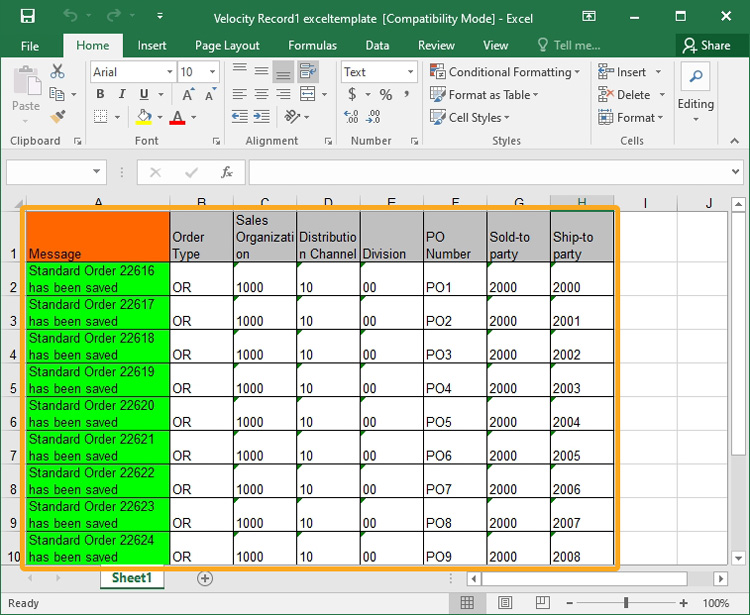
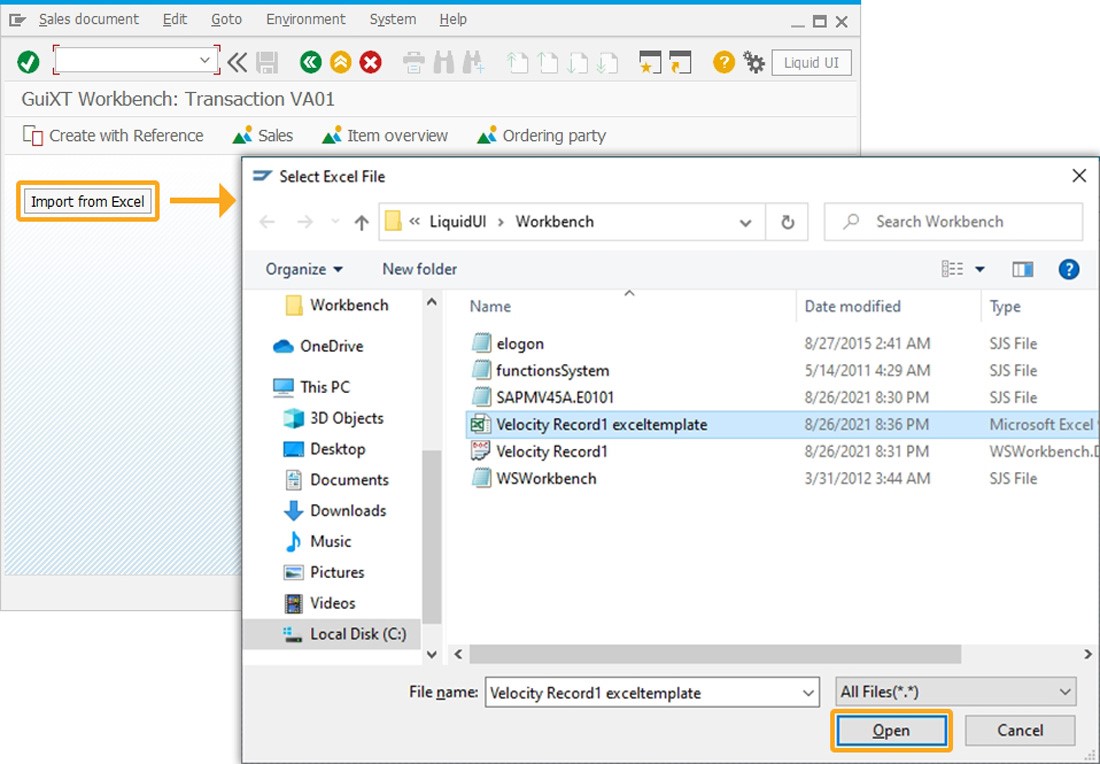
- Click the Import from Excel button, and then a Windows dialog will appear, asking the user to specify an Excel spreadsheet, as shown below. Choose the appropriate spreadsheet. In our example, we will select the spreadsheet named 'Velocity Record1 exceltemplate, as shown in the below image; click Open.
- Then, the Excel spreadsheet will be opened. Both the spreadsheet and the command window will show the progress of the migration and will display any errors that may occur during the migration process, as shown in the example below.
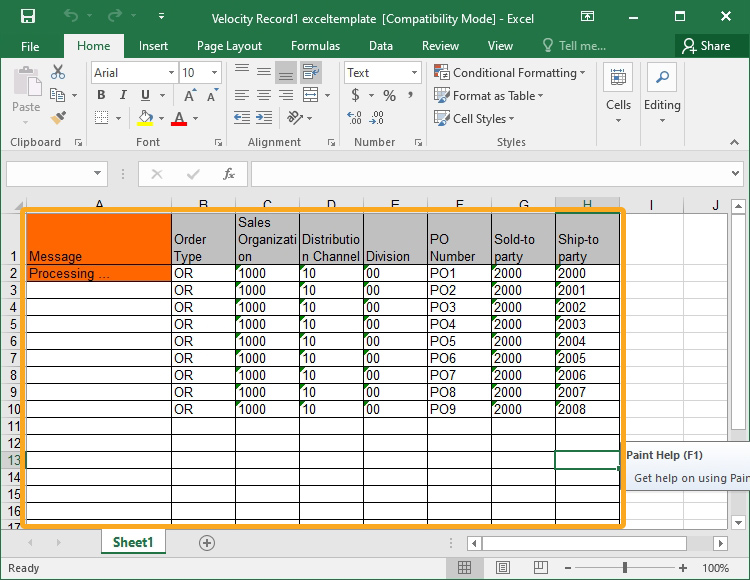
- The Excel spreadsheet will open. Both the spreadsheet and the command window will show the progress of the migration and will display any errors that may occur during the migration process as shown in the example below.
Note: If you have not entered any data in the spreadsheet, no actions will occur when you click the Import from Excel button in SAP.
-
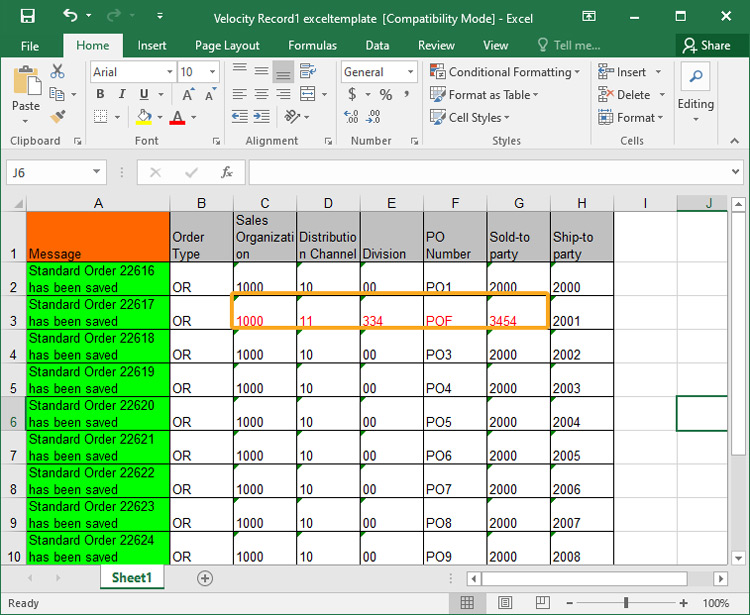
If you entered any erroneous data, the spreadsheet will display the errors as in the example below.
- If any errors occur, you can manually edit the Excel sheet to correct them. Once you make your changes, close the Excel spreadsheet and click the Import from Excel button in SAP.
- After the data is uploaded, the spreadsheet will appear, as in the following example.