After you have created the folders, you must create roles to use those folders. A role is defined as a set of functions that are assigned to and performed by a specific user. These functions are typically based on industry structure and the data requirements of the portal users in a company. Roles are comprised of other content objects, including worksets, pages and iViews. Worksets, pages and iViews will be covered in more detail later in this section. To create roles, please do the following:
- Right-click on the 'Roles' folder you just created and select New > Role from the dropdown menu as shown below.

- The General Properties window will display as shown below. Enter the following information.
- Role Name
- Role ID
- Role ID Prefix

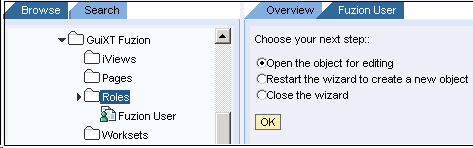
- When you have completed filling out the General Properties window, click Finish. Then select the Open for editing radiobutton and click OK as shown below.
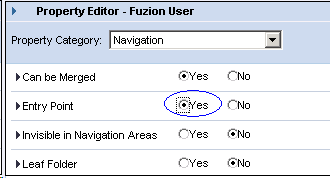
- The Property Editor will open. Go to the Property Category drop-down menu and select Navigation. Then check the Yes radio button beside the Entry Point section as in the following example.
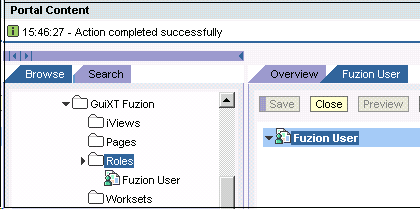
- Choose the Save button. The confirmation screen for the new role will display as shown below. Proceed to the Create iViews section below.