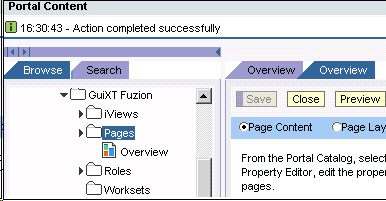
A portal page is an organized layout of iViews and other pages containing iViews. Pages are used to assign the iViews to users and roles. Pages are a medium that displays information retrieved iViews from various resources to help you perform your business functions. To set up a page, please do the following.
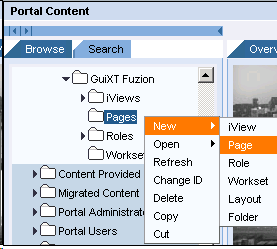
- Right-click on the 'iViews' folder you just created and select New > Page from the dropdown menu as shown below.
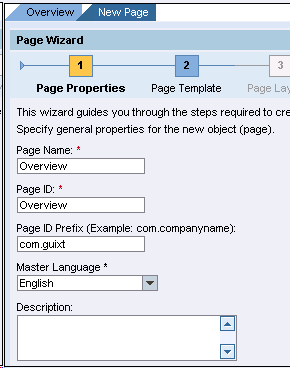
- The Page Wizard will launch. Enter the following parameters as shown in the example below and then click Next.
- Page Name
- Page ID
- Page ID Prefix
Note: The names should match those entered in the previous Roles and iViews steps.
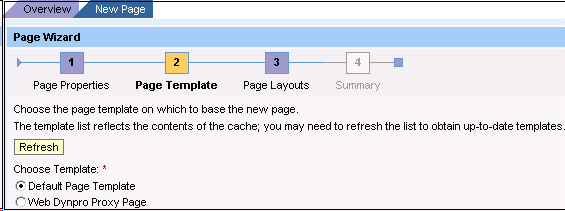
- Select the Default Page Template radiobutton as shown below and click Next.
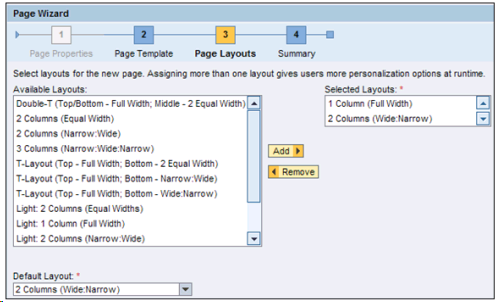
- In Page Layouts, choose the selected options as shown below and click the Add button to add the chosen layouts to the Selected Layouts field. Then click Next.
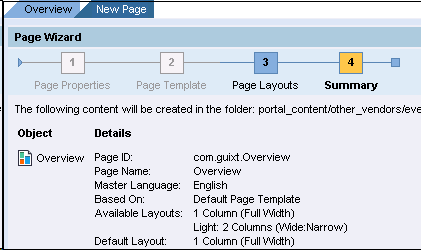
- The summary page will display as in the following below, showing the options you have selected. Click Finish.
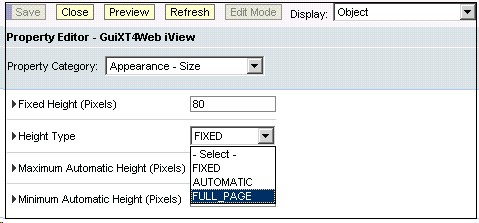
- The Property Editor will display as shown below. Select 'Appearance-Size' from the Property Category dropdown and select 'FULL_PAGE' from the 'Height Type' field.
- Appearance
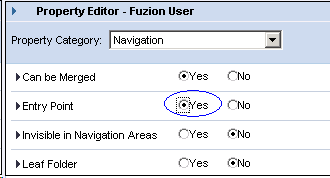
- Select 'Navigation' from the Property Editor dropdown menu. Then scroll down to the 'Entry Point' section and select the 'Yes' radiobutton.
- The confirmation screen will display as shown below. Save your changes and proceed to the Creating Worksets section below.