The first step in configuring a portal is to create folders in NetWeaver. The process is as follows.
- Log into the NetWeaver Portal as an administrator and navigating to the following location.
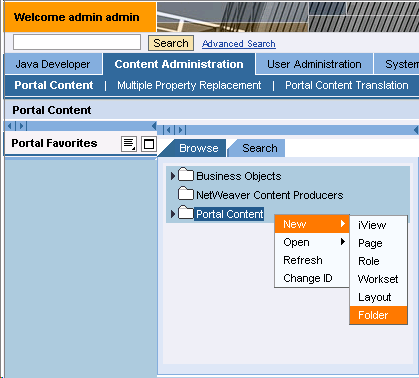
Content Administration > Portal Content > Portal Content
- Right-click on the 'Portal Content' link and select New > Folder from the dropdown menu as shown below.
- The Folder Wizard will launch. Enter a name for your folder as shown below. In our example, we will use the name 'GuiXT Fuzion'.
- Enter a folder ID and a folder ID prefix. The prefix identifies the domain. In our example, we will use the folder ID 'GuiXT_Fuzion' and the prefix 'com.guixt' as shown above.
- Choose your preferred language in the Master Language dropdown menu. In our example, we will select 'English'.
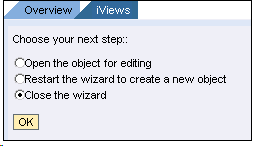
- When you have completed filling out the Folder Wizard, click Finish. Then select the Close the wizard radiobutton and click OK as shown below.
- Repeat this process to create the following sub-folders under 'GuiXT Fuzion': 'iViews', 'Roles', 'Pages', and 'Worksheets'. When you have created all the folders, proceed to the Creating Roles section of this document.