Single Sign-On enables users to sign onto the Web portal without requiring the entry of an additional set of credentials. To set up Single Sign-On, it is necessary to create a system, create a system alias and configure user mapping. In this section, we will describe how to do each of these actions.
Creating Systems
To create a system, please do the following.
-
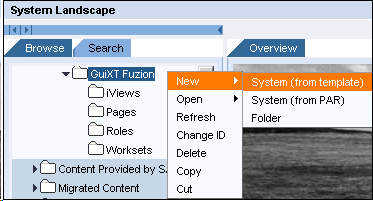
Make sure that you are logged into the portal as an administrator. Then go to the System Administration > System Configuration area and select the folder we previously created. In our example, this folder is 'GuiXT Fuzion'.
-
Right-click on the folder and select New > System (from template) as shown below.
-
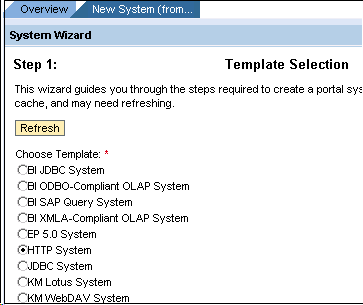
The Template Selection wizard will launch. In the wizard, choose the HTTP System radio button and then click Next as shown below.
-
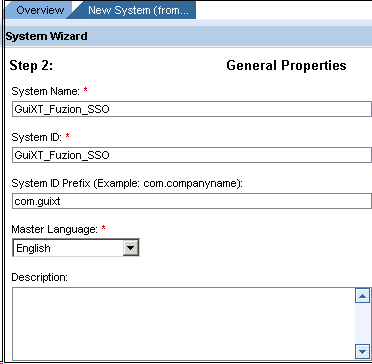
In the General Properties tab, enter the following information as shown in the example below. Then click Next.
- System Name
- System ID
- System ID Prefix
-
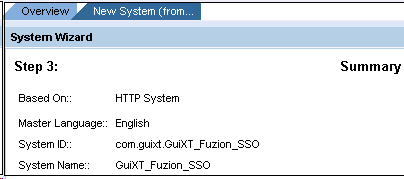
A summary of the newly created system will display as in the following example. Click Finish.
-
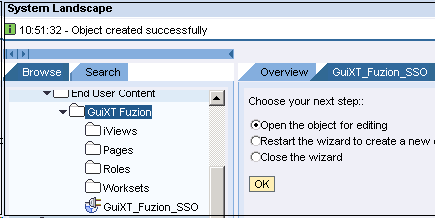
The new system will now be displayed below the main folder. Choose the Open for editing radiobutton and click OK as shown below:
-
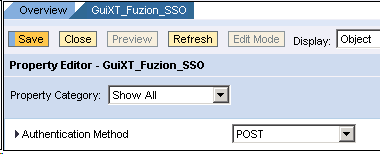
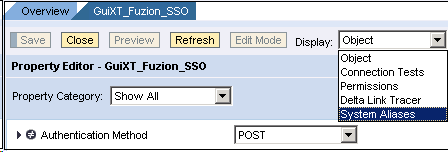
In the Property Editor for the new system, go to the Authentication Method dropdown menu and select 'POST'.
-
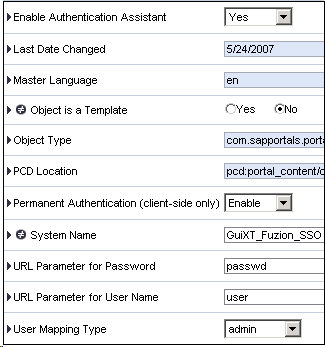
Scroll down to the Enable Authentication Assistant dropdown list and then click Yes.
-
Enter the following parameters as shown in the example and then click Save.
- URL Parameters: 'passwd'
- URL Parameter for Password: 'user'
- User Mapping Type: 'admin'
Note: Select 'admin' if the administrator and not the user will have mapping permissions. Select both 'admin' and 'user' if both will have mapping permissions and select 'user' if only the user will have mapping permissions.
-
Click Save to save your newly created system.
-
Do not close the system, as you must now create a system alias. Proceed to the 'Creating System Aliases' section below.
Creating System Aliases
Once the system is created, you must create an alias. To do this, please perform the following steps.
-
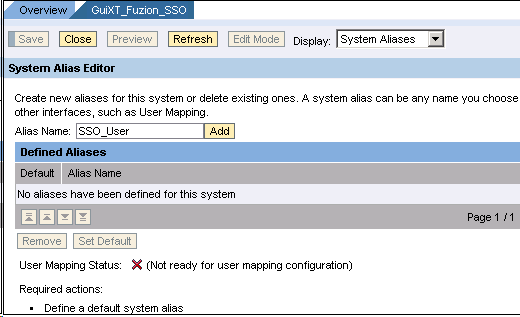
Go to the Display drop-down menu and select System Aliases as shown below.
-
In the Alias Name field, enter an alias for the new system as shown below.
-
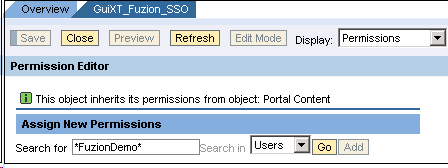
Go to the Display drop-down menu and select 'Permissions'. Then enter the name of the user who will be using single sign-on in the 'Search for' field as in the following example.
-
Select the user and click Add.
-
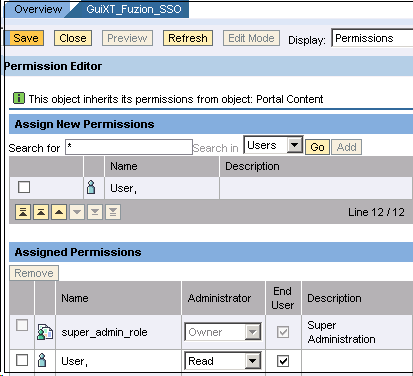
The following screen will display. As shown in the example, the default administrator will have Read permissions. Select the End User checkbox for the user just added. Doing this allows the admin to view this system when assigning user mapping for the new user.
-
Click Save and then go to Content Administration > Portal Content > [yourFolderName]. In our example, the folder is 'GuiXT Fuzion'.
-
Double-click the iView to which you will assign single sign-on.
-
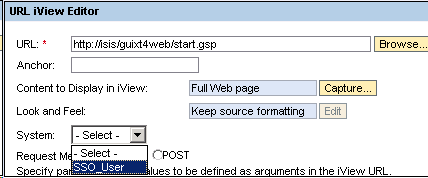
Go to the System drop-down menu and select the newly created system alias as shown below, then click Save.
-
Proceed to the User Mapping section below.
Configuring User Mapping
Now you must configure user mapping. This is the final step in configuring single sign-on. TO configure user mapping, please do the following.
-
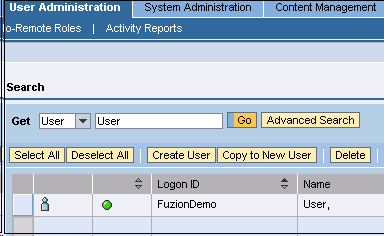
Go to the User Administration > Identity Management section and enter the ID of the user account to be configured as shown in the following example. Then click Go.
-
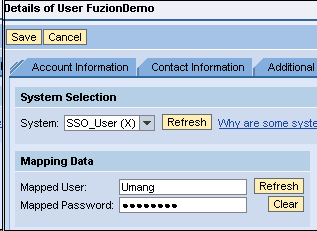
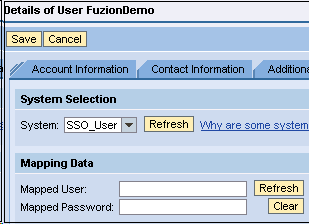
Select the row corresponding to the desired user, then select the User Mapping tab and choose Modify as shown below:
-
Select the system created in the previous steps and enter the mapped Username and Password (eg. The username and password for the user who will use Single Sign-On) as shown below: