Case 2: Range Validation
The third case is that validation will be performed according to a pre-specified range of values. To set this case, if it is not already selected, please do the following.
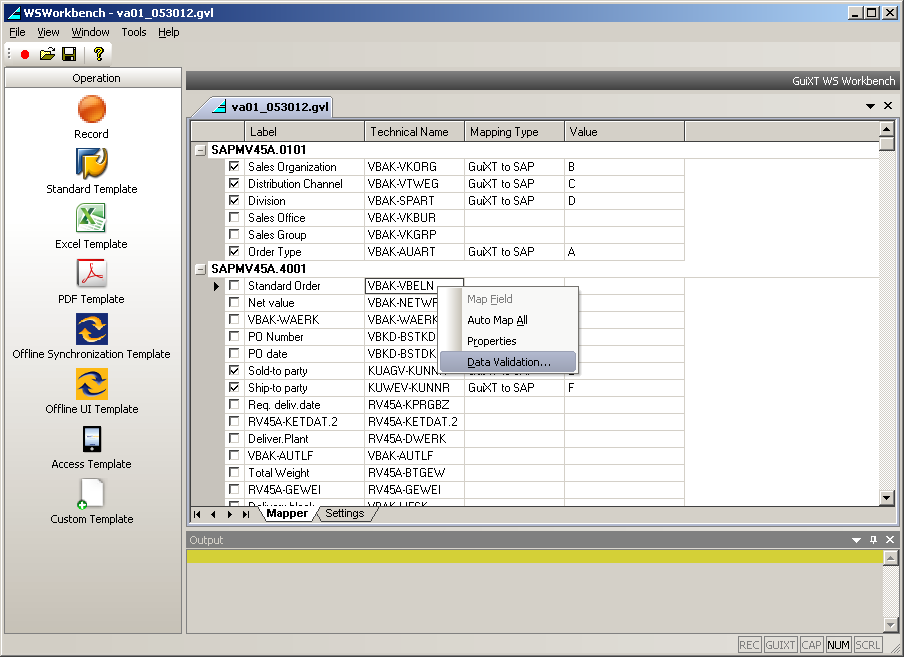
- Right-click on a cell in the row you want to validate and choose Data Validation from the context menu.
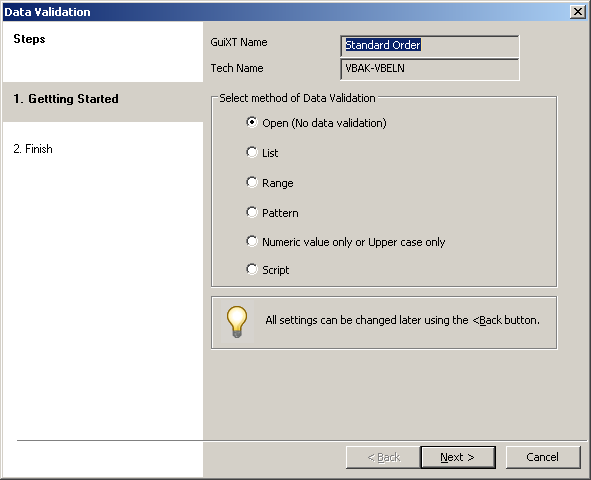
- The Data Validation wizard will appear as shown below.
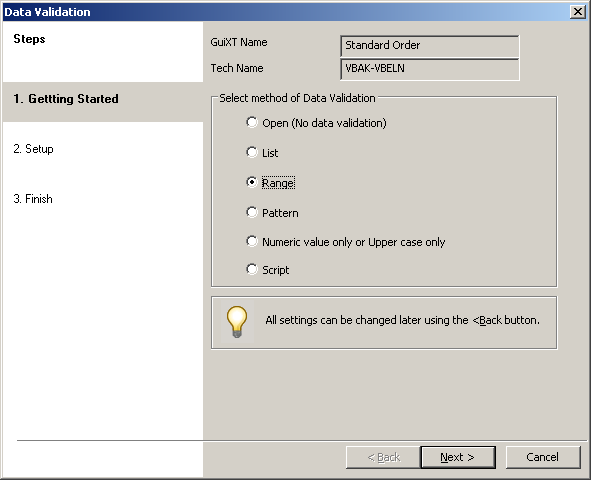
- Select the Range radiobutton if it is not already selected as shown below and then click Next.
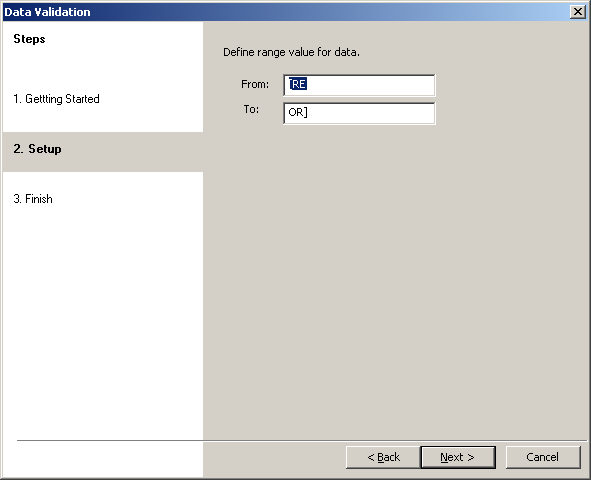
- The value entry screen will display as shown below.
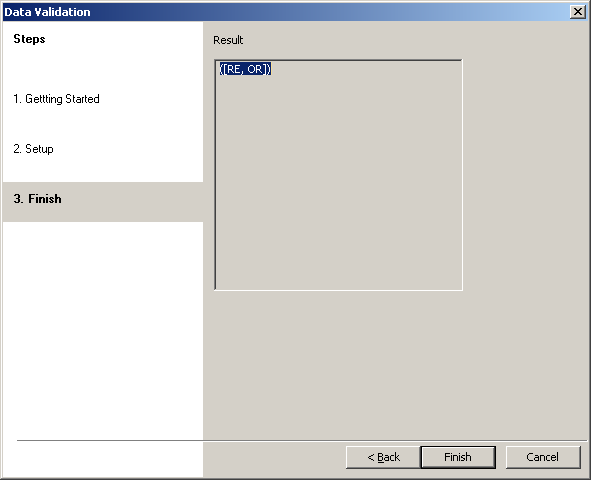
- The Finish window will display as shown below. Click Finish.