How to install PSC on a Windows-based computer.
In this section we will demonstrate how to install PSC on a Windows based computer. Please follow the instructions below.
- Double-click the installer that you received from Synactive. The package will look as follows:

- The InstallShield Wizard will launch and the splash screen will display as shown below:
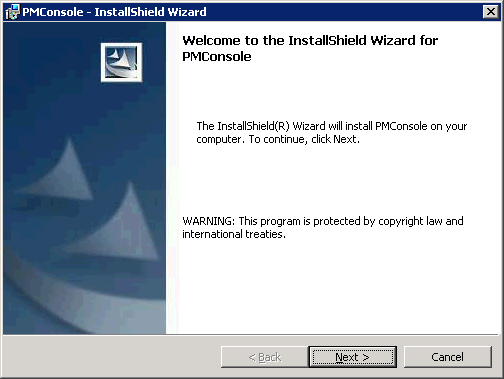
- After the splash screen, the Welcome screen will display as shown below.
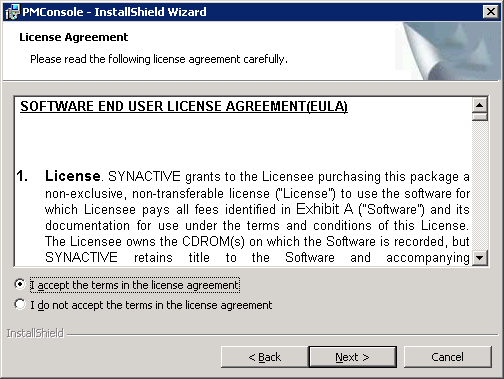
- Click Next. The End User License Agreement will display. Check the 'I accept...' checkbox as shown below:
- Click Next. The Customer Information screen will display as shown below.

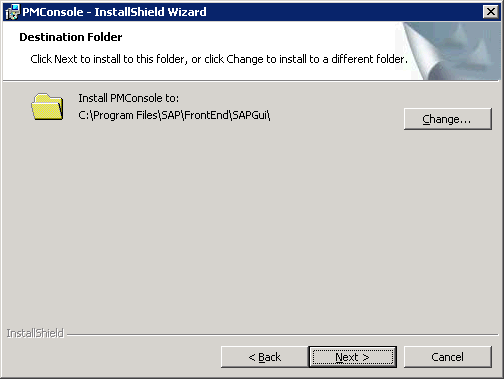
- Click Next. The Choose Destination screen will display as shown below.
Warning: PSC must be installed in the default directory for SAP.
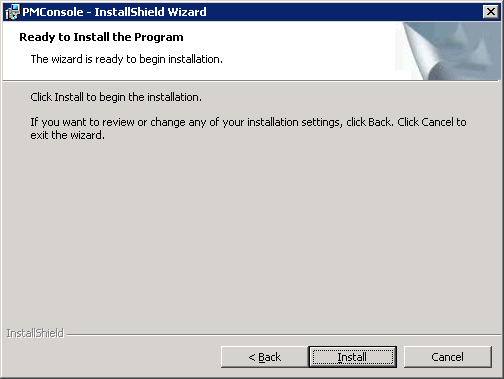
- Click Next. The Start Install screen will display as shown below:
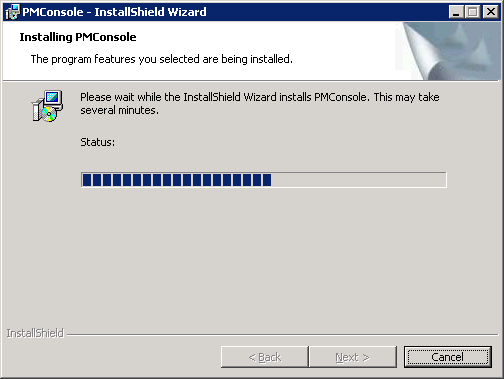
- Click Install. The installation will begin and the Progress screen will display as shown below:
- When the installation completes, the Finish screen will display as shown below. Click Finish to complete the installation.

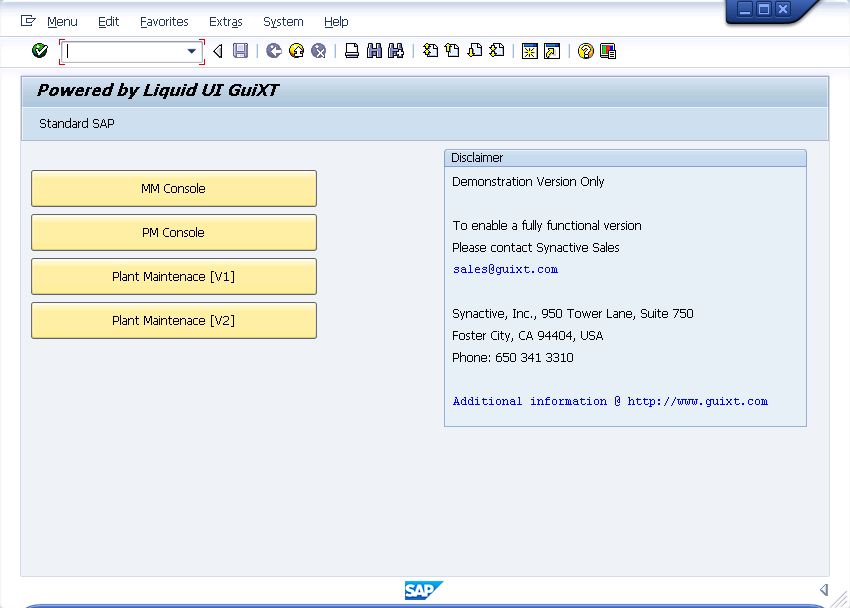
SAP will launch at the conclusion of the installation processs. Once SAP launches, log in and you should see the following screen. If this screen appears, PSC has been successfully installed.