Purpose
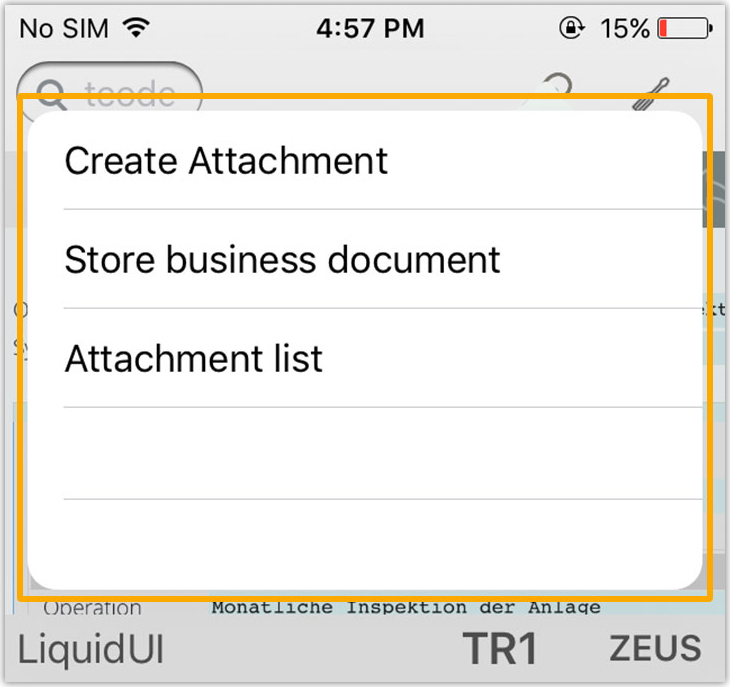
Liquid UI for iOS allows you to attach files within SAP transactions. You can find different ways to attach files using Create Attachment option, select or drag and drop a document in the transaction using Store business document option and can view attached files using Attachment list option. You can find following three options under attachment symbol in the particular transaction.
In this scenario, you will learn how to attach different types of files, view and download them in an SAP transaction using Liquid UI for Android App.
-
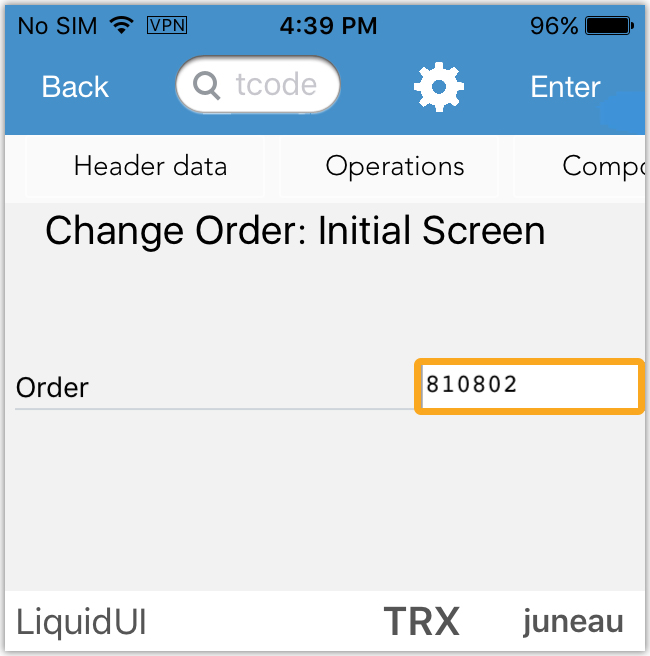
Navigate to IW32 transaction which is Change Order: Initial Screen. Enter order number in the Order field and click either Enter or RETURN button on the SAP screen.
-
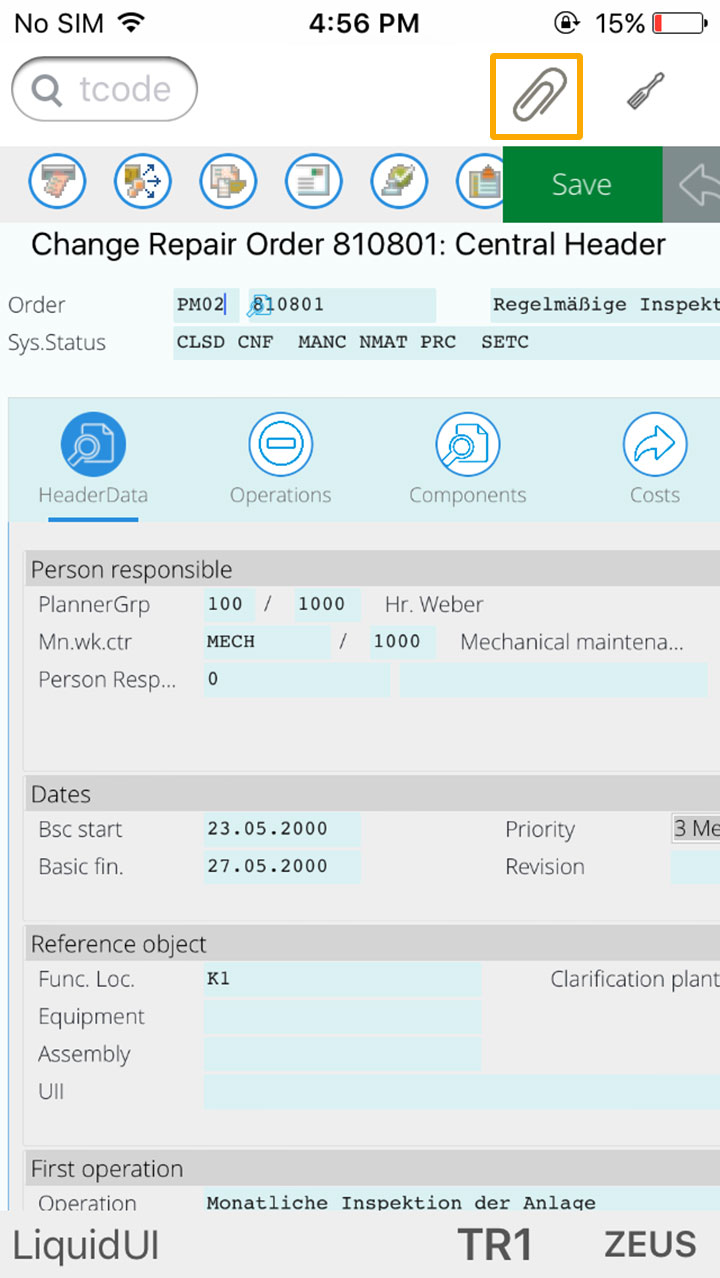
Locate the attachment icon on the upper right hand side of the screen. Click on the Attachment icon. You will navigate to a screen to choose an object.
-
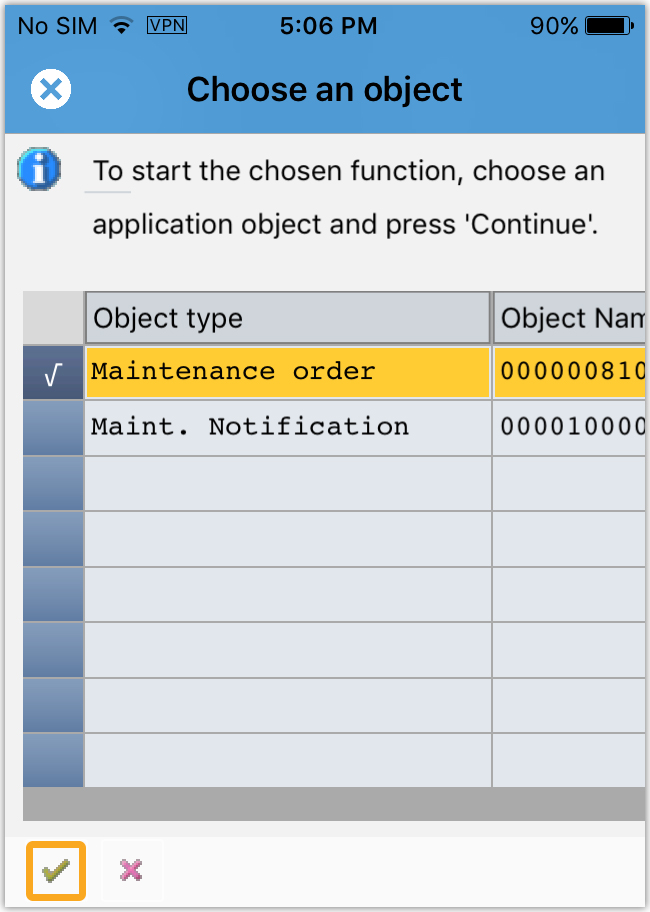
Select an object type to initiate the file attachment process and press continue.
-
Select the desired option for file attachment.
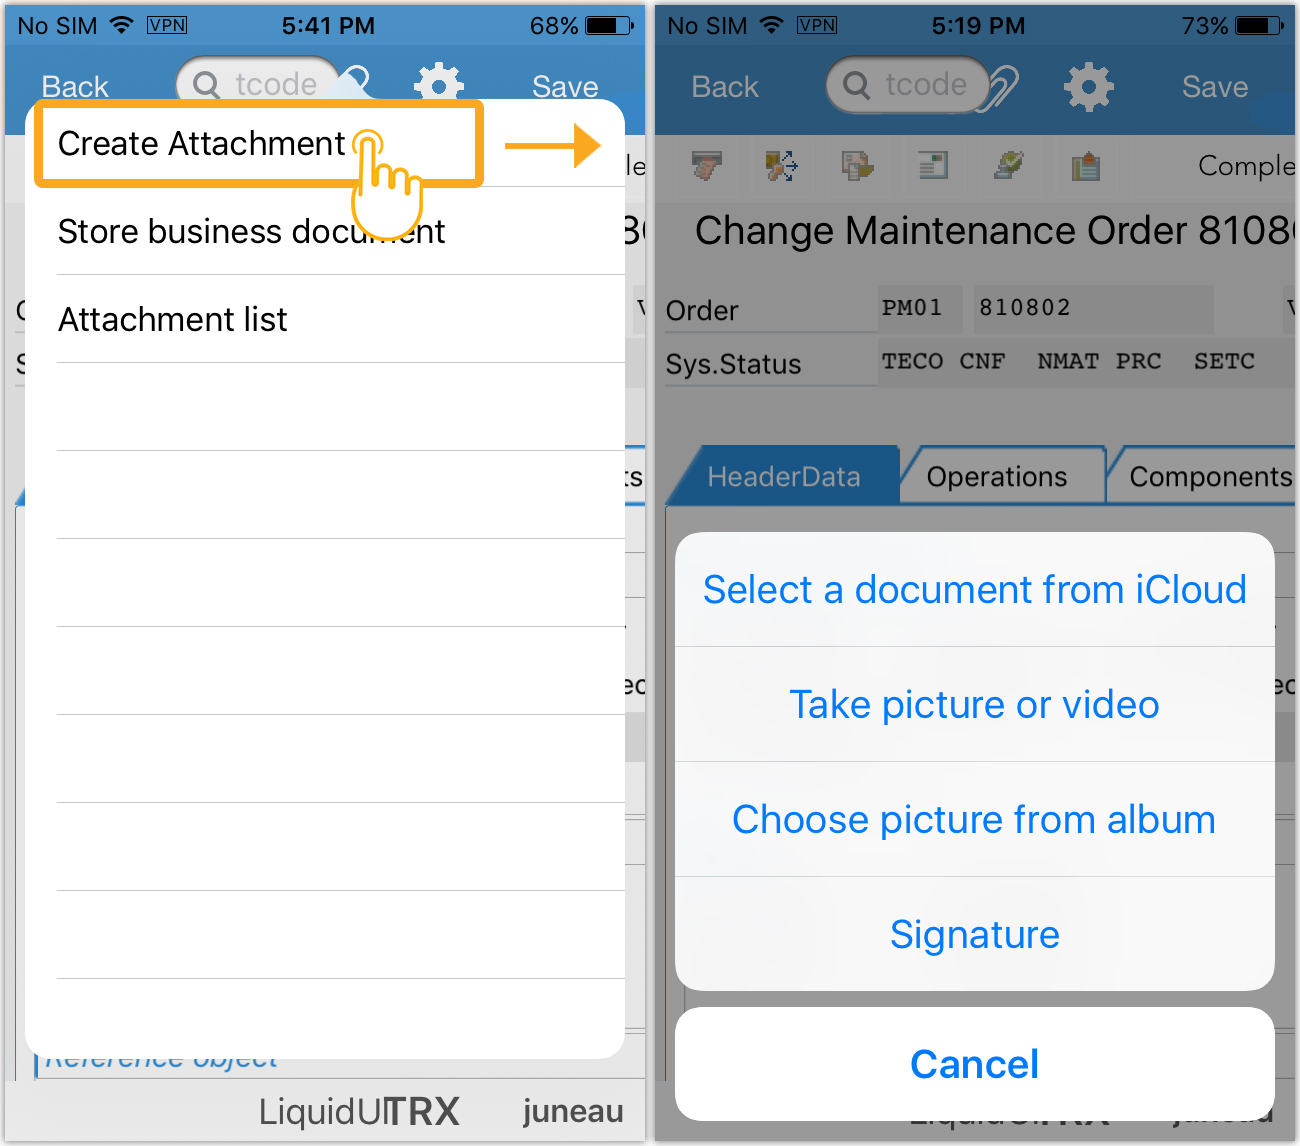
Create Attachment
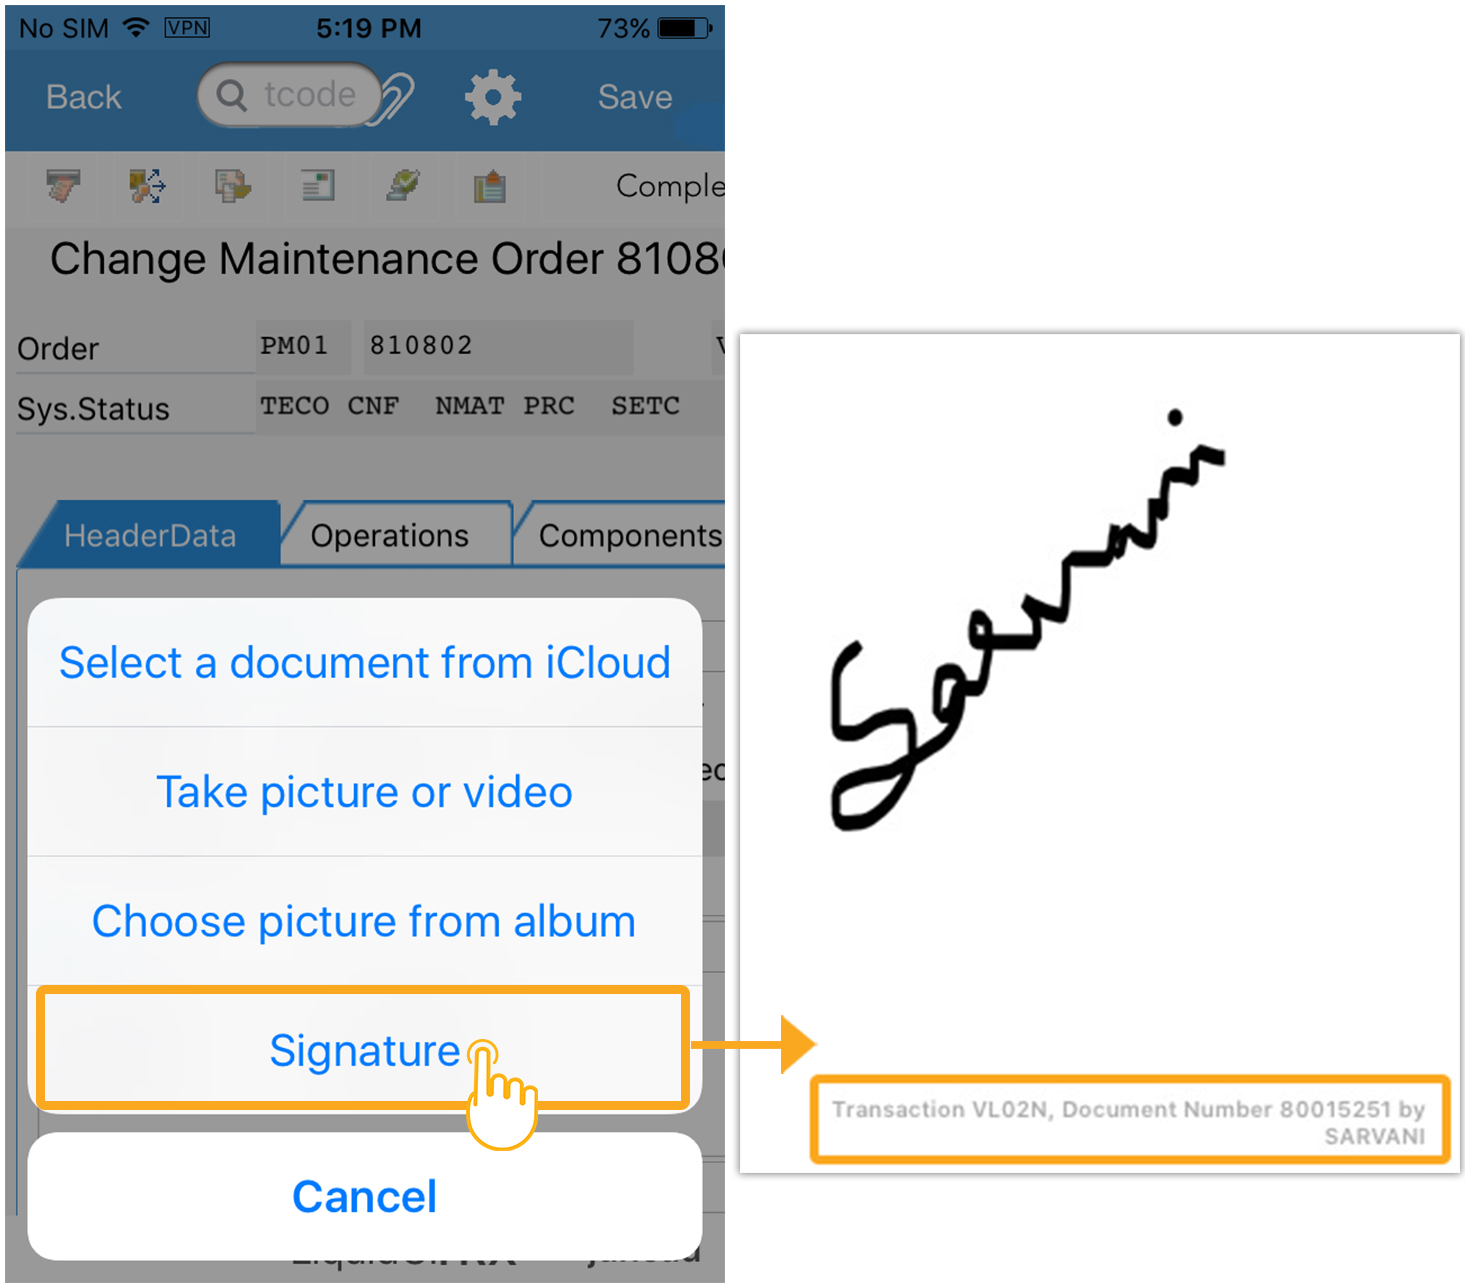
Click Create Attachment to upload the files from the device. On click, a context menu appears with following upload options:
- Select a document from iCloud
- Take picture or video
- Choose picture from album
- Signature
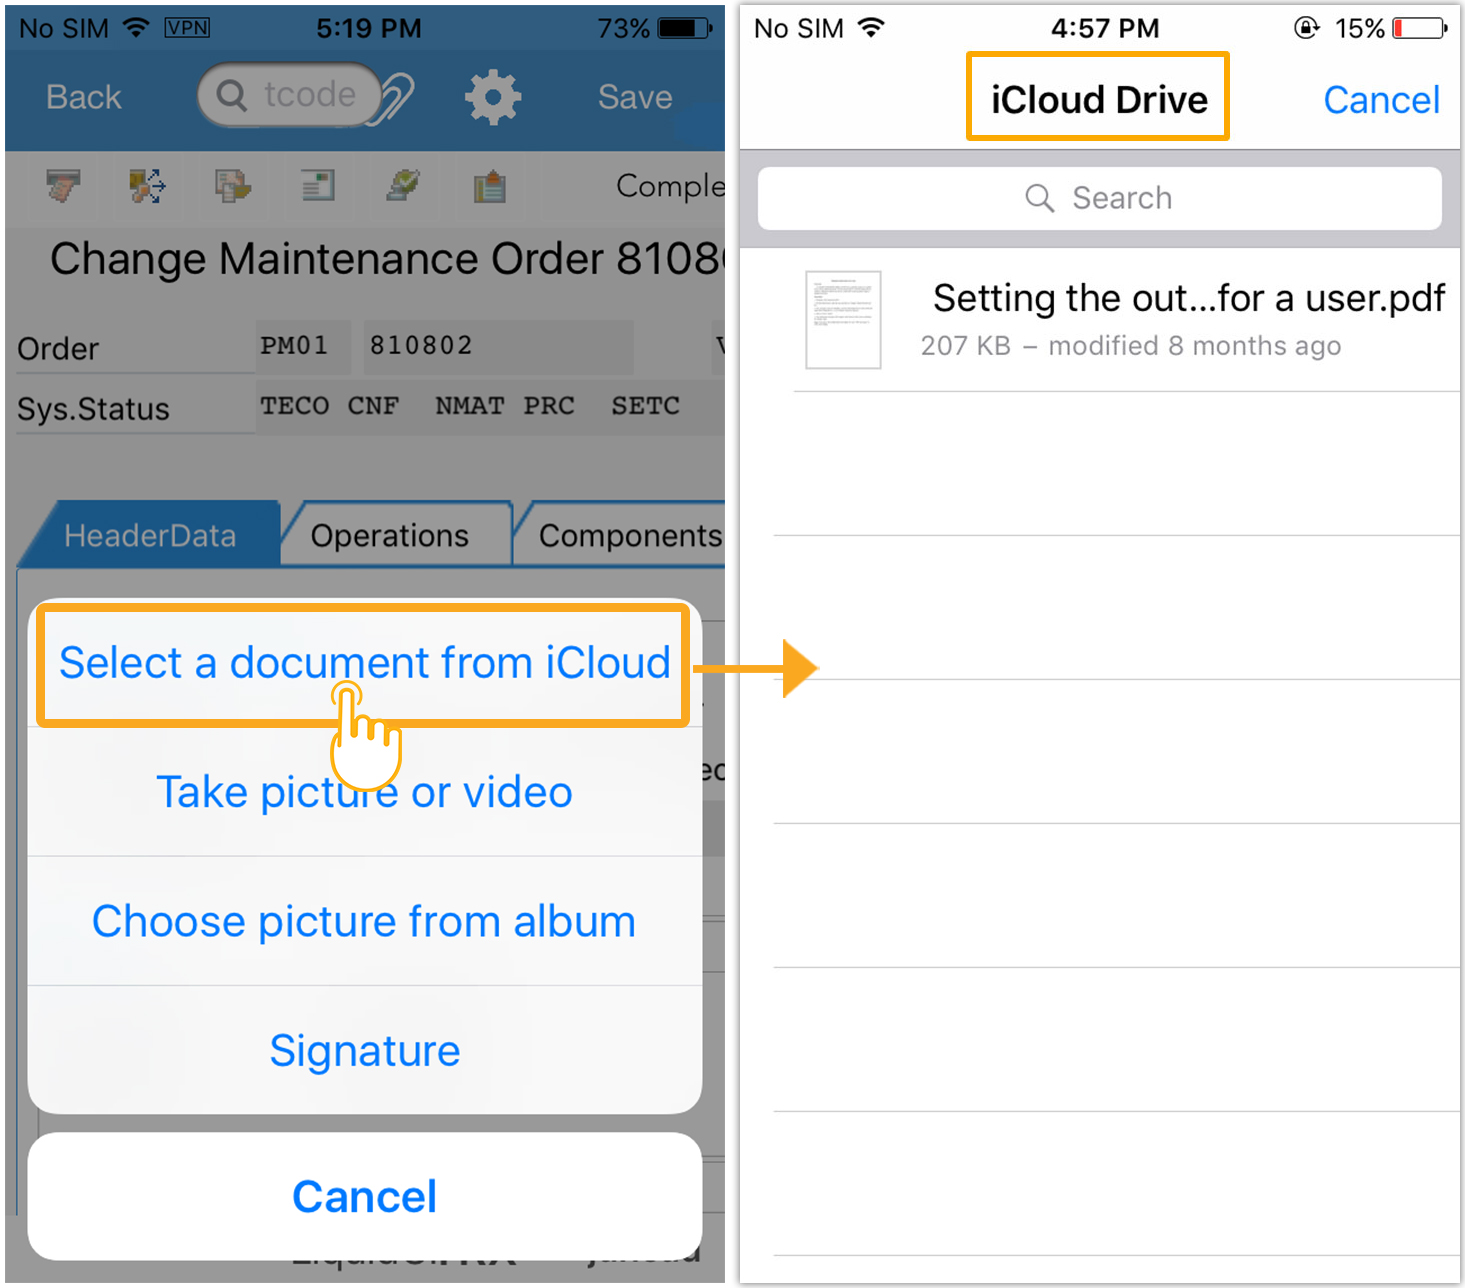
1. Select a document from iCloud
Choose, Select a document from iCloud to upload the files from iCloud Drive.
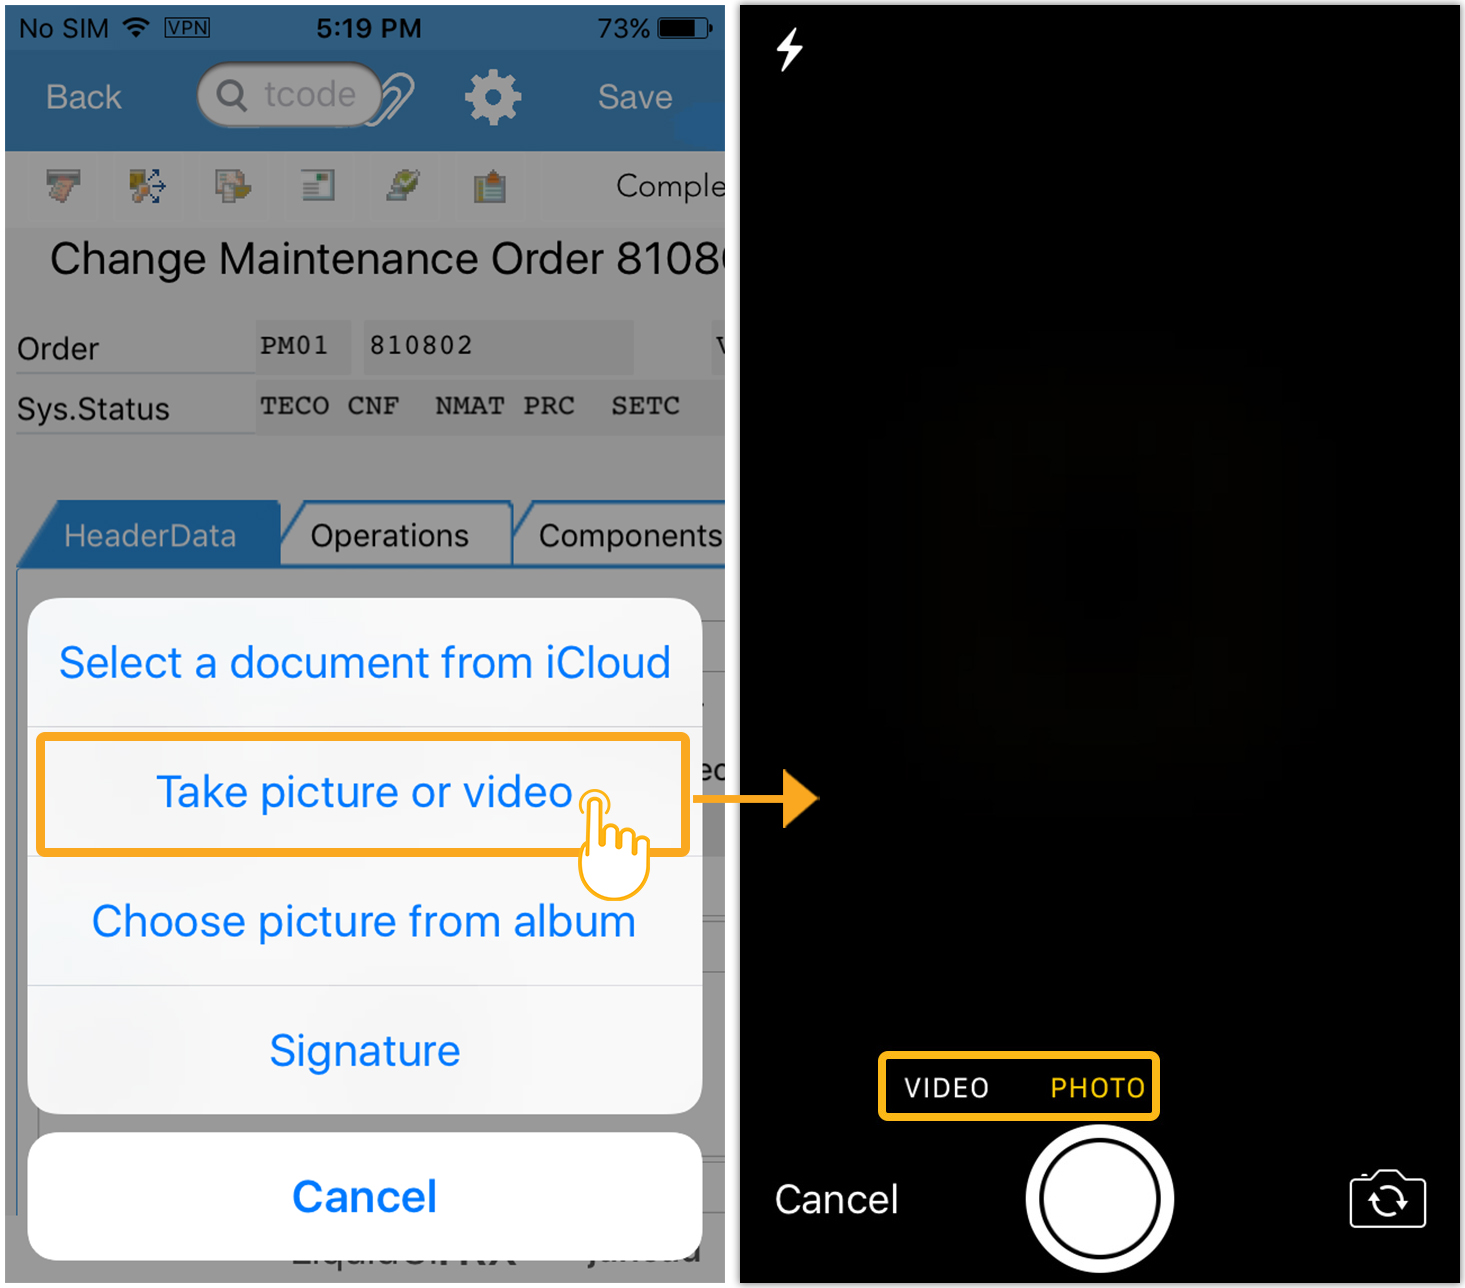
2. Take a picture or video
Choose, Take a picture or video option to capture and upload images and video files into the transaction.
3. Choose picture from album
Choose picture from album to upload image from the device.
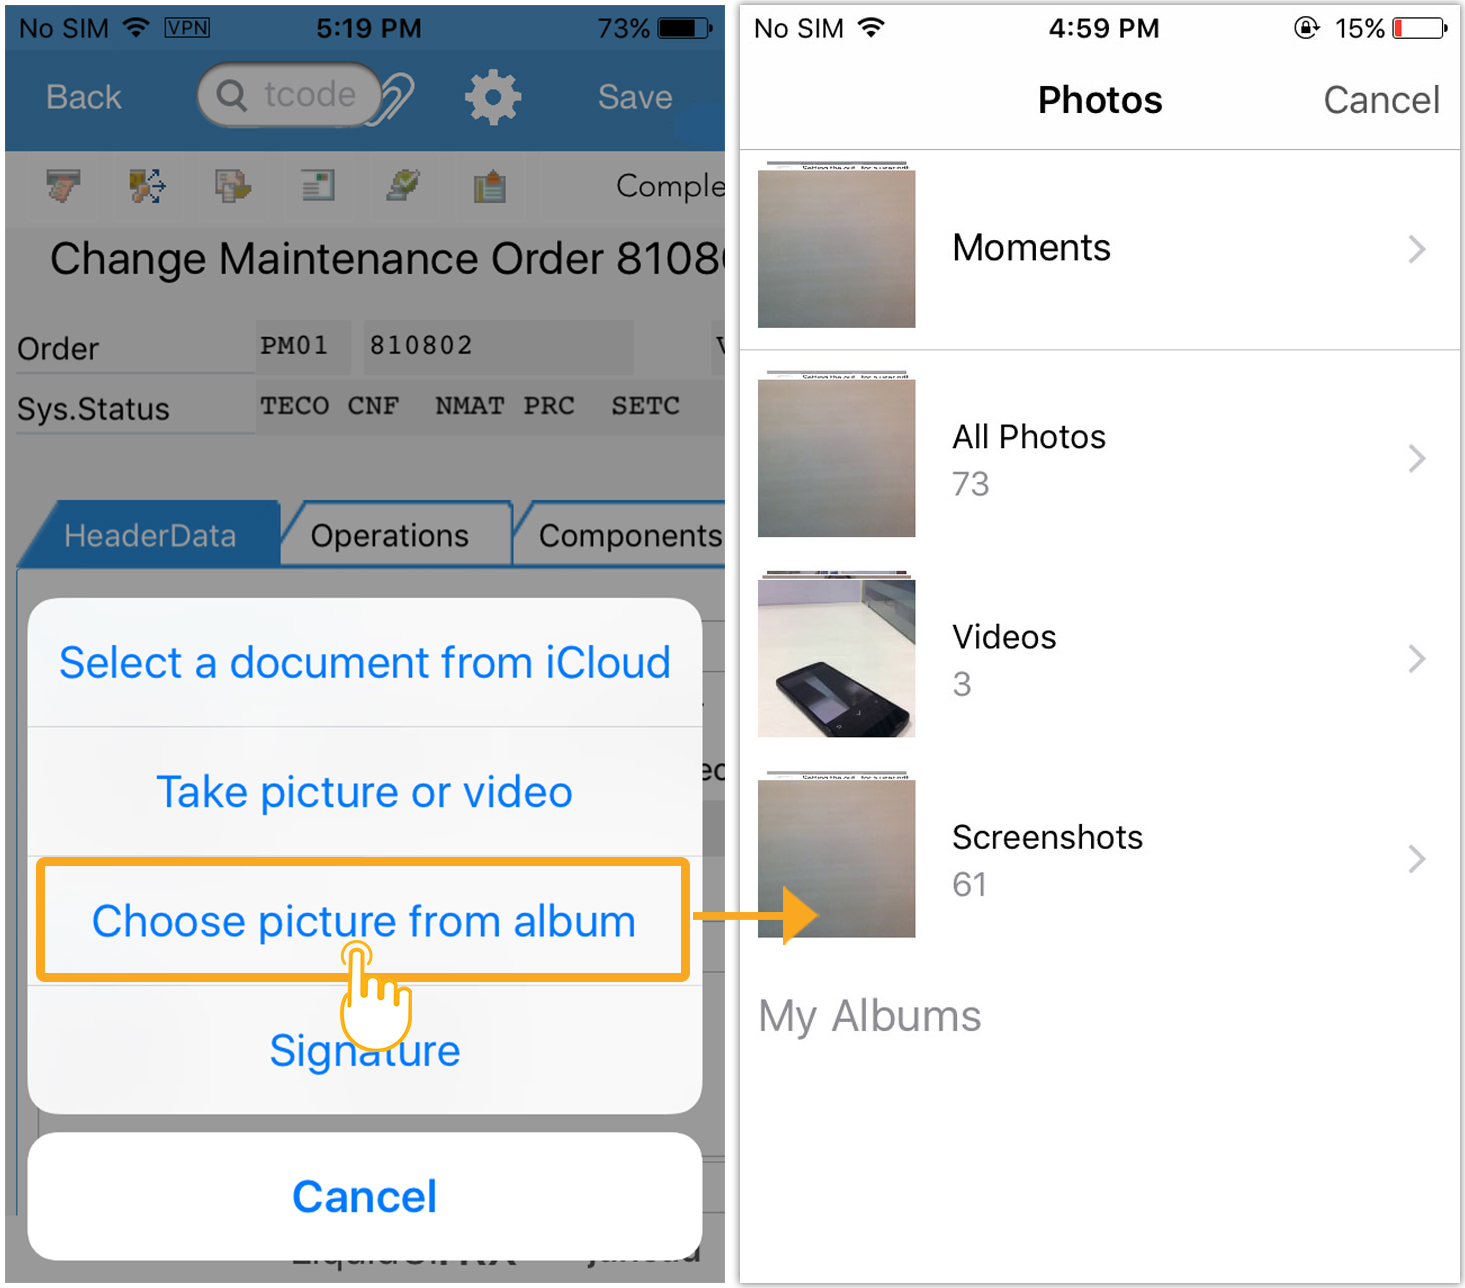
After selecting an image, a popup window appears that allows you to select the image with reduced size options before attachiing it to the transaction.
Then, a popup window appears to enter the filename for the image.
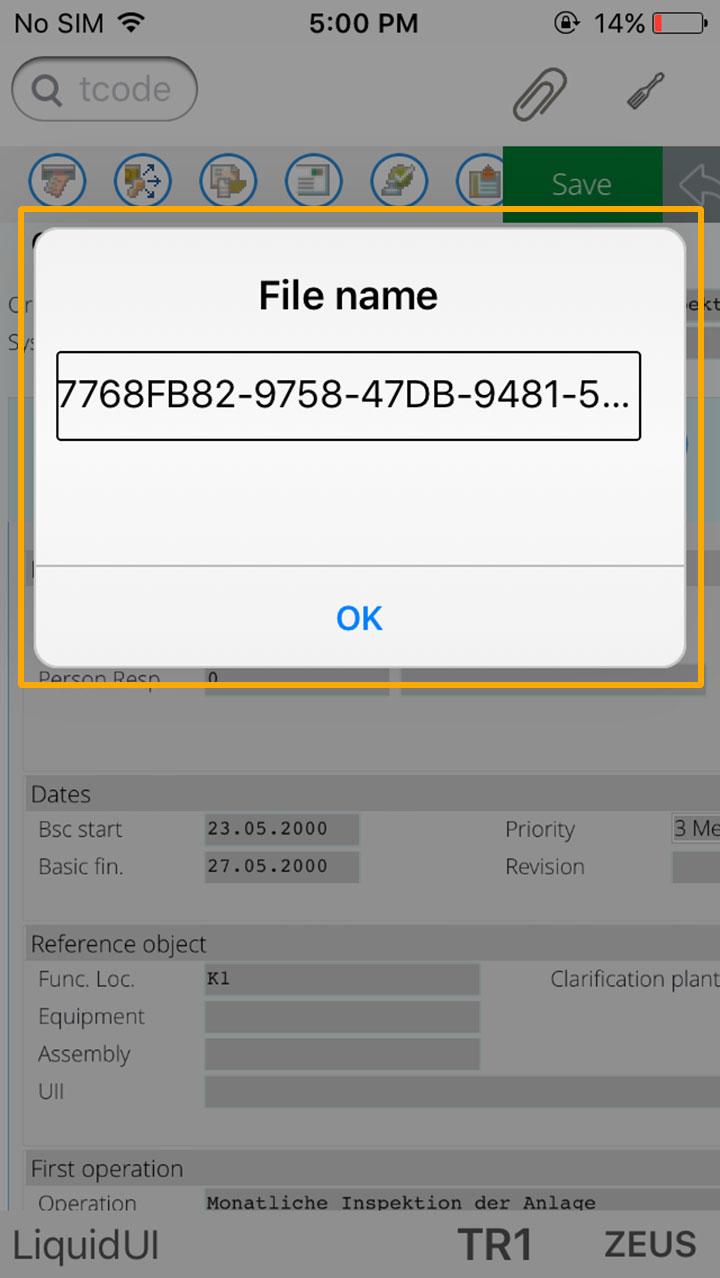
A default name appears on the popup window. You can also edit the filename and click OK to save the file.

4. Signature
Choose Signature option, to save your signature and attach as a file in SAP. You can sign on the screen displayed as shown below:
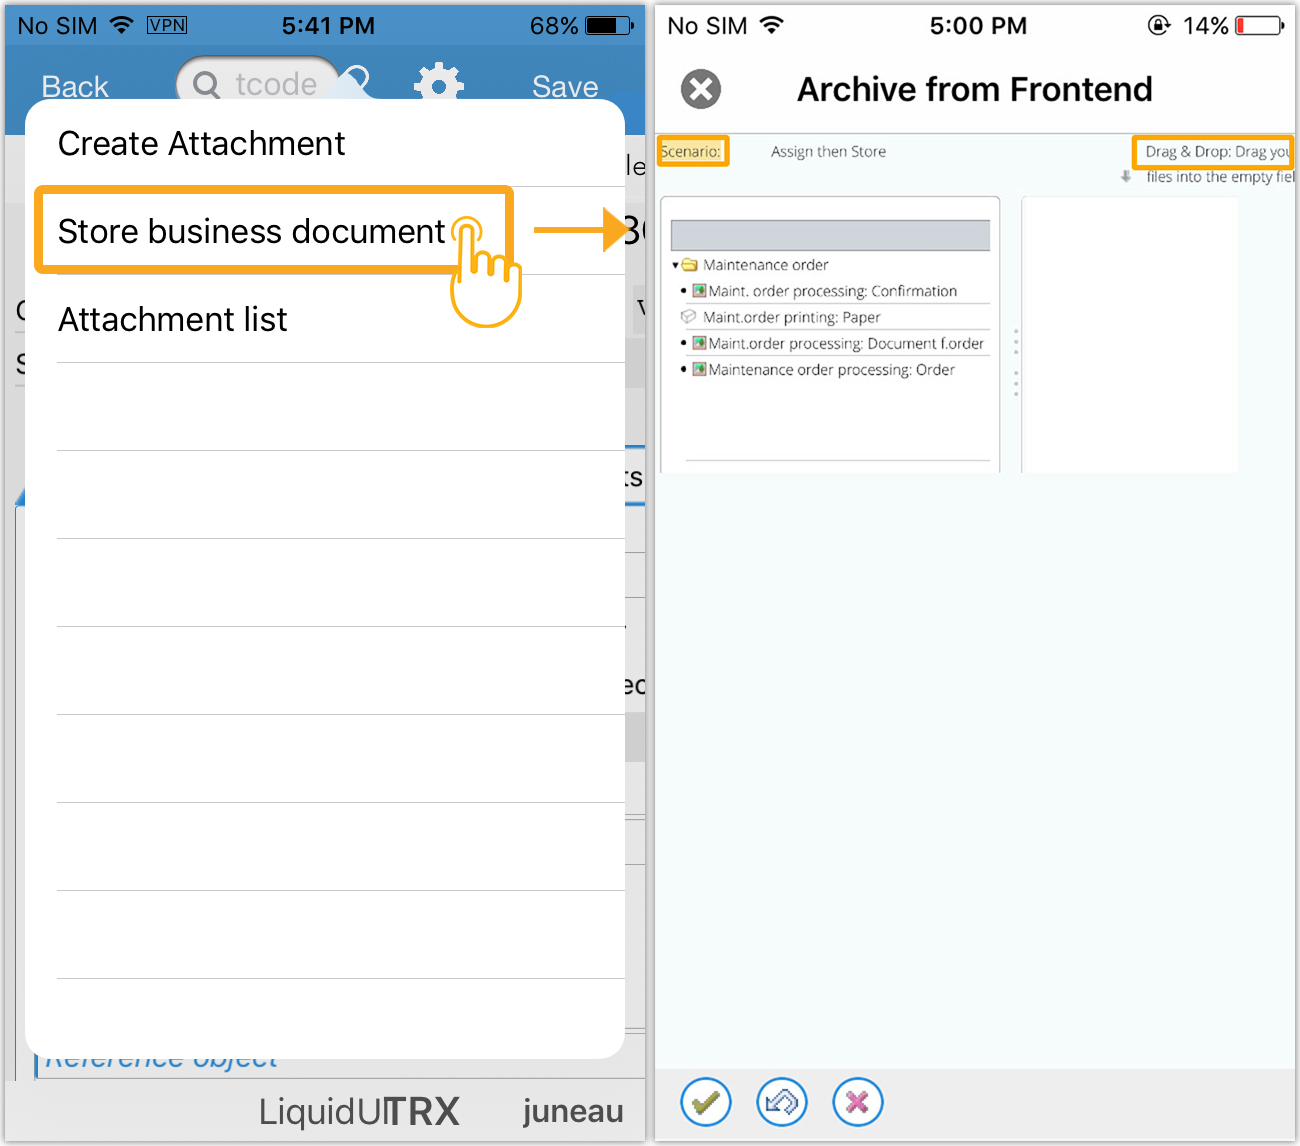
Store business document
Click business document to add the document to the transaction. This option has two different methods to add a document.
- Select the document type from the list.
- Drag and drop files by clicking on the empty field.
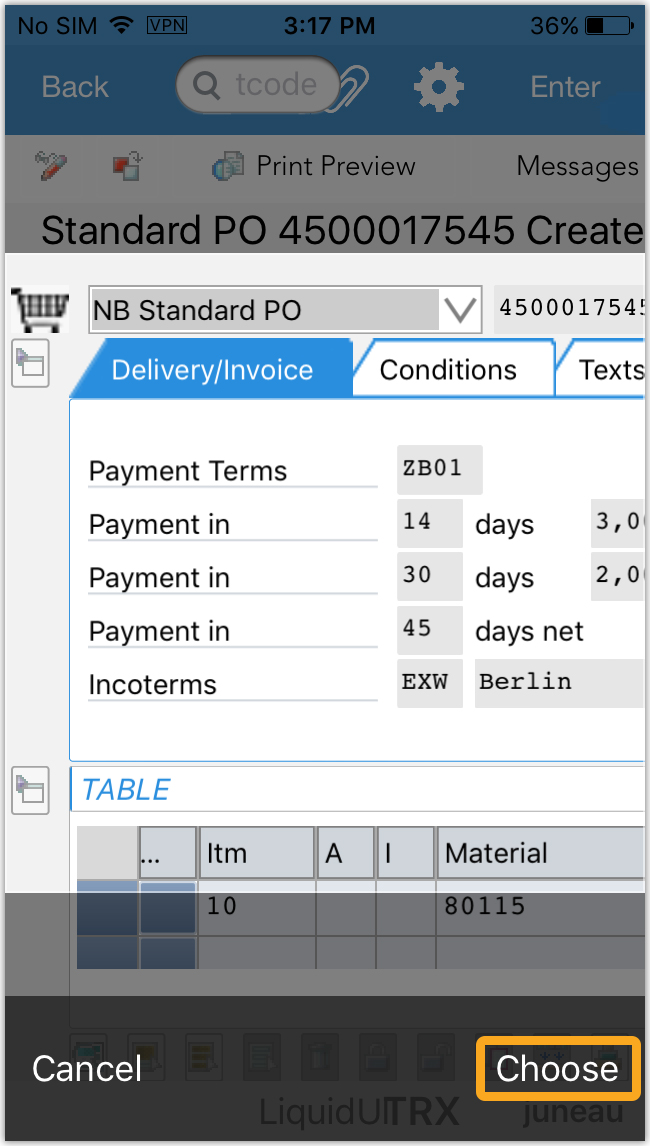
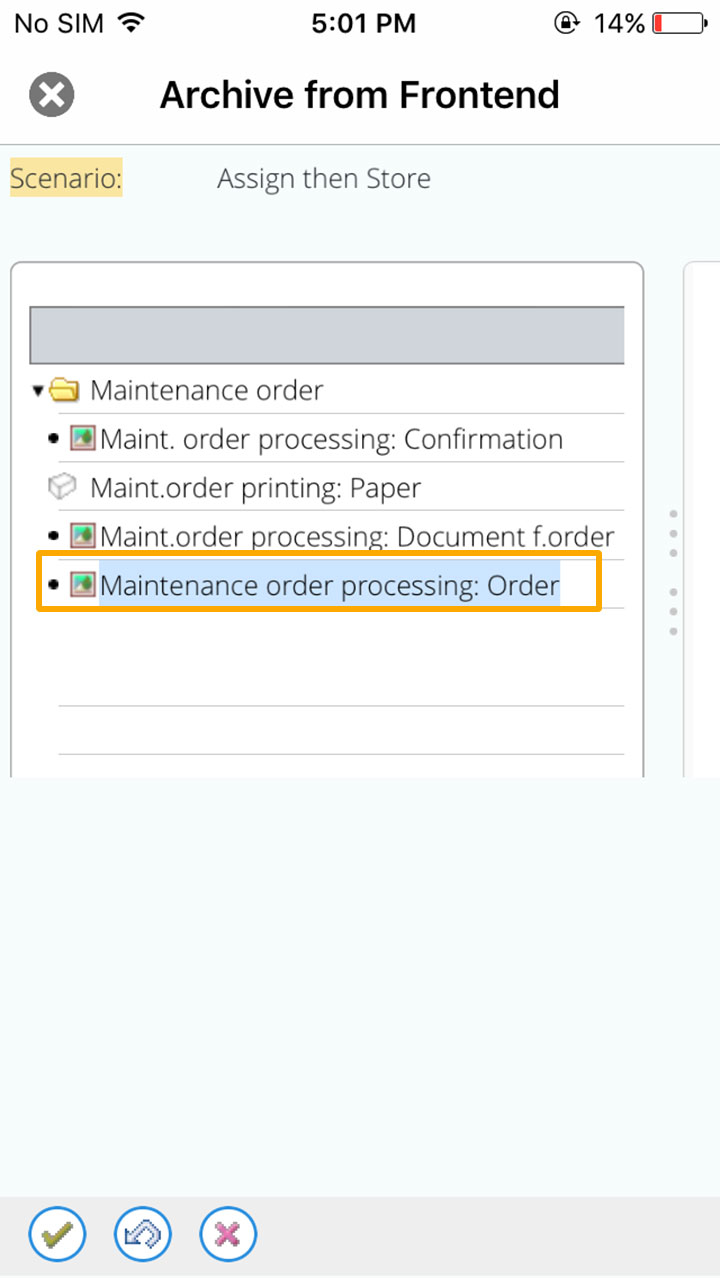
1. Select the document type and press continue
Select the document type from the list and click continue button (check mark) at the bottom of the screen to store the document to the transaction.
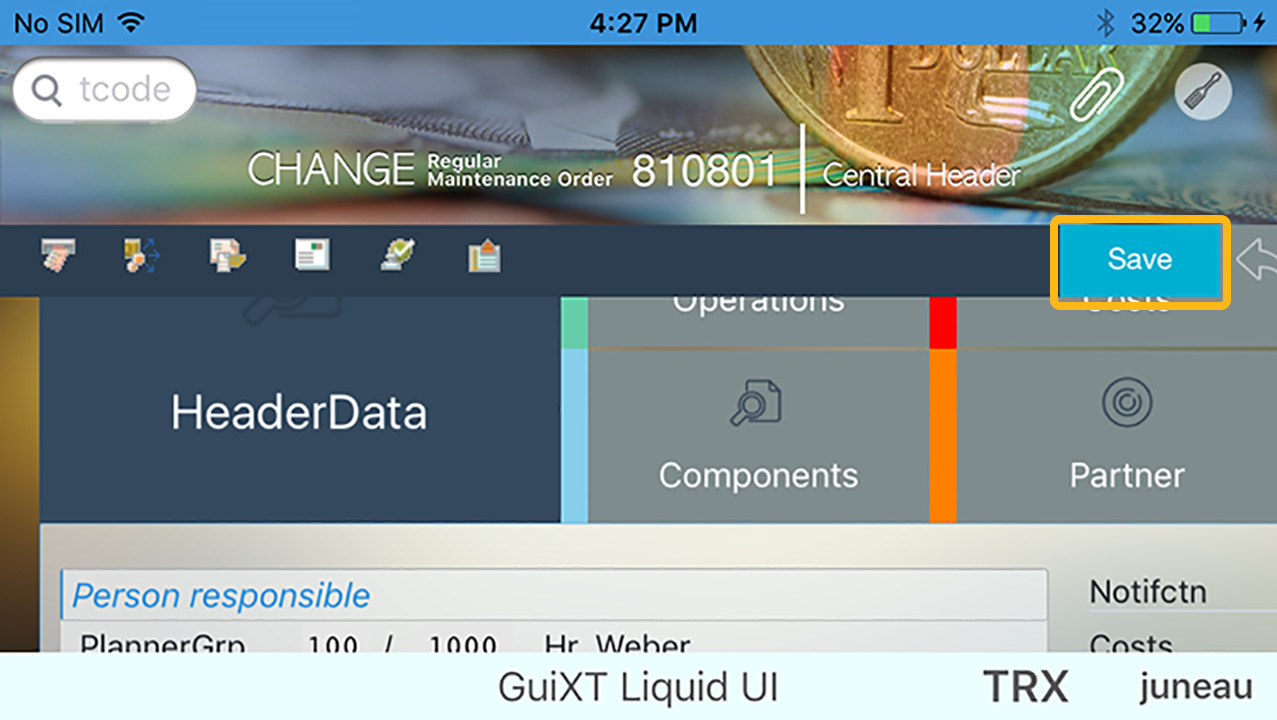
Then click the Save button on the screen shown below:
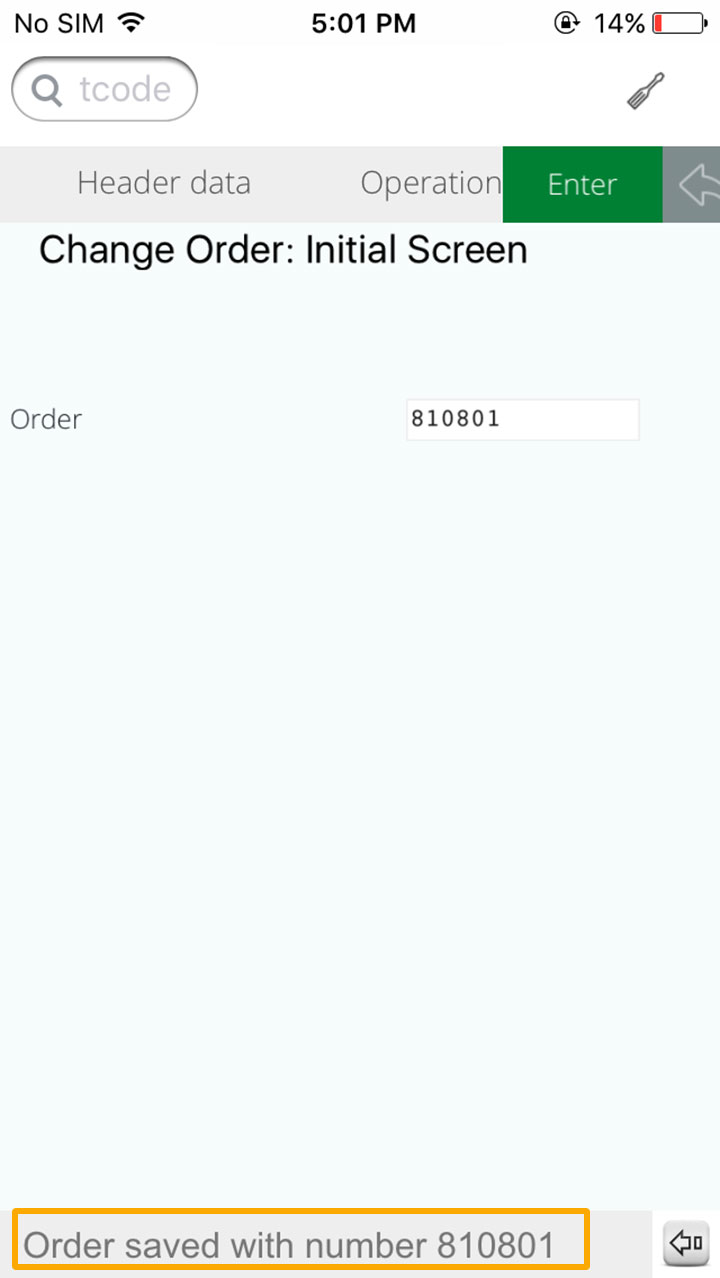
Then a window pop-up with a message confirming the save of that particular order number.
2. Drag and drop files by clicking on the empty field
Drag and drop files by clicking on the empty field.
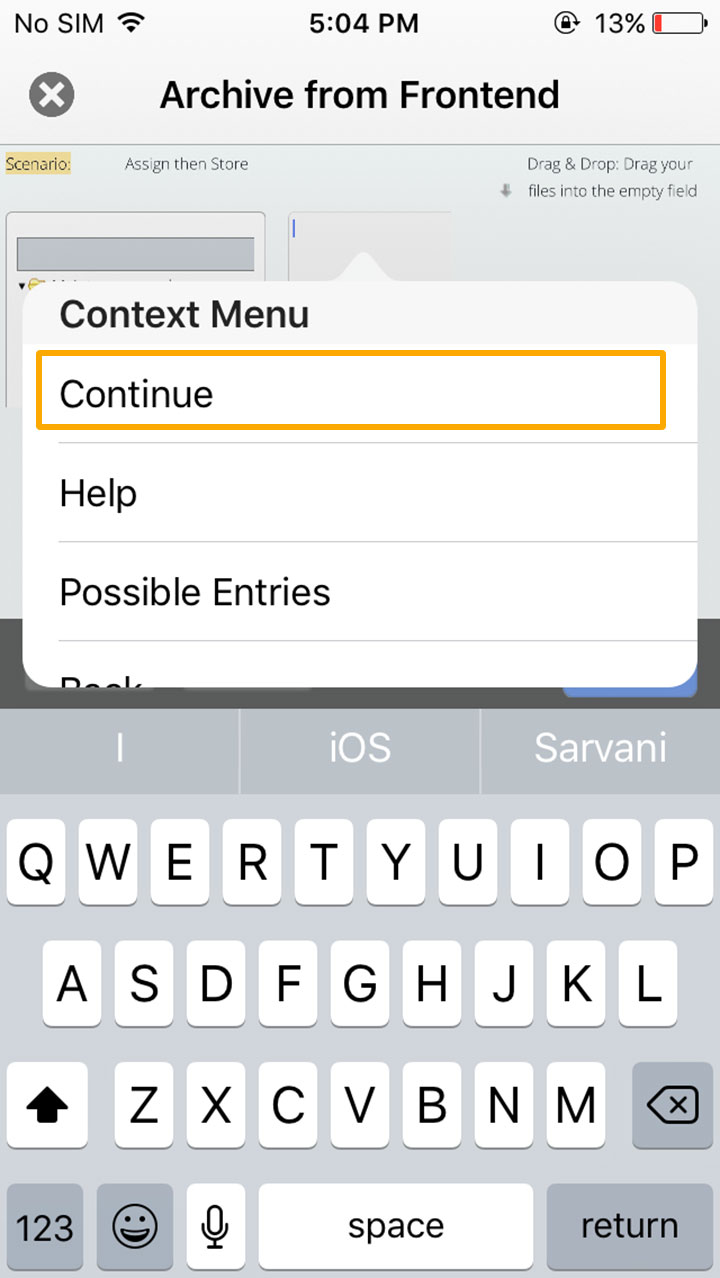
Click Continue to add the information from the HeaderData.
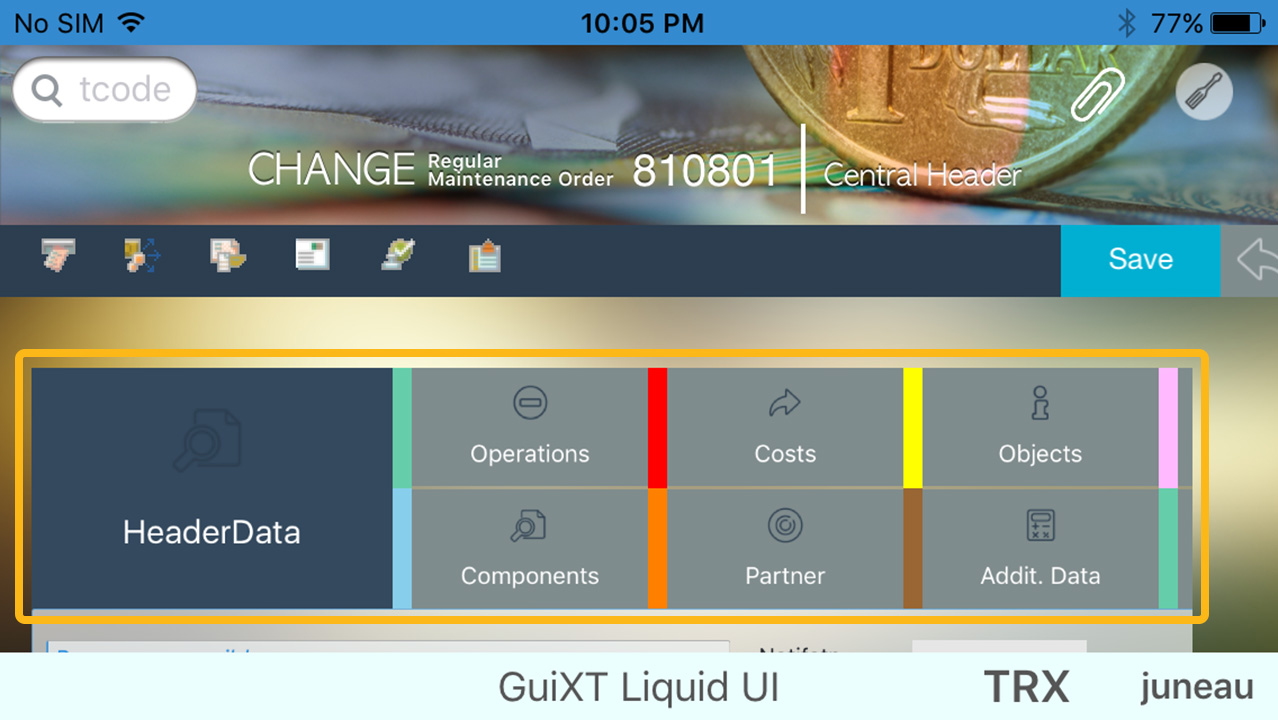
Click on any tab from the HeaderData to add the data to the transaction.
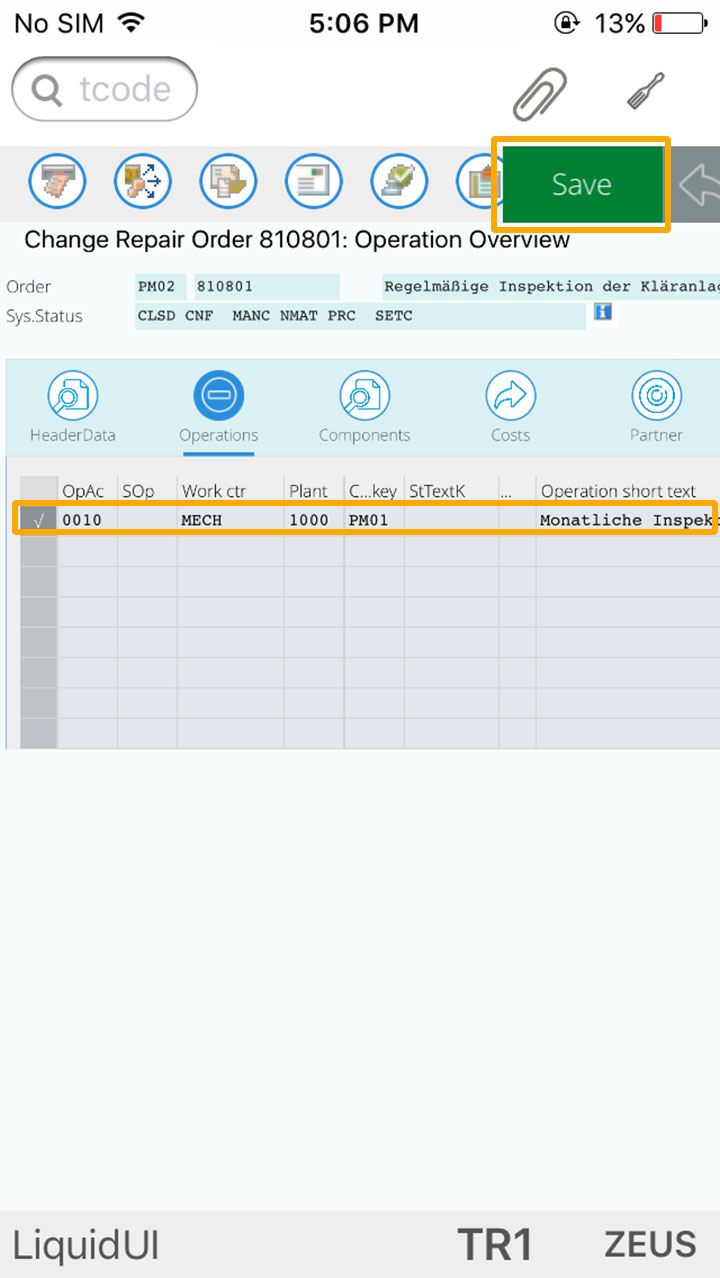
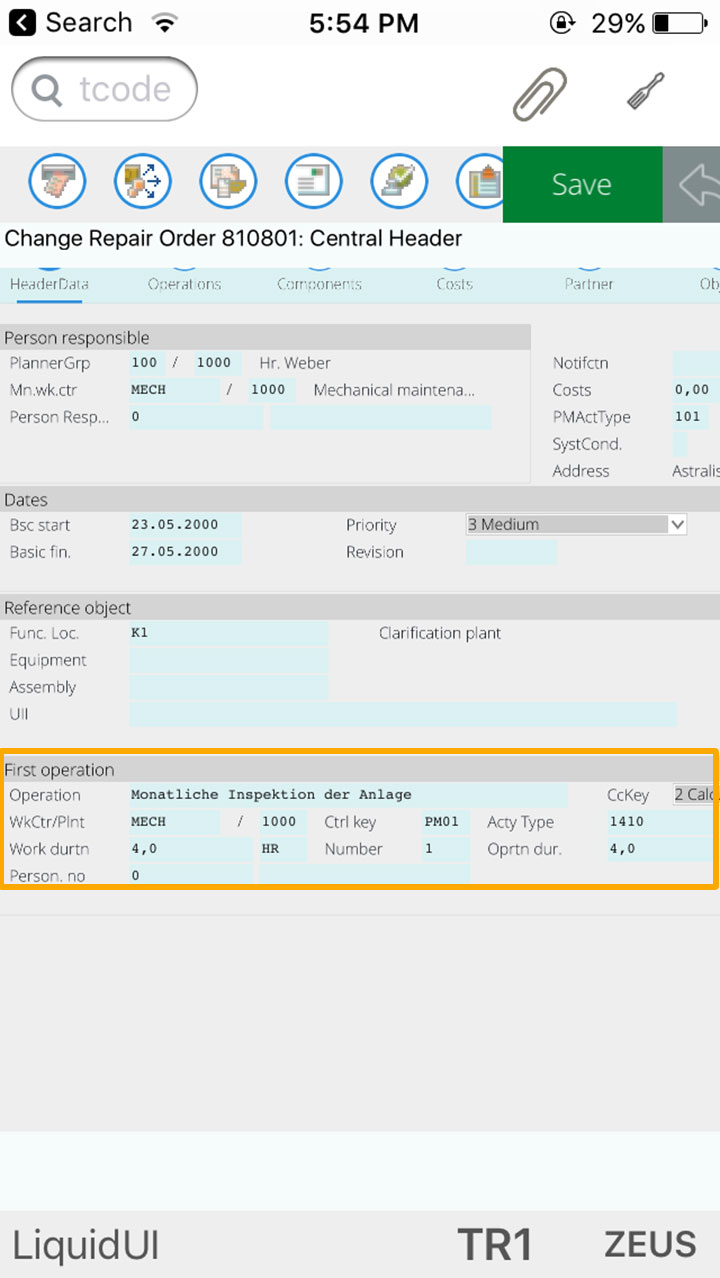
In the above screen, we have selected Operations tab and the data corresponding to that particular tab is displayed. Select any operation from the list and click Save. The new data will get appended to the transaction like below:
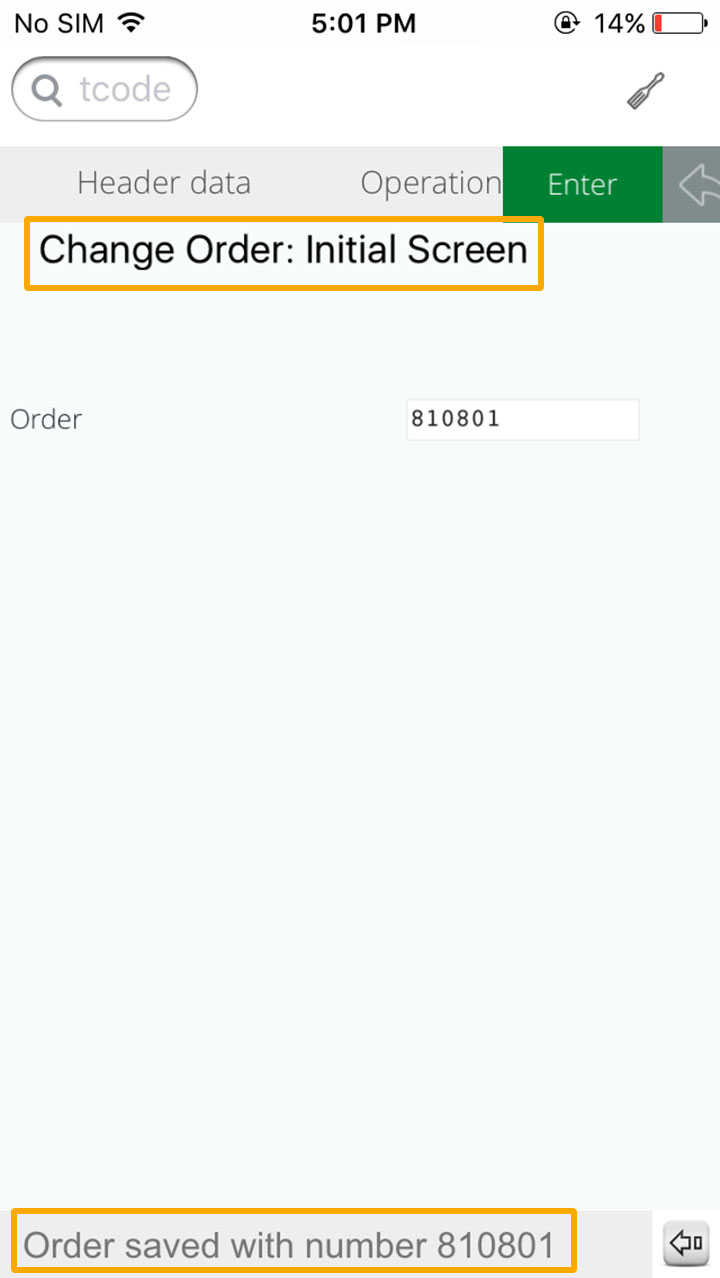
Click Save. The transaction will move back to the initial screen and popup a system message as following:
Attachment list
Click Attachment list to select the file from the list of attachments and press continue to add the file to the transaction.
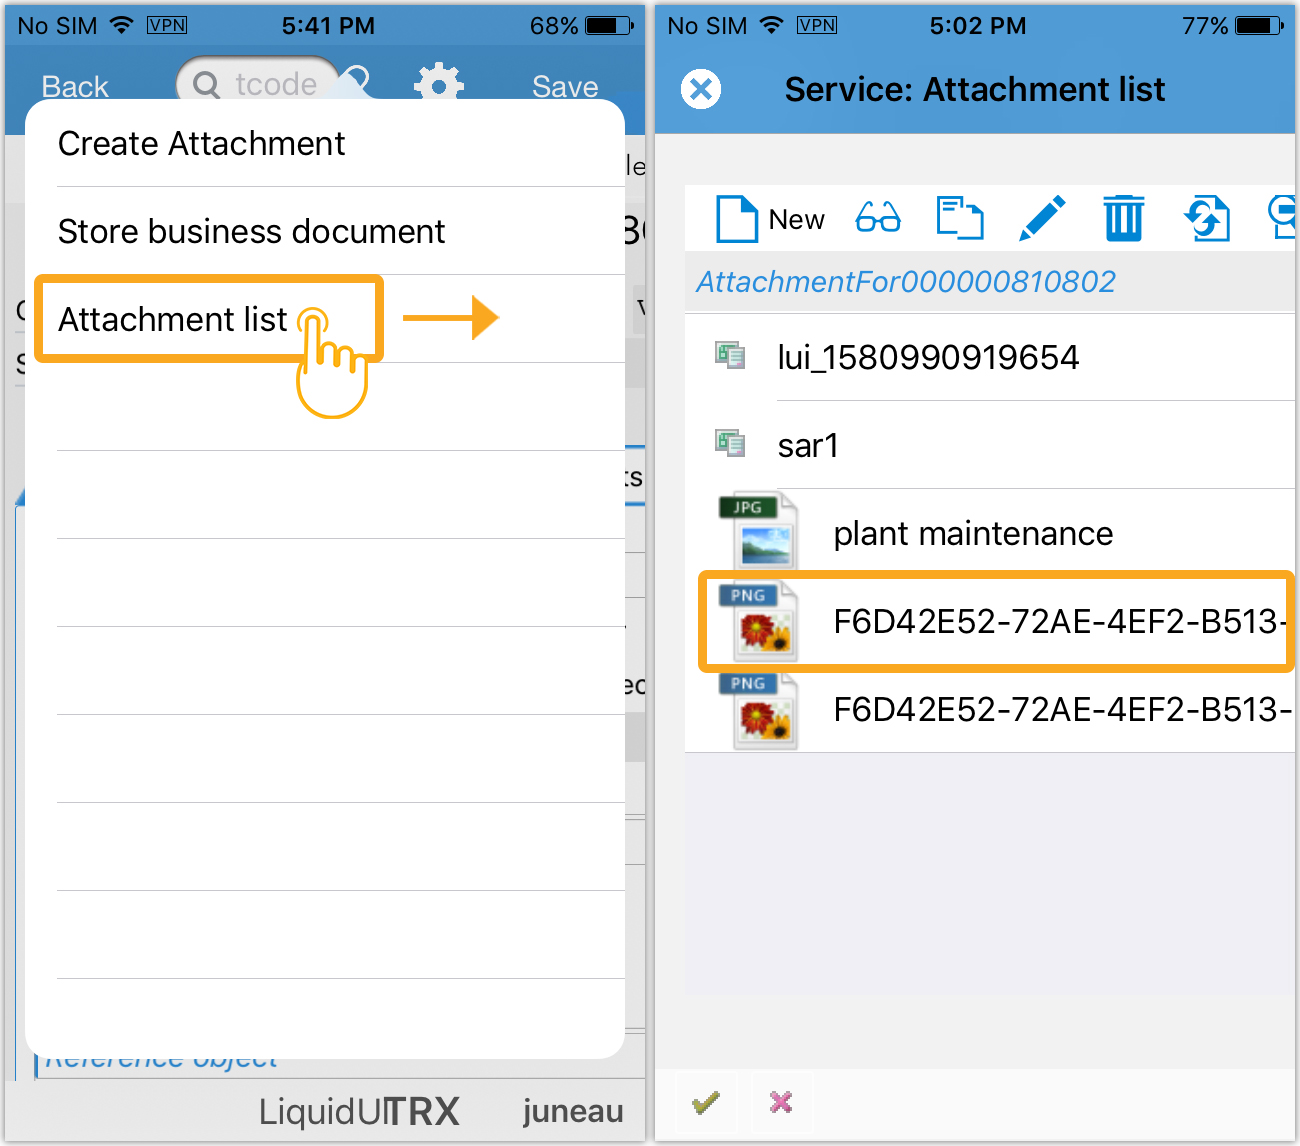
The Service: Attachment list consists of the file which have been already uploaded to the transaction.
In case of an empty list, it will prompt a message like below when clicked on Attachment list.
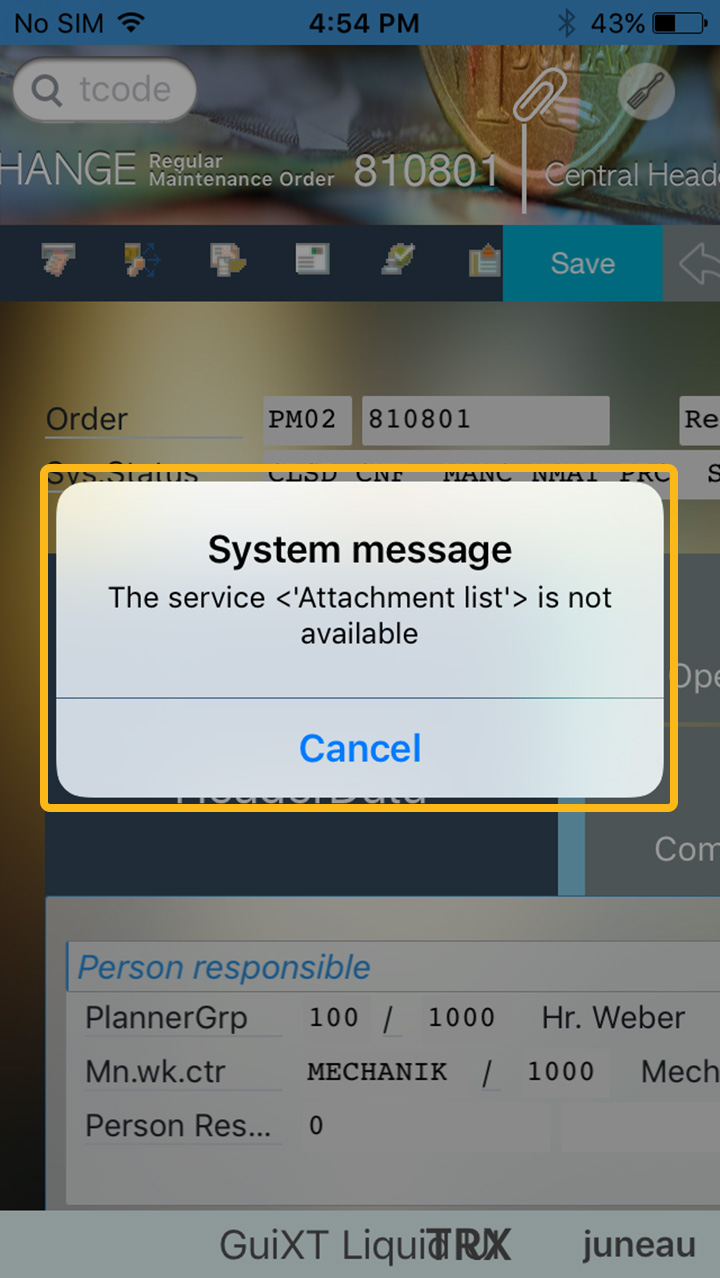
To avoid such system messages, make sure to upload the file through Create attachment option, and then attach the file from Attachment list.


