There are two application layers maintained within the Offline client application. The layers are tied to an Offline transaction. These layers are as follows:
- Database Layer
- Screen Layer
Database Layer
The metadata layer serves to contain the database and the attributes for the data tables. Before users can create any transactions, it is necessary to create a database as we explained in the Creating a Database section. It is necessary to use the transaction object to create a new database. This object will be more fully covered in the SR3TransactionObject section. In the following example, we will use this syntax to create a new database named 'objMM01Tran':
objiw2x.addDatabaseTable([
{fieldname:"g_iw2x_no_off_stat",index:1,columntitle:"Status",columnwidth:6,fieldlength:1,fieldtype:DBF_STRING,keytype:DBT_NON_PRIMARY_KEY,columntype:CTRL_TABLE_STATIC},
{fieldname:"g_iw2x_ref_date",columntitle:"Reference Date",columnwidth:14,fieldlength:10,fieldtype:DBF_STRING,keytype:DBT_NON_PRIMARY_KEY,columntype:CTRL_TABLE_STATIC}
]);
This is the code to create a data table at runtime. The database table that gets created will be called 'iw2x'.
Screen Layer
Any screen controls necessary will be created in this layer. However, it is first necessary to create a new transaction before a user can add any screen controls. To create a new transaction in Offline, please do the following:
- Create a new file using the .js extension in the Offline folder where the SynR3 file is stored.
- Open the file in Notepad or a similar text editor.
- Create a new transaction object by adding the following lines of code:
var = new SR3TransactionObject(“transaction-name”);
Note that we are using the 'new' operator and the Reebok object notation '< >' to create the new Reebok object. An example of a real-world object is as follows:var objMM01Tran = new SR3TransactionObject("mm01"); - To add any necessary elements to the new object, enter the following code into the script file. This contains all the database columns that will be created for the transaction. Database fields into which values are read from the database, and fields from which data is read into the database must be included in this code.
objTransaction.addDatabaseTable([
//this part contains the elements to be added to their various attributes
]);
In the preceding, we used the 'addDatabaseTable' function to include the requisite elements to the object. Please see the following example:objMM01Tran.addDatabaseTable([{fieldname:"g_mm01_material",fieldtype:DBF_STRING,fieldlength:20,keytype:DBT_NON_PRIMARY_KEY,coltype:CTRL_TABLE_EDIT,colstate:CTRL_CS_ENABLE}, {fieldname:"g_mm01_indsec",fieldtype:DBF_STRING,fieldlength:20,keytype:DBT_NON_PRIMARY_KEY,coltype:CTRL_TABLE_EDIT,colstate:CTRL_CS_ENABLE}]); - To add the new elements to the screen in question, type the following code into the script file:
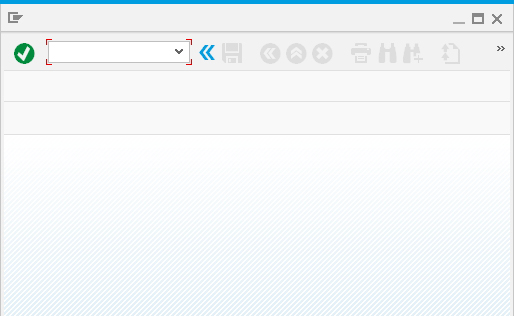
.addScreen([//this part contains the elements to be added on the screen with their various attributes]);In this example, we are using the addScreen function. Please see the following example:objMM01Tran.addScreen( [ {type:SCR_CAPTION,label:[{lang:"EN",text:"Create Material(Initial Screen)"},{lang:"CN",text:"Material Maintenance(Chinese Version)"} ],dynproname:"SAPLMGMM",dynpronum:"0060"}]);The screen should now appear as shown in the following example:


