In this section, we will explain the process of Installing the Liquid UI Server, aka GuiXT Server with the InstallShield Wizard. There are two processes for installation based on the Windows operating system, as follows:
- 64-bit systems
- 32-bit systems (older operating system)

Note: You will need admin privileges to install the software. There is no difference in installing Liquid UI Server on a Host Windows Server or a VM Windows Server.
64-bit Installation
The process to install the Liquid UI Server on a 64-bit system, including on a Host Windows Server or a VM Windows Server is as follows:
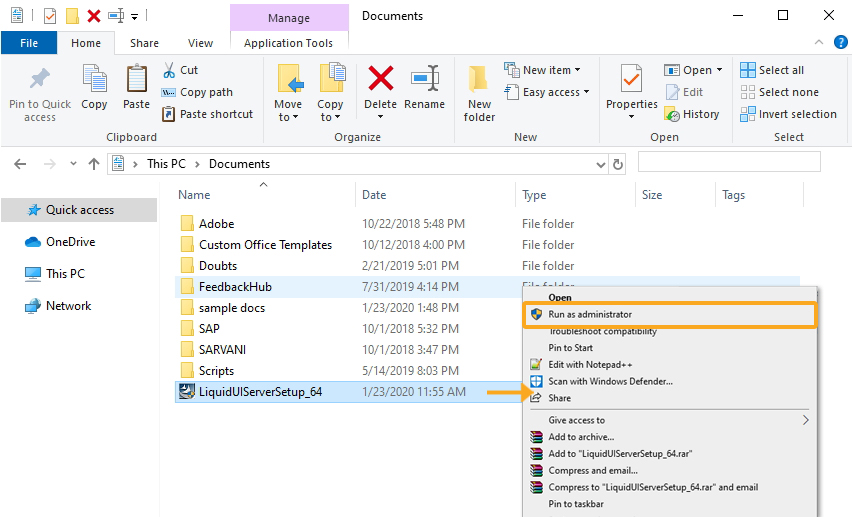
- Download the Installer package from a location specified by a Synactive Support or Sales representative. The install package is named 'LiquidUIServerSetup_64.exe'.
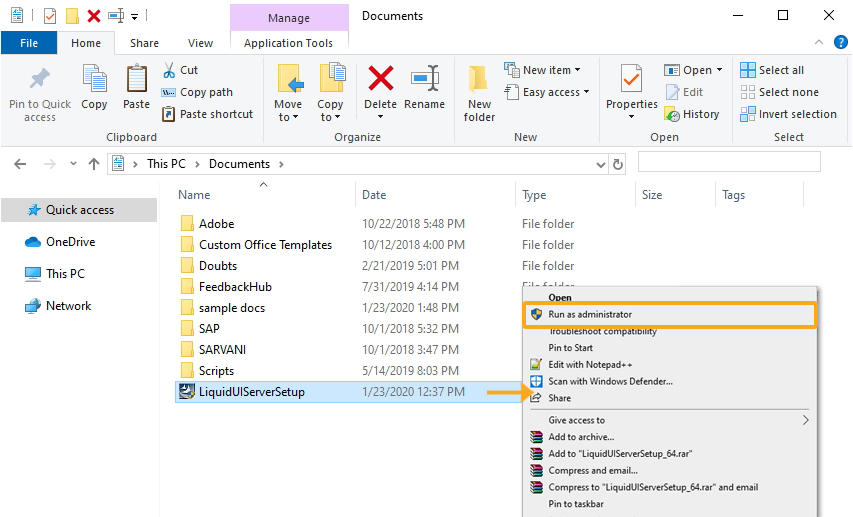
- Right-click on the LiquidUIServerSetup_64.exe package. Select "Run as administrator" to notify that the application is safe and requires admin privileges.
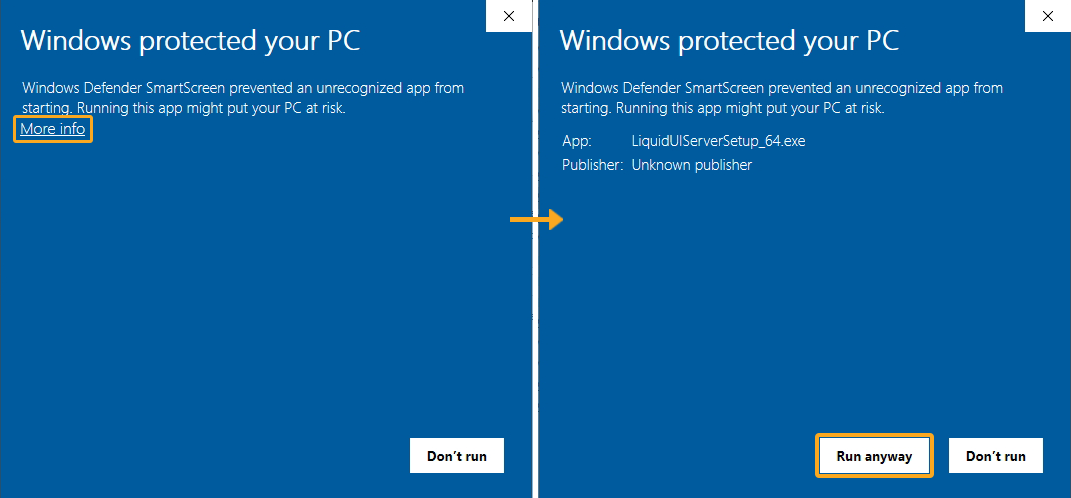
- If you are running the Liquid UI Server for the first time in your system, a SmartScreen message displays, "Windows protected your PC" on the screen. Click the more info link underneath the description. Then, select "Run anyway" to run the application on your system successfully.
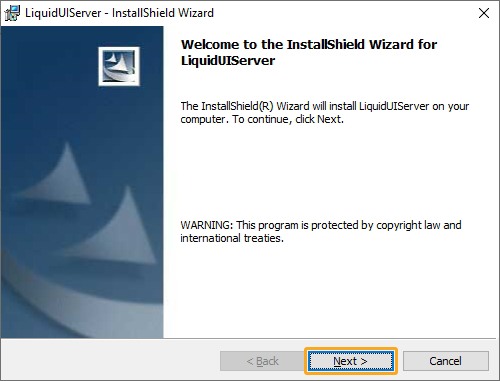
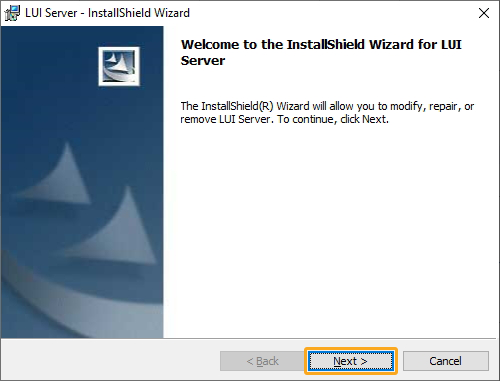
- The InstallShield Wizard will start and the Welcome screen will appear. Click Next.
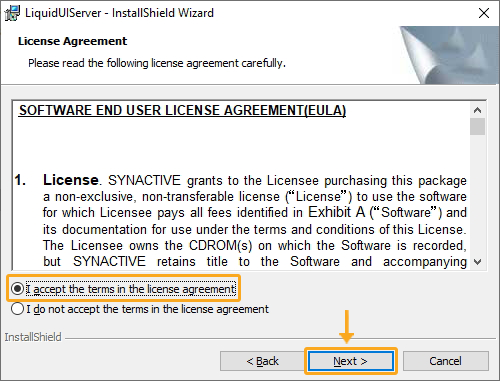
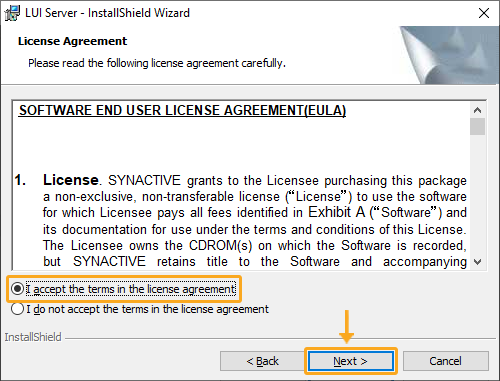
- The End User License Agreement (EULA) screen will appear. Click I accept.. radiobutton and then click Next.
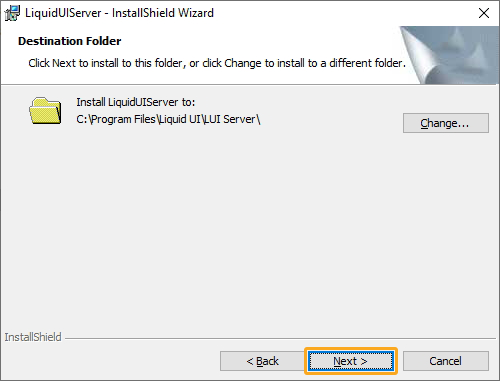
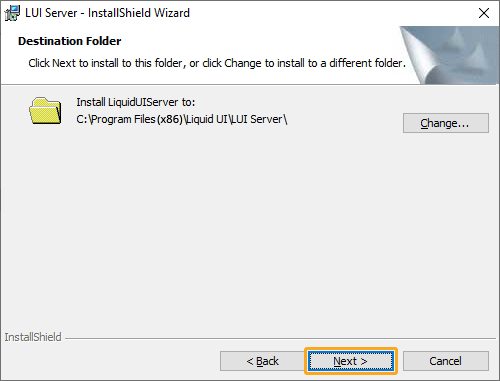
- The Destination Folder screen will appear. Click Next.
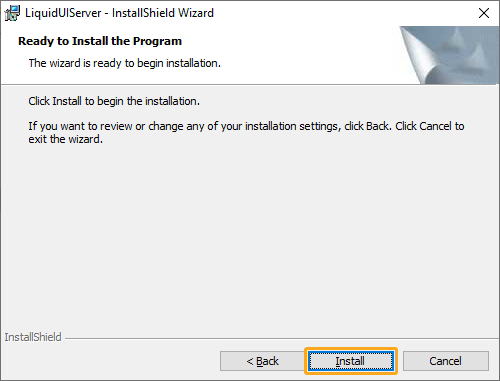
- The Ready To Install screen will appear. Click Install.
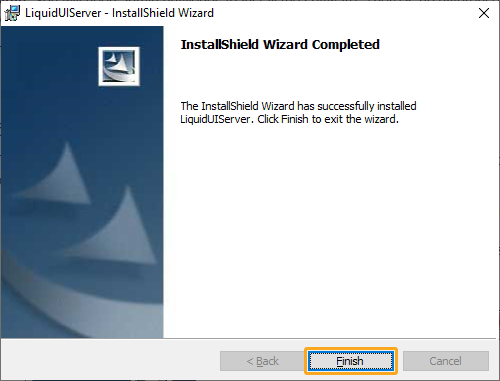
- After installation, click Finish on the install status screen, as shown below.
- The 64-bit Liquid UI Server has now been successfully installed on your target system.
Note: If you are using Liquid UI WS, you may need to do some additional steps, as follows:
- Go to the C:\\Program Files\Liquid UI\LUI Server folder and create a new file named guixt.sjs.
- Consult the Configuration section of this document for directions on how to configure the Liquid UI Server.
32-bit Installation
The process to install the Liquid UI Server on a 32-bit system, including on a Host Windows Server or a VM Windows Server is as follows:
- Download the Installer package from the location specified by a Synactive Support or Sales representative. The install package is named 'LiquidUIServerSetup.exe'.
- Right-click the LiquidUIServerSetup.exe package. Select "Run as administrator" to notify that the application is safe and requires admin privileges.
Note: Make sure that your antivirus software is not blocking Liquid UI files: sapproxy.exe, sapproxy.ini, webscript.dll, and synsll.dll.
- The InstallShield Wizard will start and the Welcome screen will appear. Click Next.
- The End User License Agreement (EULA) screen will appear. Click the I accept.. radiobutton and then click Next.
- The Destination Folder screen will appear. Click Next.
- The Ready To Install screen will appear. Click Install.

- The install status screen will display during the installation. After installation, click Finish on the Finish window as shown below.
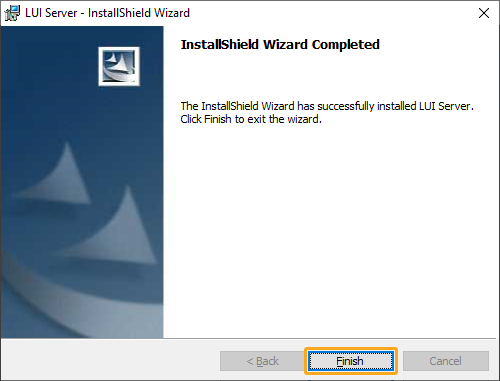
- The 32-bit Liquid UI Server has now been successfully installed on your target system.