Configuring Output device(printer) in SAP:
- Goto the SPAD transaction (Spool Administration screen). Click on the Devices/ servers tab, enter the name of the output device and tap on the display button.
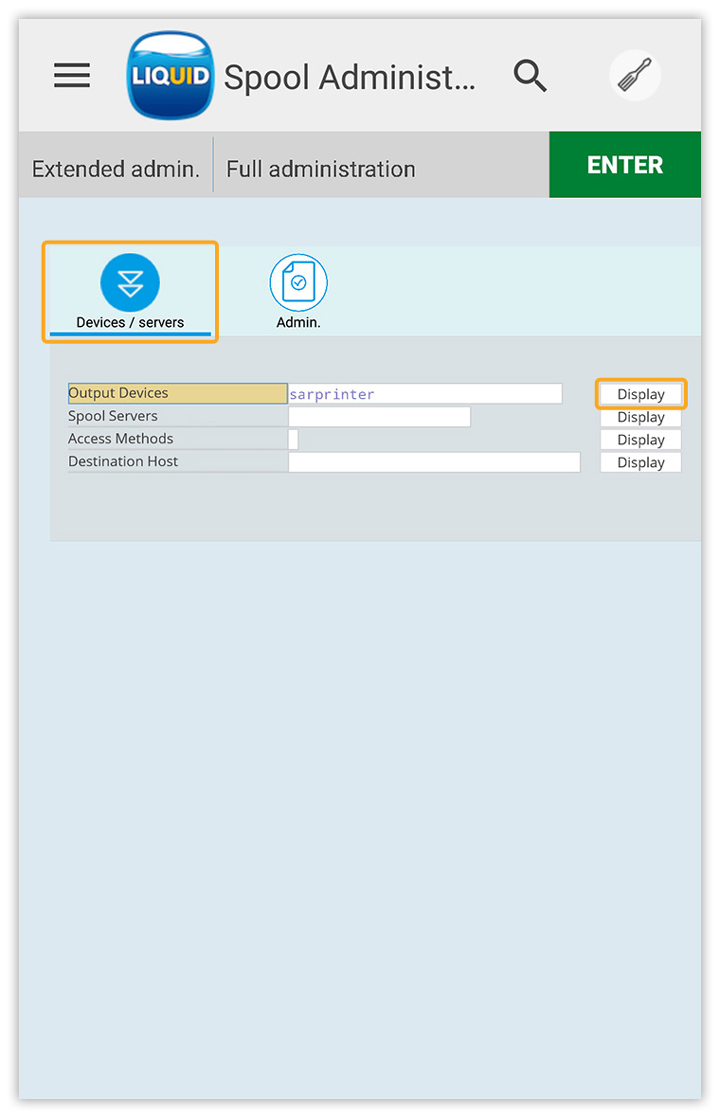
- If the printer is already configured, it will display all the details of device attributes, output device attributes, and tray info. If you enter a new printer name, then you will navigate to the below screen. Then, click on the Change button to view the create option.
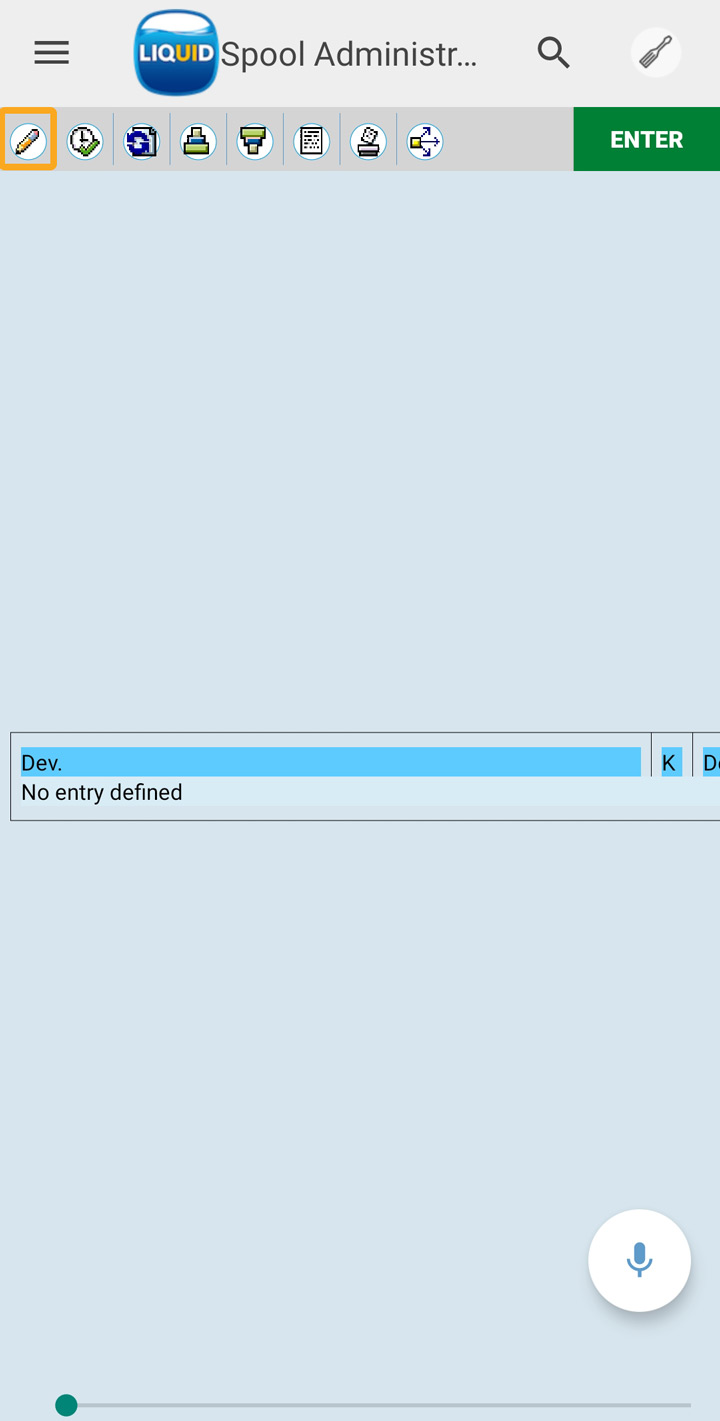
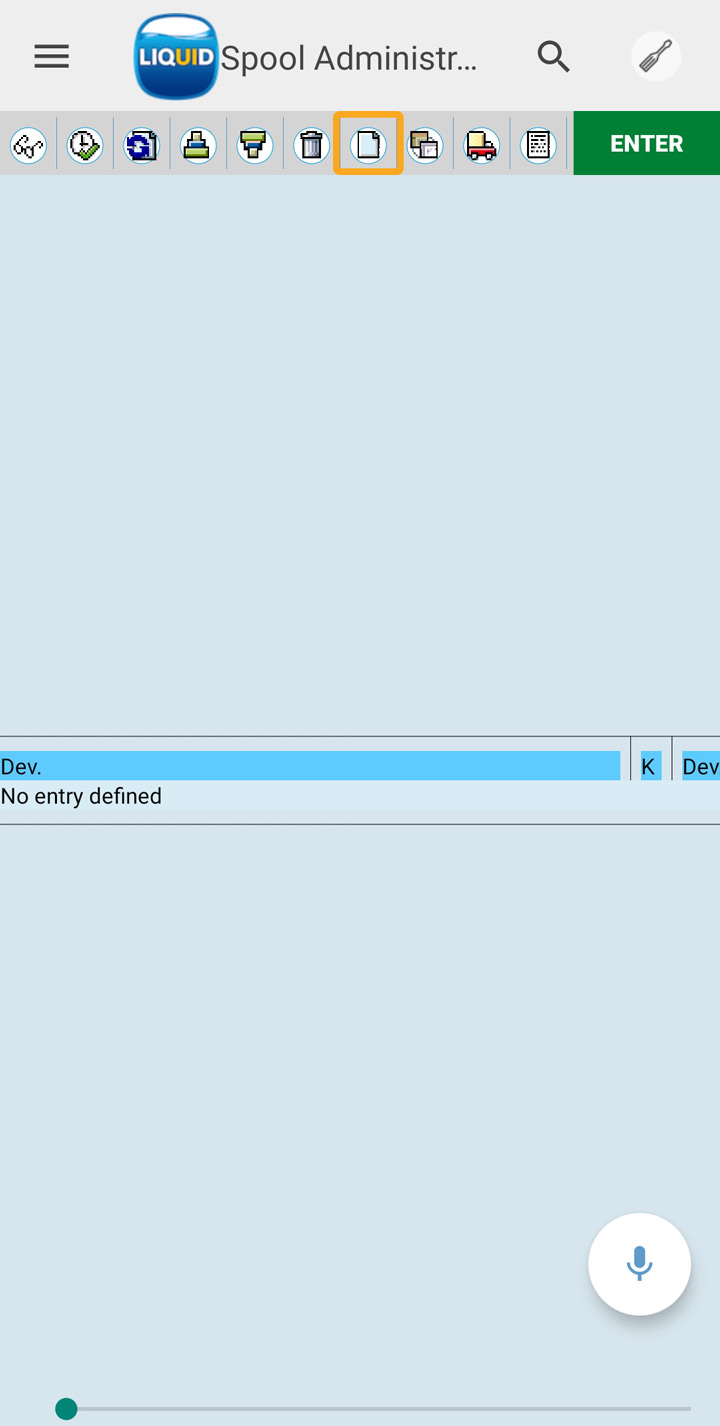
- This will allow the user to see the create option. Click on Create button to create the output device with the required configurations.
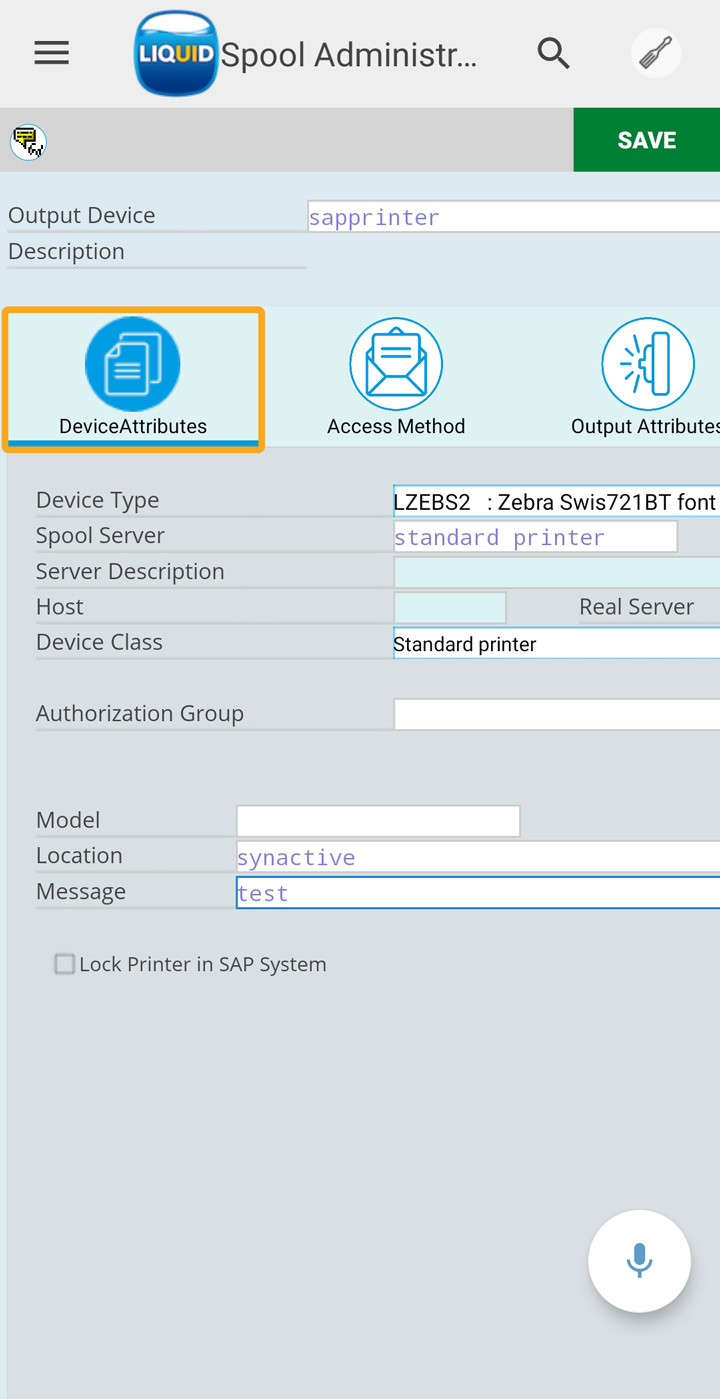
- Select the DeviceAttributes button and enter the following details.
Device Type: Select the device type that is compatible with your printer.
Device Class: Select the device class it belongs to. A Standard printer is a default.
Location: Enter your location name
Message: Enter the purpose of the printer.
Authentication group and Model are optional fields.
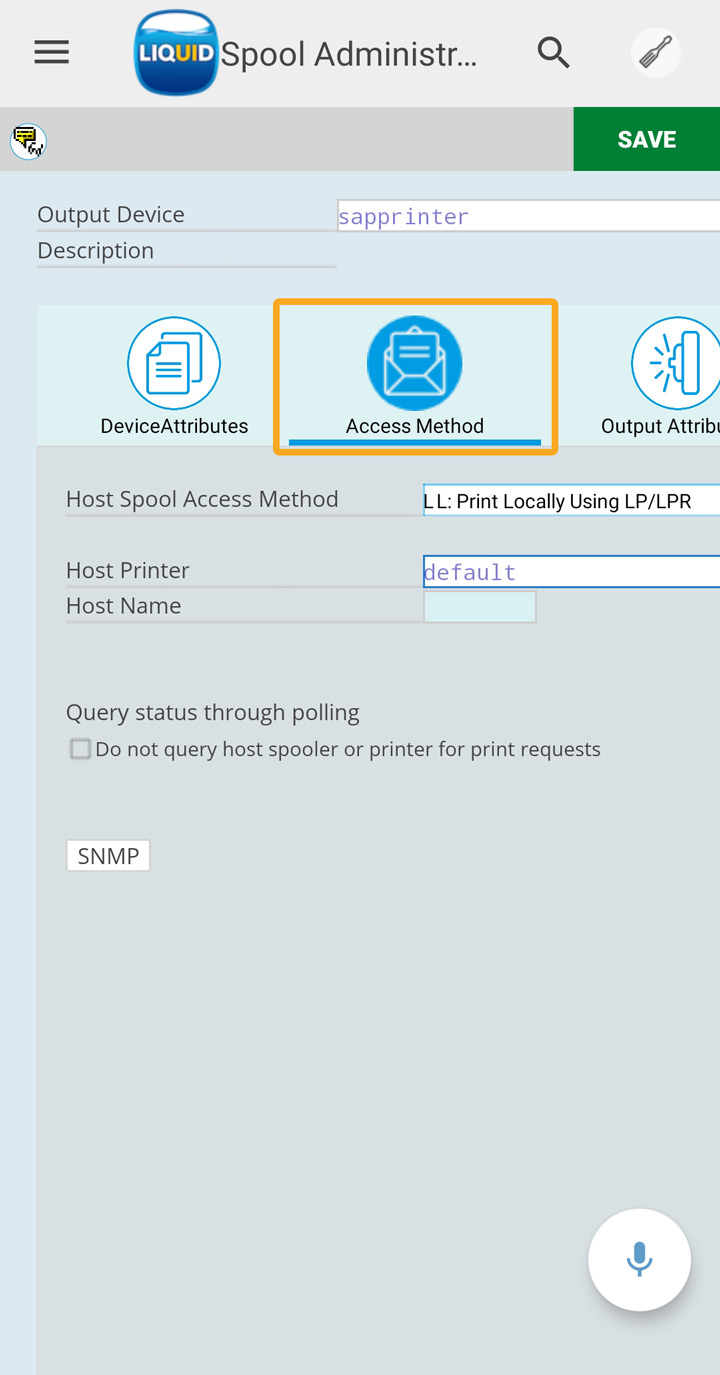
- Select the Access Method tab and enter the following details:
Host Spool Access Method: Select F: Printing on Front End Computer as default
Host Printer: _default
No Device Selection at Frontend: Check or uncheck this field as per requirement.
- Click on the Output Attributes tab and enter the following details:
SAP cover page – Check
SAP cover page language – EN
Process requests sequentially – Check
Copy Counter – Pass Copy Counter to Host Spool
Print mode – DEFAULT: Printer default setting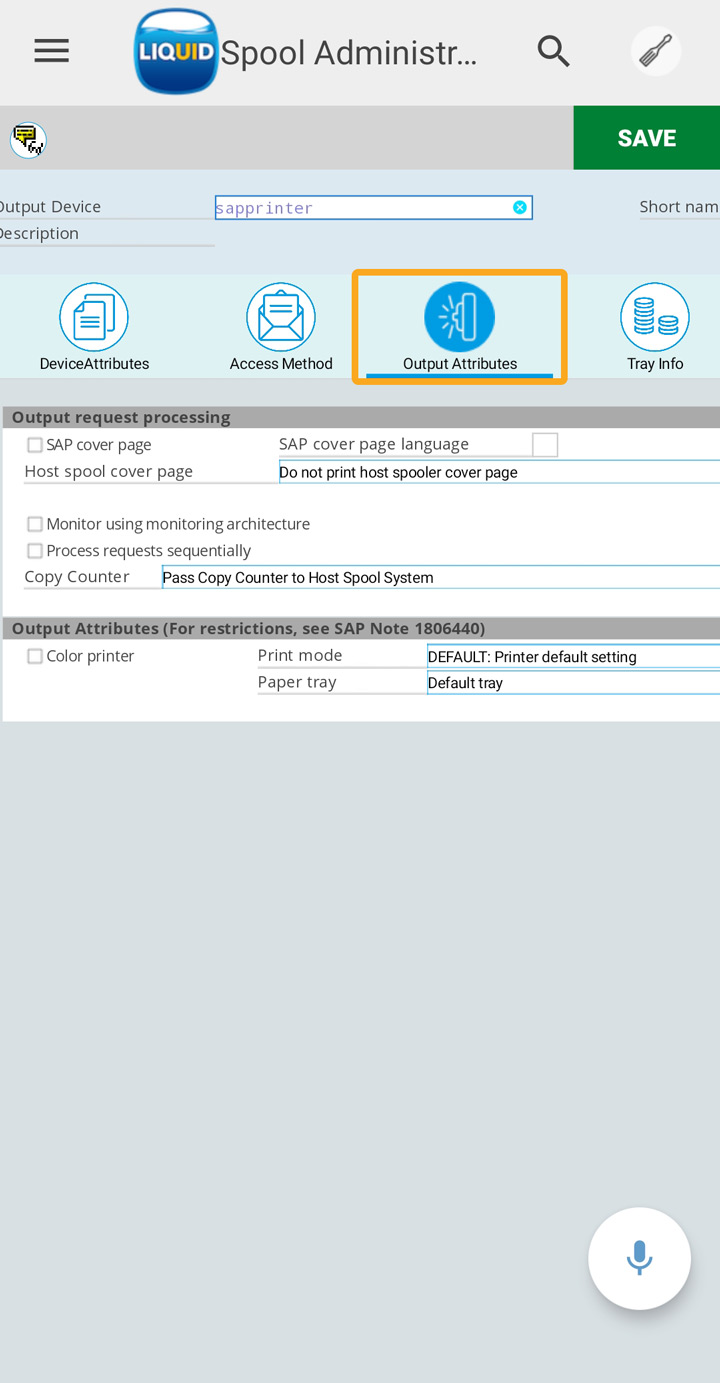
- Click on the Tray info tab to select the page format for printing.
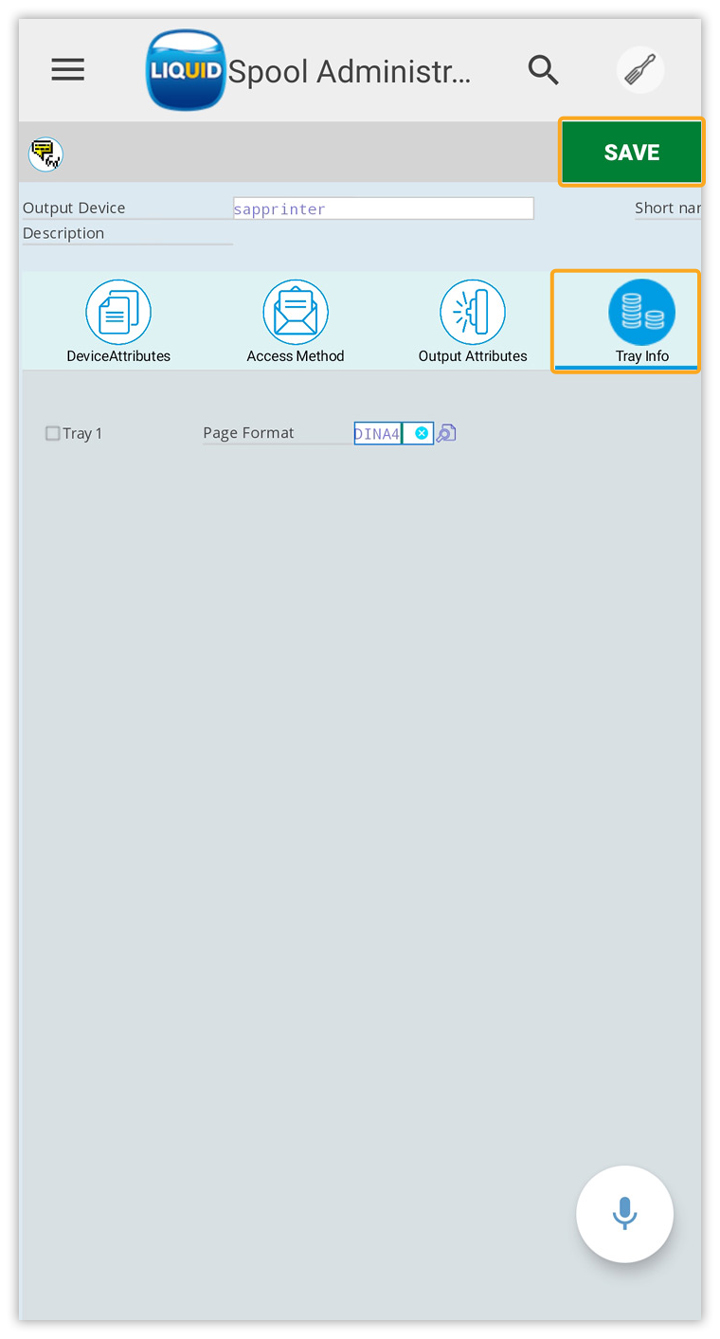
- After entering all the details, click the Save button which is located on the top right corner of the transaction to save settings.
Setting the output device to the user
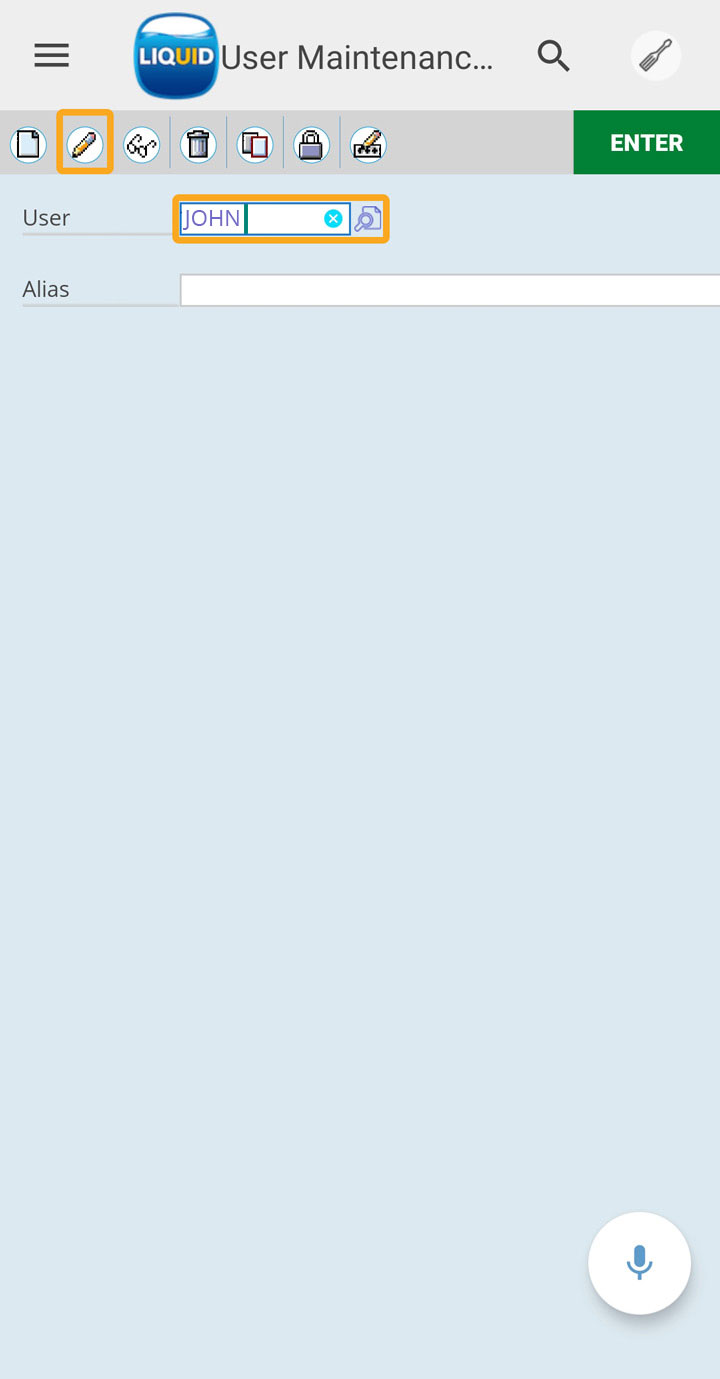
- Navigate to the SU01 transaction and enter the username in the User field. Click on the Change button.
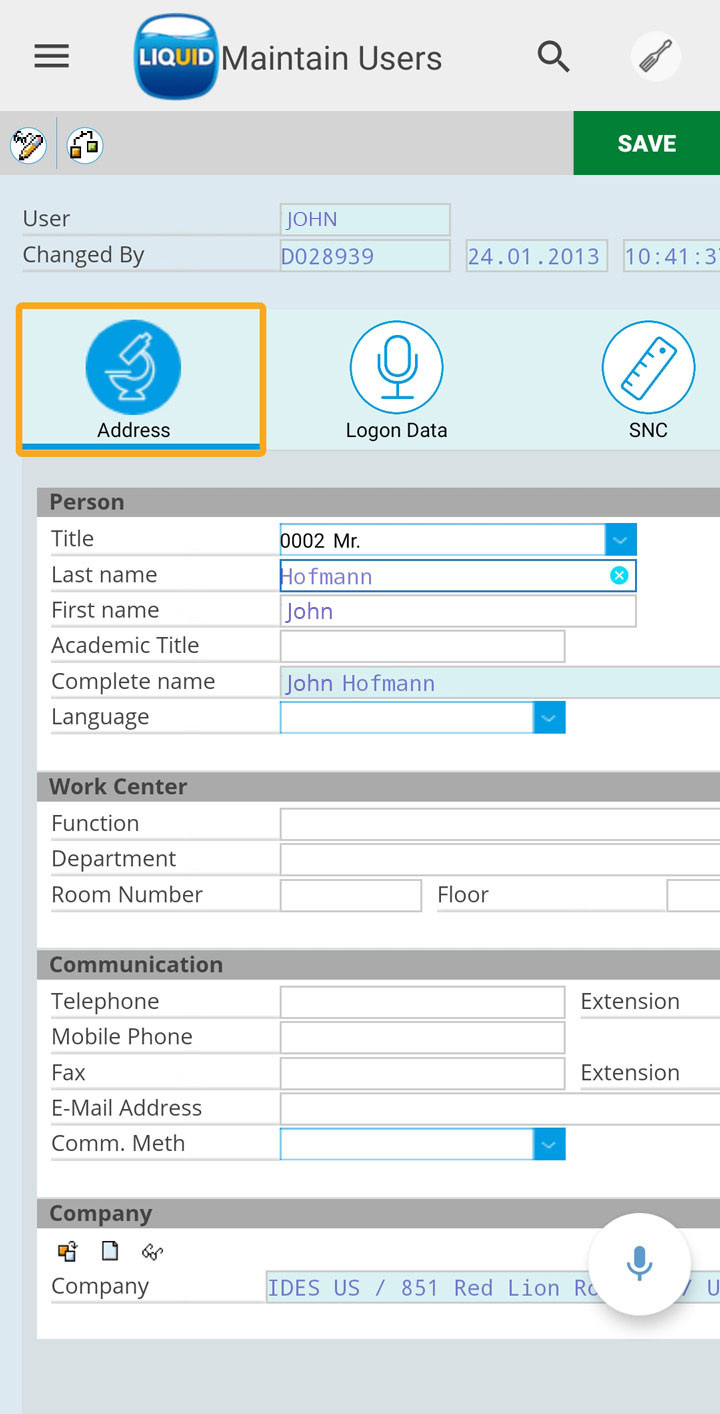
- You will be navigated to Maintain User page. This page will display the complete user data.
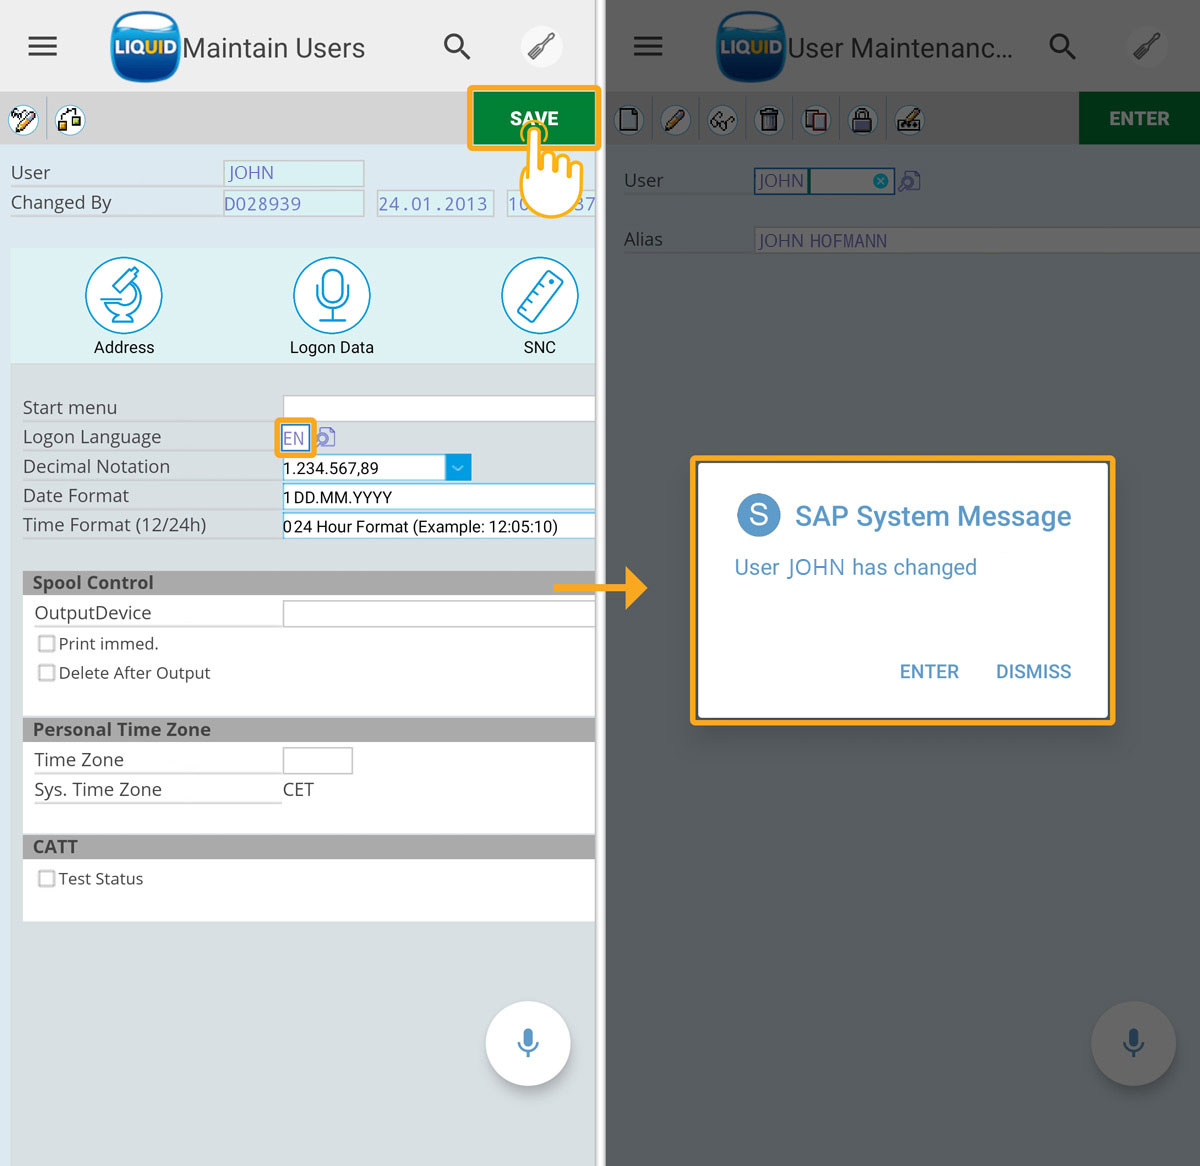
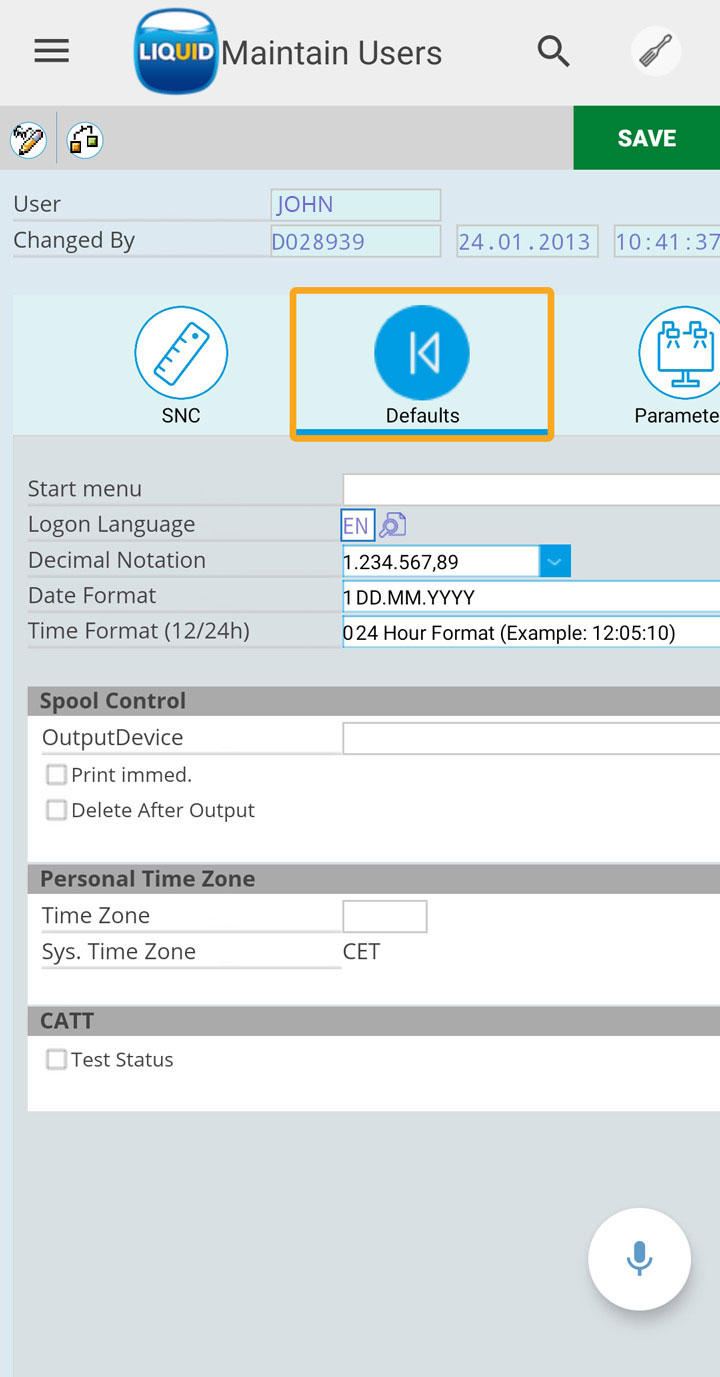
- Click on the Defaults tab and enter the name of the output device which is created in the SPAD transaction. Click on the Save button to save the user data.
- Click on the Save button to save the user data and display the success message as "User John has changed", as shown below.