Purpose
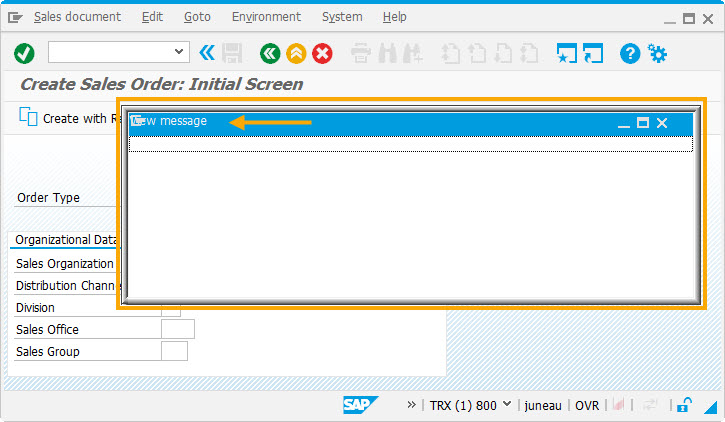
With statusmessage(), you can display the messages related to the status of the SAP process while executing the WS script. Generally executing this command in a function displays the following types of messages on the listbox.
- Display a status message listbox
- Display custom messages
- Display system messages
- Display IDs for system messages
All messages appear in an onscreen message box.
Syntax
statusmessage({"title":"Title","size":[rows,cols],"position":[startRow,startCol]});
Available Options
You can use the following options with the statusmessage:
|
{"addstring":variable_name} or {"addstring":"string"} - Adds a custom message within the dialog box (listbox). |
|
|
{"position":[startRow,startCol]} - Specifies the onscreen position of the messagebox. |
|
|
{"remove":true} - Removes the listbox from the screen. |
|
|
{"size":[rows,cols]} - Specifies the size of the onscreen listbox in rows and columns. |
|
|
{"title":variable_name} or {"title":"title_string"} - Creates the title to the onscreen listbox. |
Options Detail
Example
The following scenarios show the statusmessage() command usage:
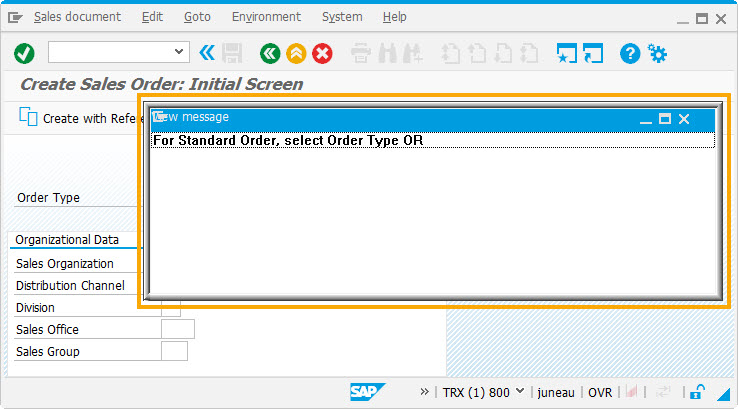
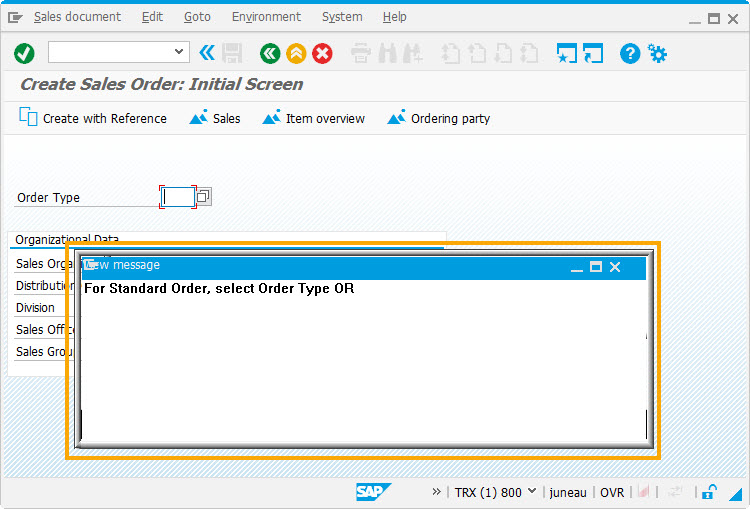
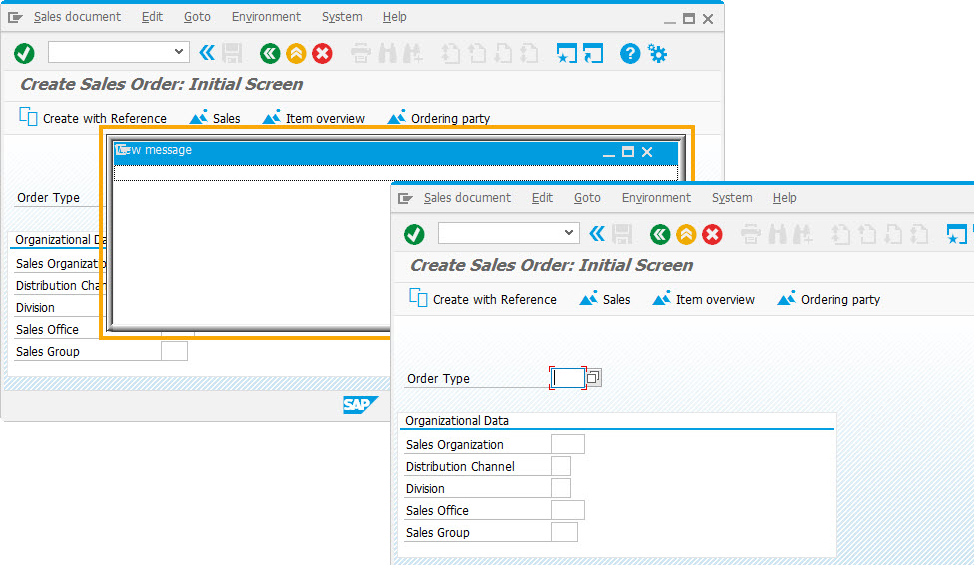
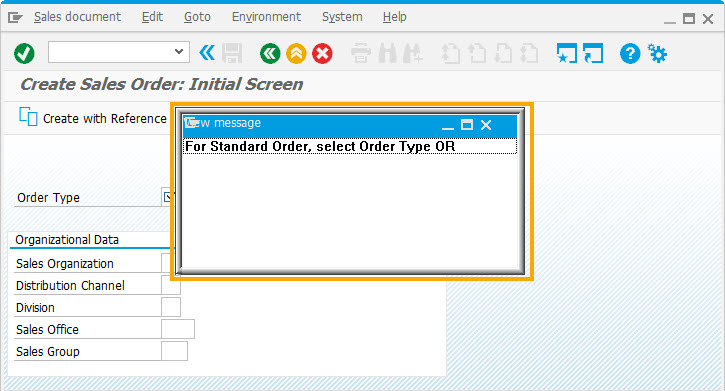
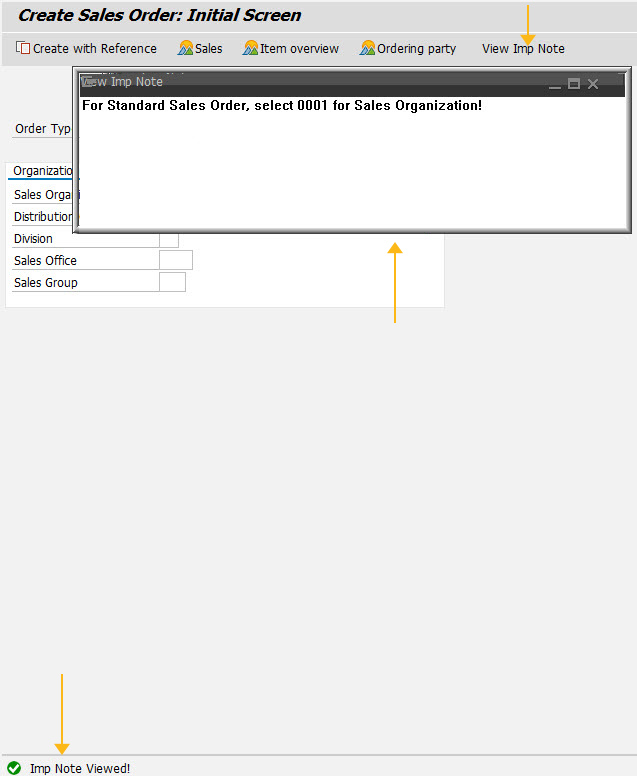
Create a script file for the SAP Sales Order - VA01 screen (sapmv45ae0101.sjs).
The message window appears, on clicking the pushbutton 'View Imp Note', as shown in the following figure:
Script
var z_title = "View Imp Note";
var z_strng = "For Standard Sales Order, select 0001 for Sales Organization!";
pushbutton([TOOLBAR],"View Imp Note", {"process":z_statmsg});
function z_statmsg() {
 //statusmessage({"remove":true});
 statusmessage({"title":z_title,"size":[8,80],"position":[5,10],"addstring":z_strng});
 message("S: Imp Note Viewed!");
   }


