After you have created the folders and roles, you must create iViews. An iView is defined as a small program or application that processes user requests by retrieving data from content sources in the company’s business environment or from the Web. To create an iView in NetWeaver, please do the following.
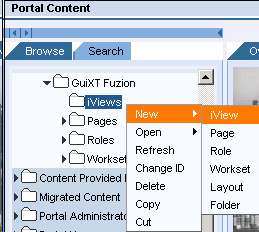
- Right-click on the 'iViews' folder you just created and select New > iView from the dropdown menu as shown below.
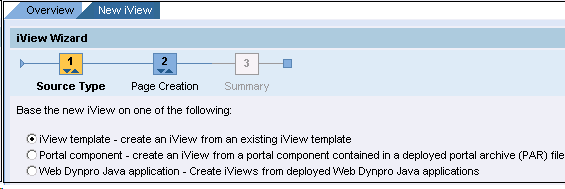
- The iView Wizard will start. Select the Portal Component radio button and then click Next as shown below.
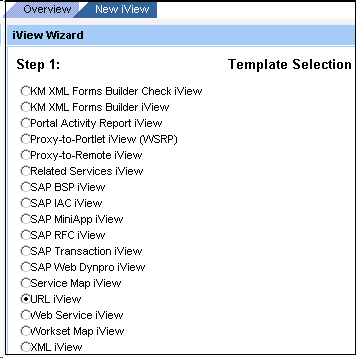
- Template Selection wizard will display. Select the URL iView radiobutton and then click Next:
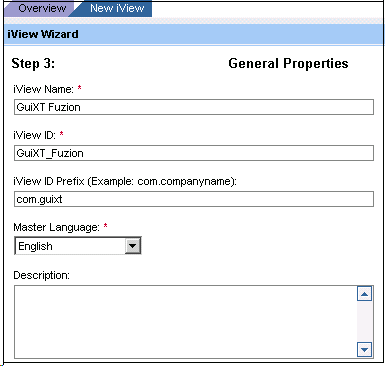
- 5. In the General Properties window, enter the following information as shown below. Then click Next:
- iView Name
- iView ID
- iView ID Prefix
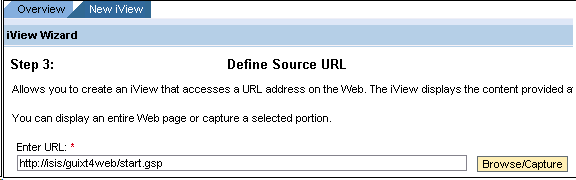
- In the Define Source URL wizard, enter a URL in the format of: http://<serverName>/guixt4web/start.gsp. Replace the <serverName> with the name or IP address of your server. Then click Next.
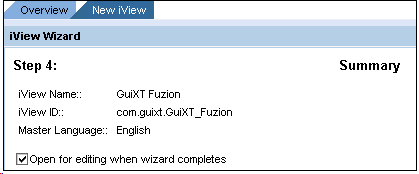
- A summary of the new iView will display. Click Finish.
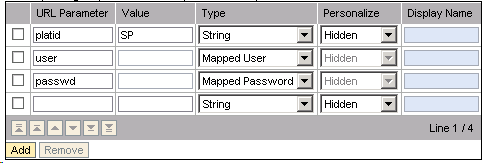
- The URL iView Editor window displays as shown below. Enter the URL Parameters and their corresponding values exactly as shown below. When you are finished, click Save.

- Enter the following URL parameters and their corresponding values exactly as shown below.
- platid
- user
- password
- Choose the Save button. The confirmation screen for the new role will display as shown below.
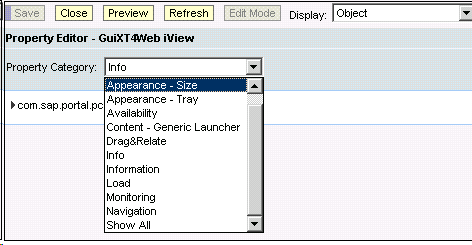
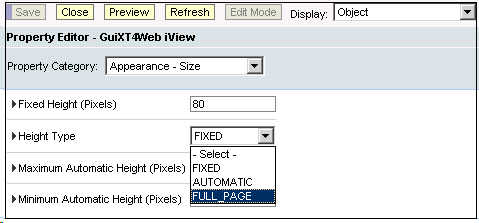
- In the Height Typedropdown, select 'FULL_PAGE' as shown below.
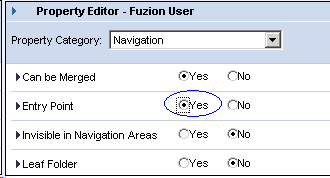
- In the Property Editor dropdown menu, select 'Navigation' and then scroll down to 'Entry Point' and select the 'Yes' radiobutton. Then click Save.
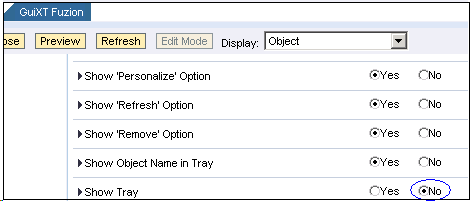
- In the Property Control dropdown menu, select 'Object'. Scroll down to 'Show Tray' and select the 'No' radiobutton as shown below. Then click Save.