Once a group is created, you will need to add users to the group. To add users, please do the following.
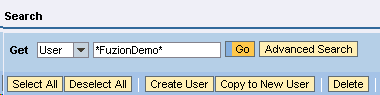
- Choose 'User' from the Get drop-down menu. Then enter the name of the user to be added and click Go as shown below.
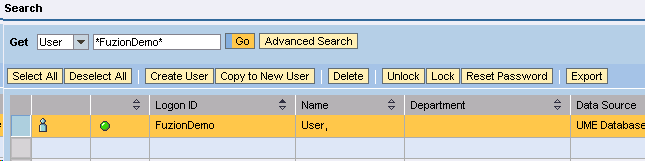
- A list of matching users will display as shown below. Check the corresponding user and click the Modify button.
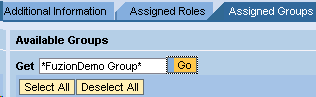
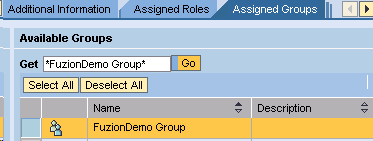
- Choose the Assigned Groups tab and enter the ID of the group to which the user will be added in the 'Available Groups' area as shown in the following example:
- Check the checkbox of that role to be added as shown below, and then click Add. Click Save to save your changes.
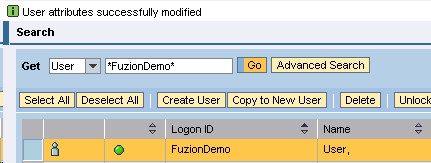
- The following confirmation screen will display, with the message 'User attributes successfully modified'. The role has now been successfully added to the user account. Proceed to the Single Sign-On section below.