In this section, we will explain how to install Liquid UI Workbench using the InstallShield Wizard, a user interface that enables users to install, modify and remove the Liquid UI Workbench through a series of steps.
Now, let’s look into the process to install Liquid UI Workbench using the Installation Wizard. The process is the same for both 64-bit and 32-bit systems, as explained below.
Installing Workbench
To install Workbench, please do the following.
64-bit Installation
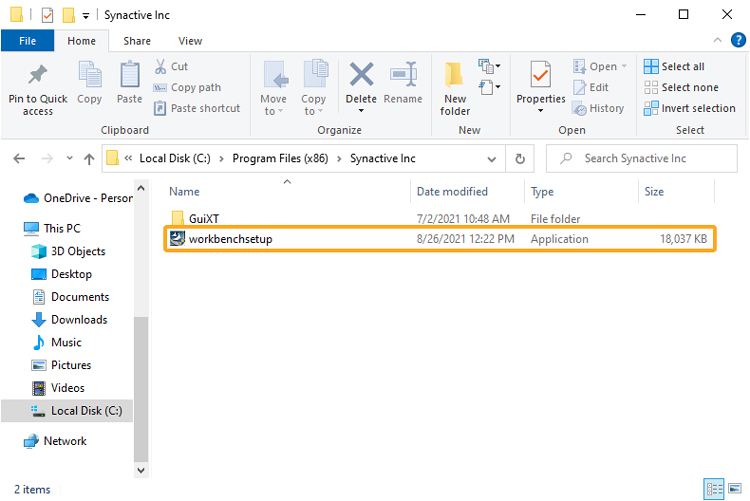
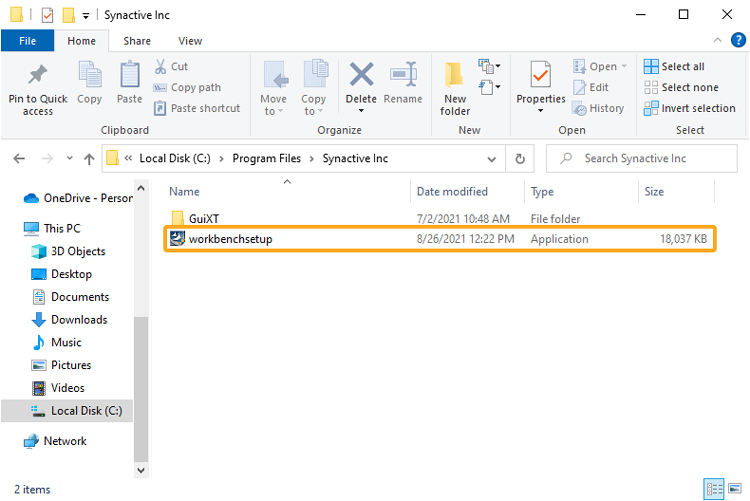
- Download the Installer package from a location specified by the Synactive Support or Sales representative. The install package is named WorkbenchSetup.exe. Please note that the Workbench Installer must be run from a local machine - it may not function correctly if run from a server.
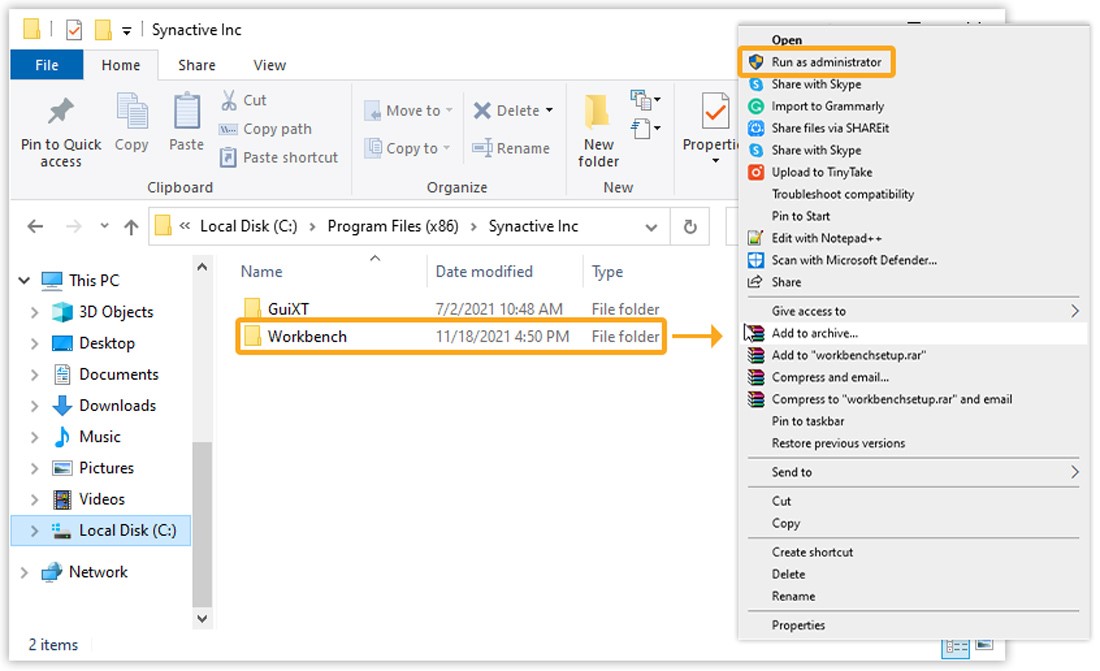
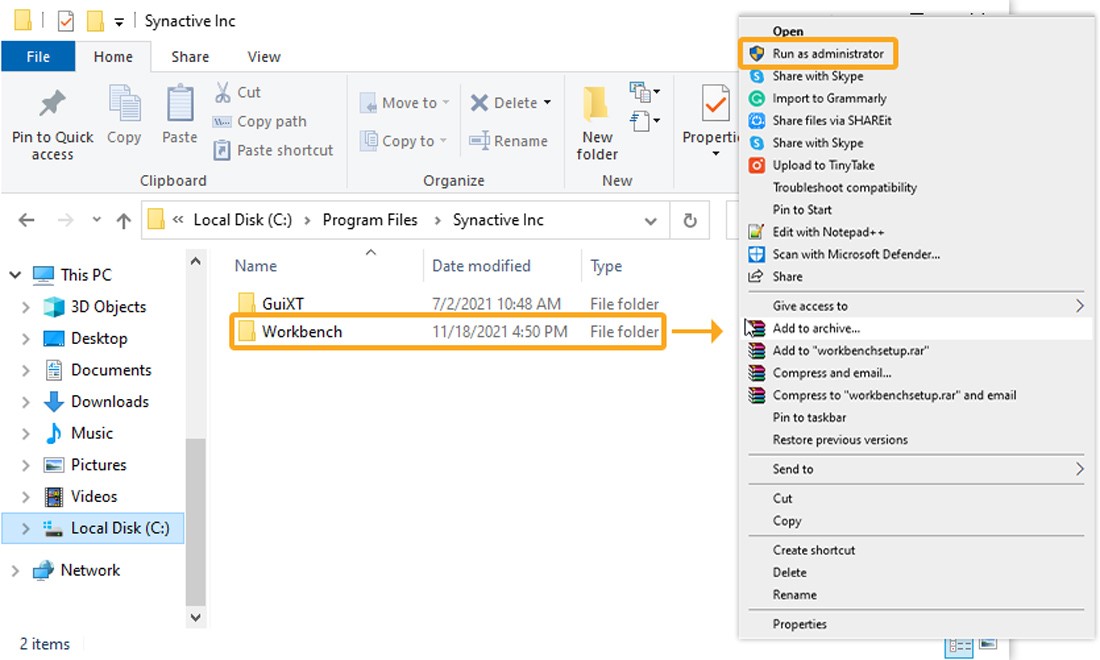
- Right-click on the Liquid UI Workbench software file (WorkbenchSetup.exe). Select Run as administrator to make sure that the software is installed with the correct privileges.
 Note: Make sure that your antivirus software is not blocking Liquid UI files: Workbench.exe, webscript.dll, wsoffice.dll, wslibxl.dll, wspodofo.dll, and SynSerialManager.exe. You need to have admin privileges to install the software.
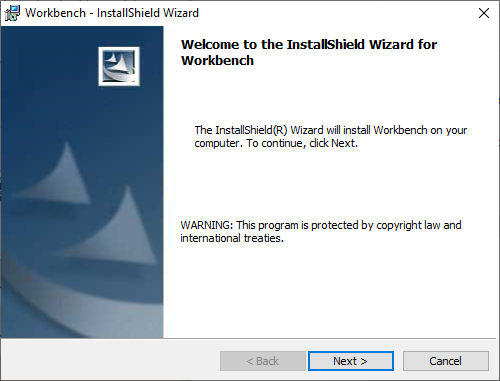
 - The InstallShield Wizard will start and the Welcome screen will appear. Click Next.
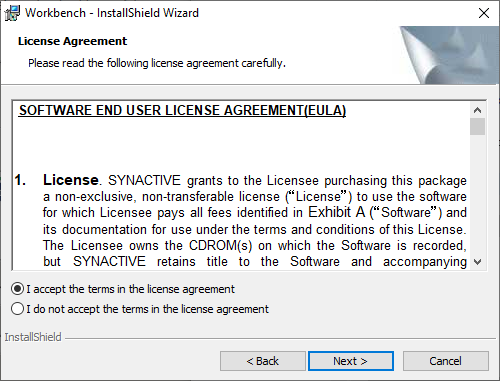
- The End User License Agreement (EULA) window will display. Check the 'I accept..the license agreement' radio button, and then click Next.
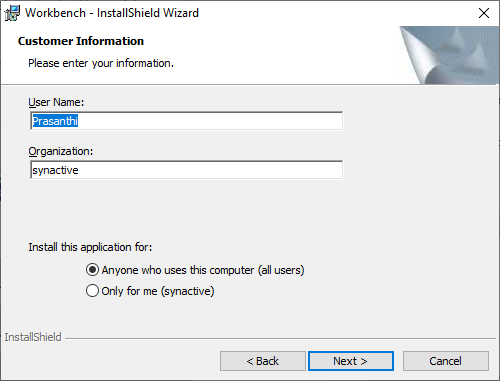
- The Customer Information window will appear, as in the following image. Enter your user and company name, and then click Next.
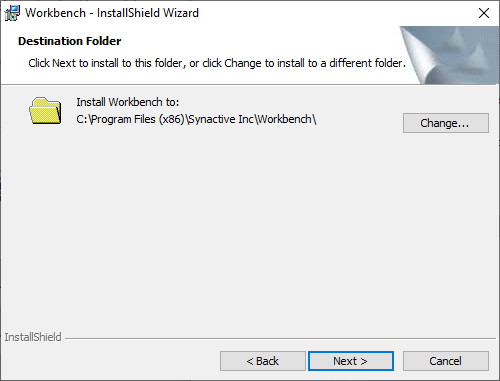
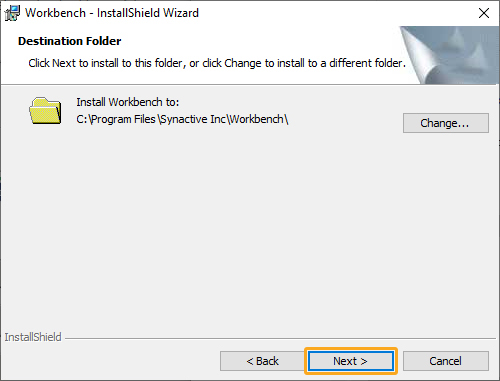
- Then, appears the destination folder in which the Liquid UI Workbench setup is installed. Click Next.
- The Ready to Install the Program window will appear, as shown below. Click on the Install button.

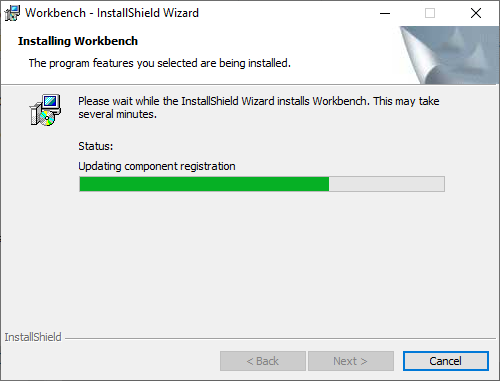
- The Progress window will appear, as shown below. Please wait for the installation process to complete.
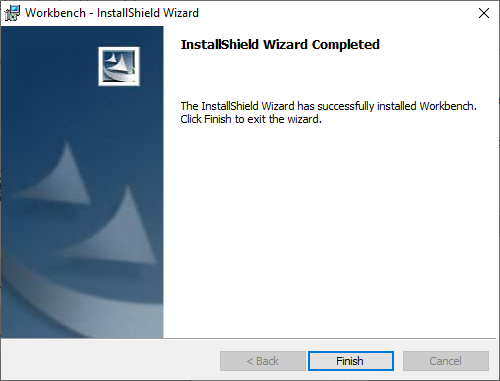
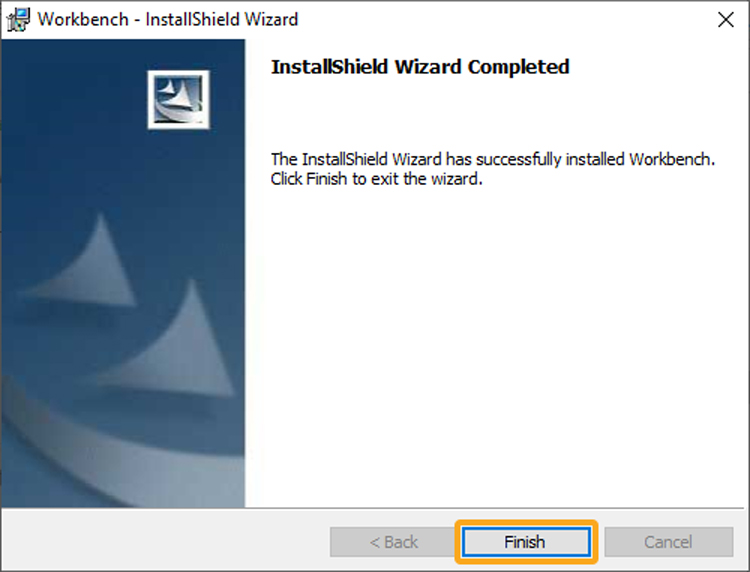
- When the installation completes, the Finish window will appear, as shown below. Click Finish. The Workbench is now successfully installed on the target system.
- The 64-bit Liquid UI Workbench has now been successfully installed on your target system.
32-bit Installation
Now, let’s look into the process to install the Liquid UI Workbench on a 32-bit system.
- Download the Installer package from a location specified by the Synactive Support or Sales representative. The install package is named WorkbenchSetup.exe. Please note that the Workbench Installer must be run from a local machine - it may not function correctly if run from a Server.
- Right-click on the Liquid UI Workbench software file (WorkbenchSetup.exe). Select Run as administrator to make sure that the software is installed with the correct privileges.
 Note: Make sure that your antivirus software is not blocking Liquid UI files: Workbench.exe, webscript.dll, wsoffice.dll, wslibxl.dll, wspodofo.dll, and SynSerialManager.exe. You need to have admin privileges to install the software.
 - The InstallShield Wizard will start and the Welcome screen will appear. Click Next.
- The End User License Agreement (EULA) window will display. Check the I accept..the license agreement radio button, and then click Next.
- The Customer Information window will appear, as in the following image. Enter your user and company name, and then click Next.
- Then, appears the destination folder in which the Liquid UI Workbench setup is installed. Click Next.
- The Ready to Install the Program window will appear, as shown below. Click on the Install button.
- The Progress window will appear, as shown below. Please wait for the installation process to complete.
- When the installation completes, the Finish window will appear, as shown below. Click Finish. The Workbench is now successfully installed on the target system.
- The 32-bit Liquid UI Workbench has now been successfully installed on your target system.
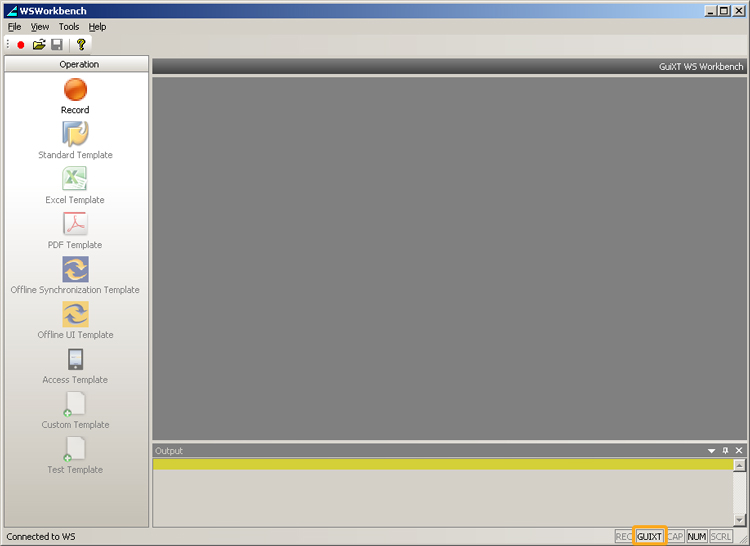
Restart SAP and then launch Workbench. The following window will display.
Modifying Workbench
In addition to installing Workbench, the InstallShield Wizard can also be used to modify, repair or remove Workbench once it is installed. The available options are as follows.
- Modify Workbench
- Repair Workbench
- Remove Workbench
To modify Workbench once it is installed, please do the following.
-
Double-click on the Installer. Then appears the Program Maintenance screen. Select the Modify radio button and then click Next.

-
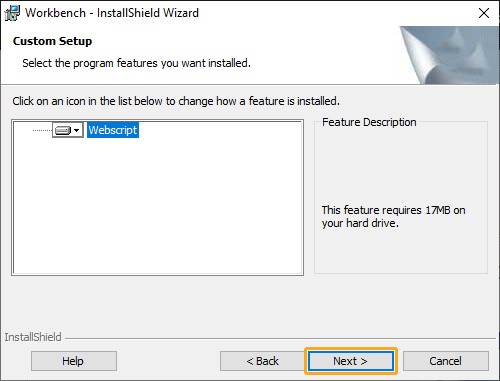
Now, the Custom Setup window will appear, as shown below. Click Next.
-
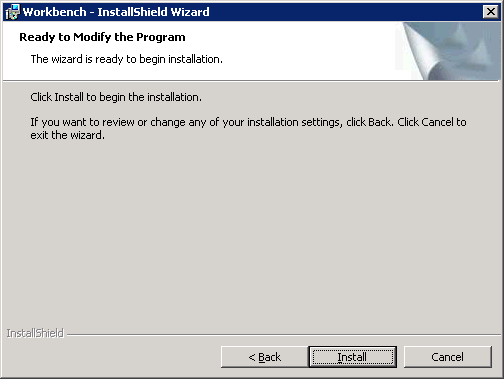
The Ready to Modify the Program window will appear. Click Next.
-
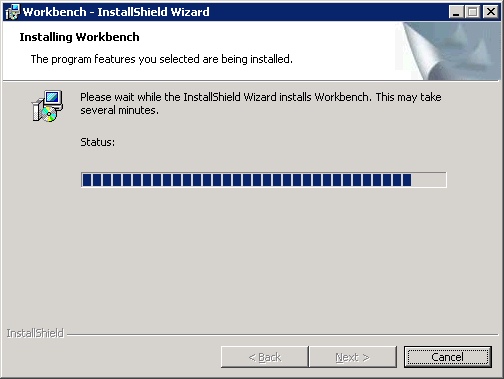
The Progress window will appear, as shown below.
-
When the install completes, appears the Finish window, as shown below. Click Finish. The Workbench is now successfully modified on the target system.
Repairing Workbench
There may be times when Workbench or its components become damaged after installation. To repair Liquid UI Workbench after it is installed, please do the following.
To repair Liquid UI Workbench, please do the following.
-
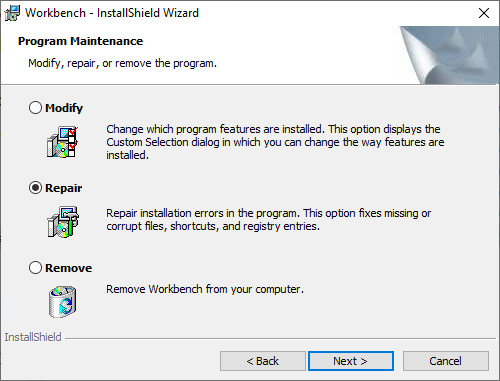
Double-click on the Installer. The following screen will appear, then click the Repair radio button.
-
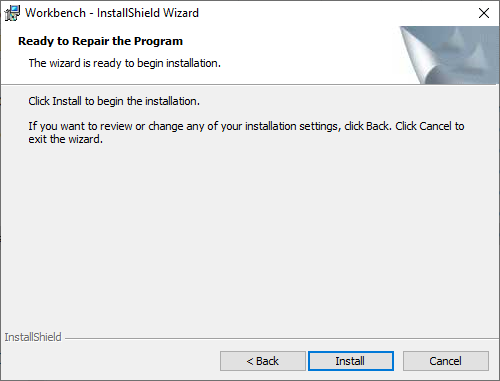
Then the following screen will appear, click the Install icon to begin the repair process.
-
The Progress window will appear, as shown below.
-
When the repair operation is complete, the Finish screen will appear, indicating the successful repair of the Workbench components, as shown in the image below. Click Finish to complete the process. Now, the Workbench is successfully repaired on your target system.
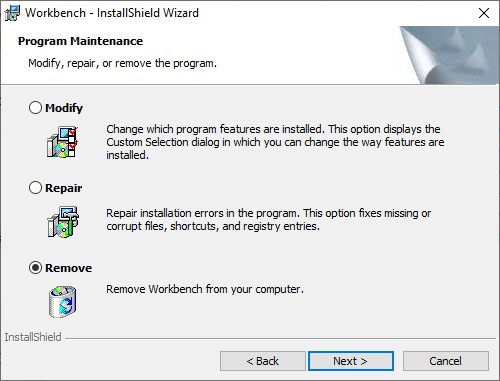
Removing Workbench
To remove Liquid UI Workbench after it is installed, please do the following.
-
Double-click on the Installer. The following Program Maintenance window will appear. Select the Remove radio button, and then click Next.
-
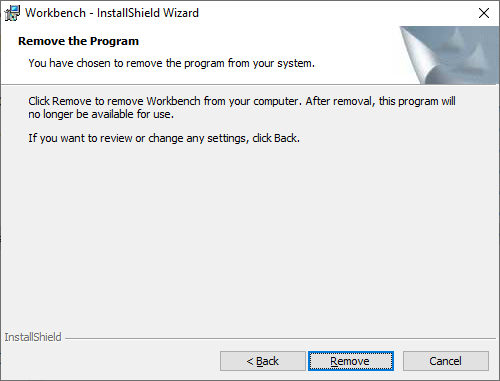
Then, the Remove the Program window appears with information on removing Workbench, as shown below. Click Remove to proceed.
-
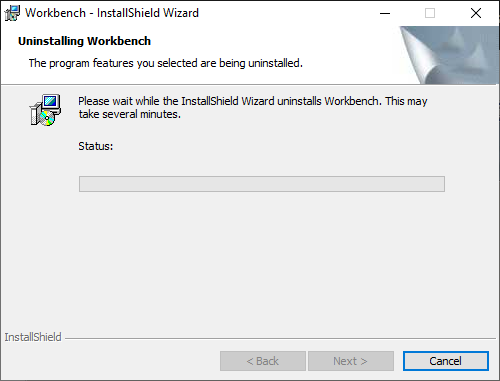
The Progress window will appear during the process, as shown below.
-
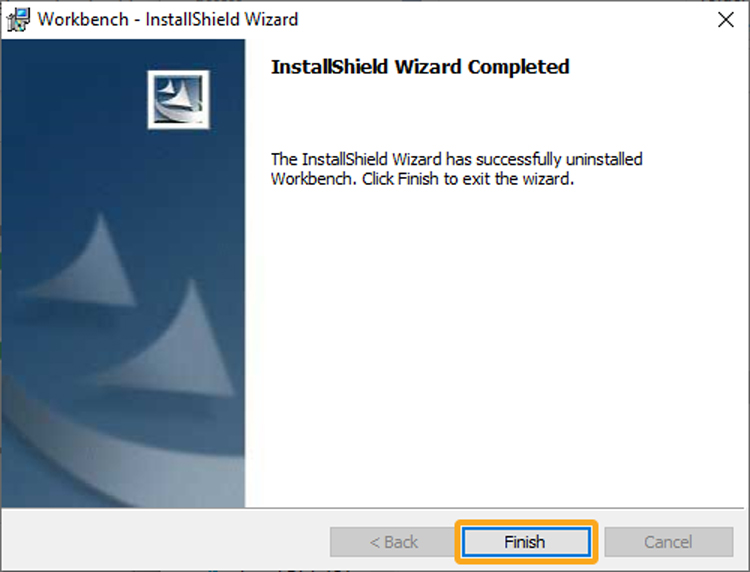
When the removal operation is complete, the Finish window will appear, as shown below. Click Finish. Now, the Workbench is successfully removed from the target system.