Configuring Printer:
-
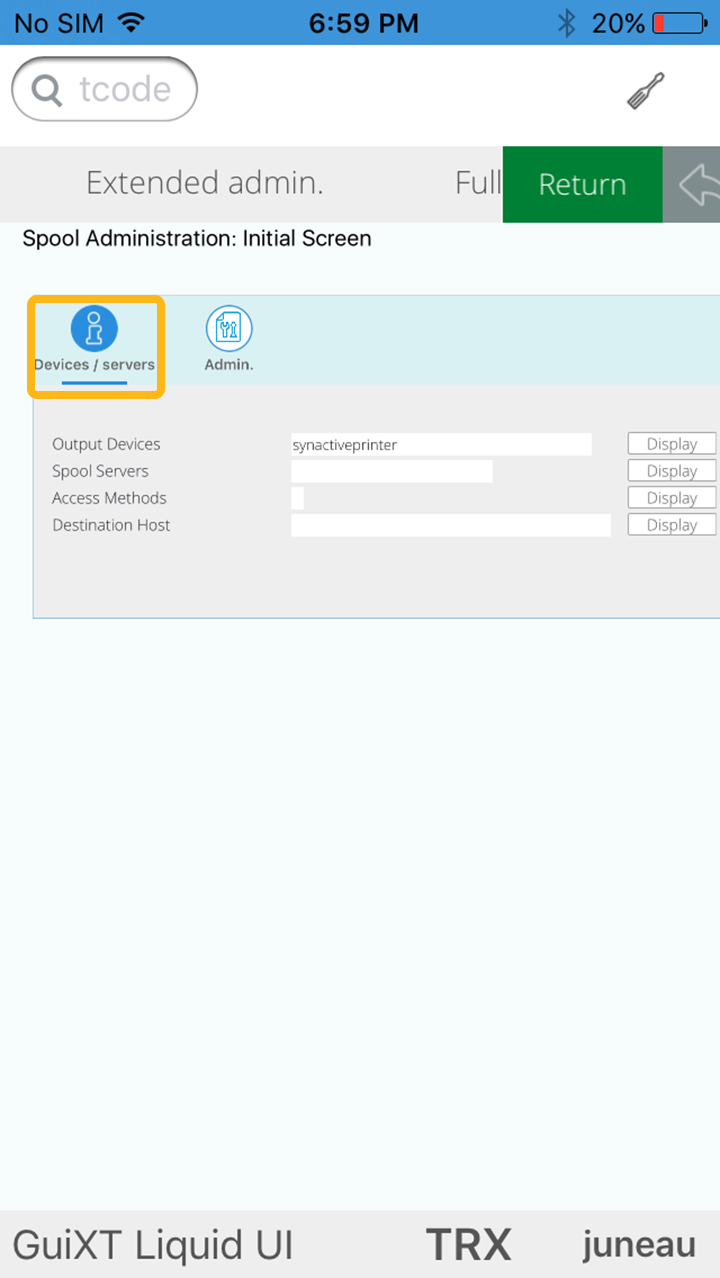
Navigate to the SPAD transaction (Spool Administration screen). Click on the Devices/ servers tab and enter the name of the output device and tap on the display button.
-
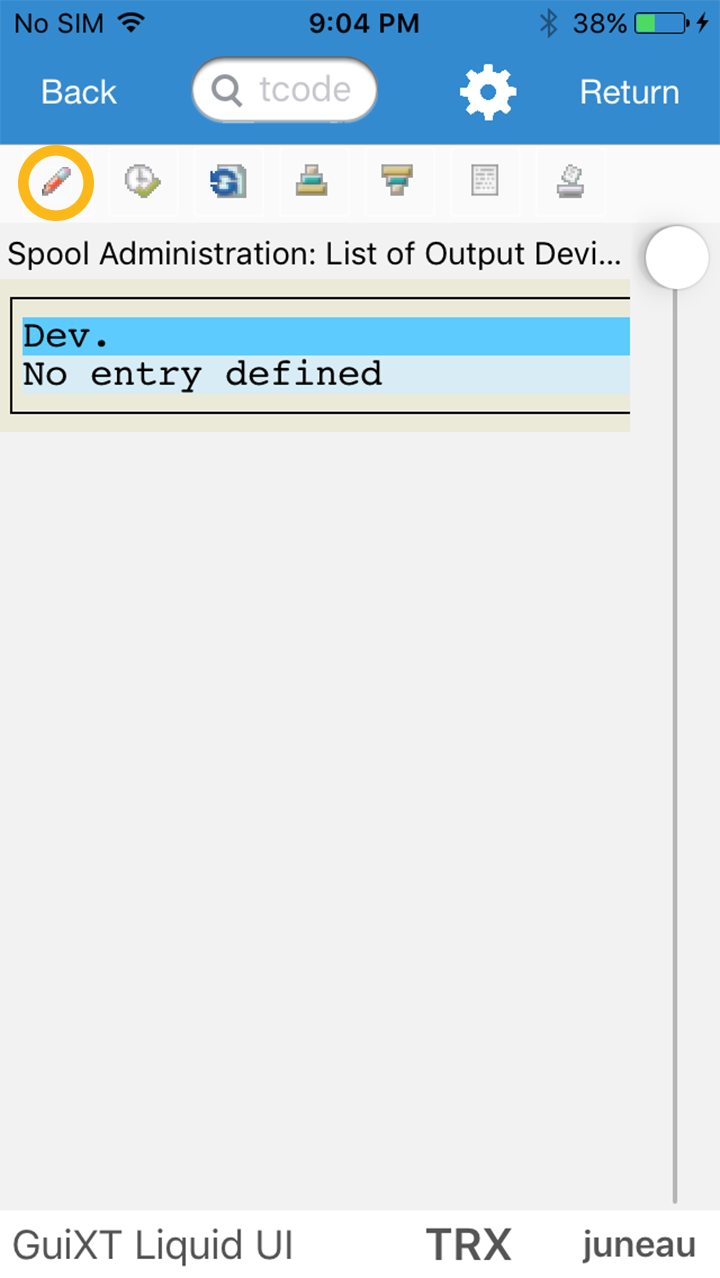
If the printer already configured, it will display all the details of device attributes, output device attributes, and tray info. If you enter a new printer name then this will navigate to the below screen. Click on the change button to view the create option.
-
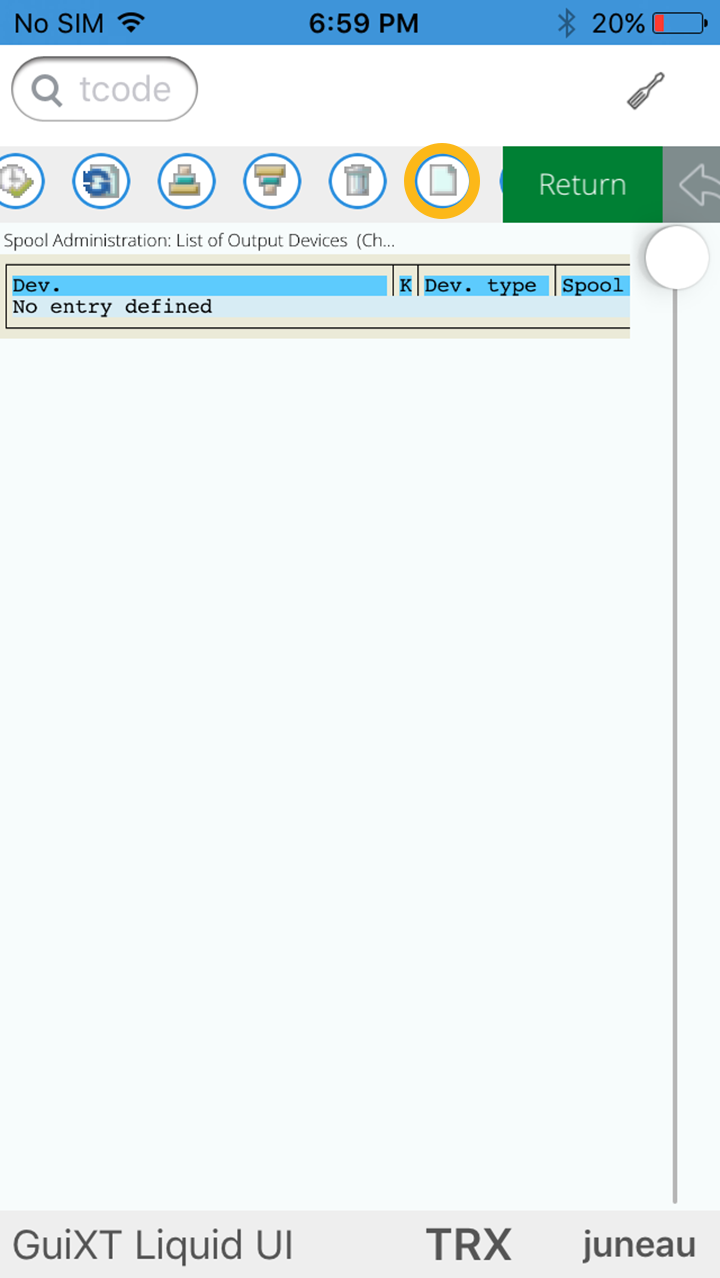
This will allow the user to see the create option. Click the Create button to create the output device with required configurations.
-
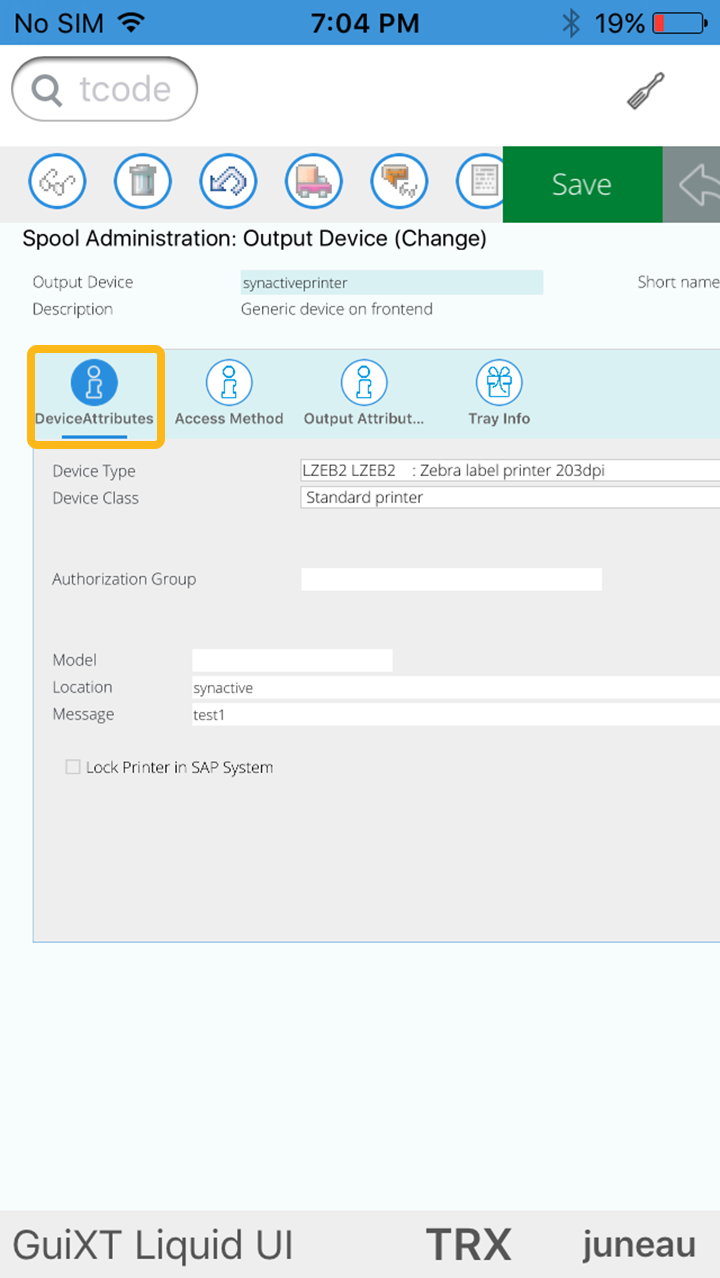
Select the DeviceAttributes button and enter the following details.
Device Type: Select the device type incompatible with your printer.
Device Class: Select the device class it belongs to. The standard printer is the default.
Location: enter your location name
Message: enter the purpose of the printer.
The Authentication Group and Model are optional fields.
-
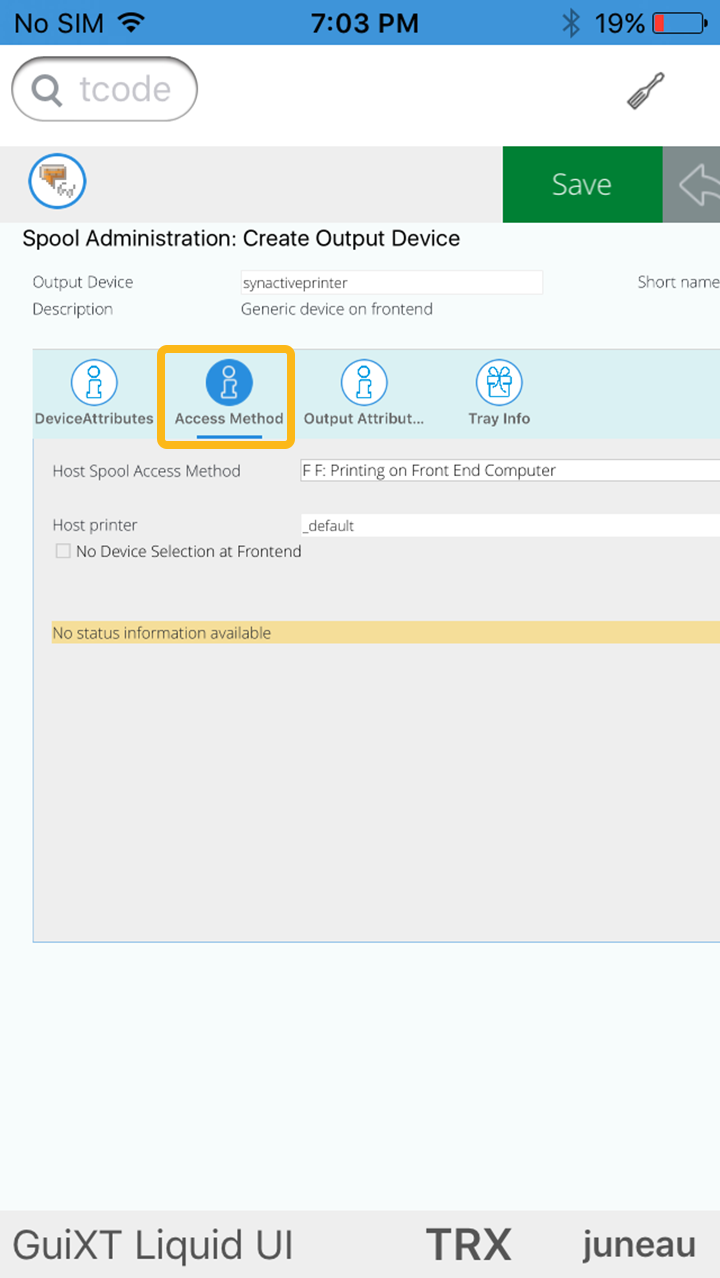
Select the Access Method tab and enter the following details
Host Spool Access Method: select the F: Printing on Front End Computer as default
Host Printer: _default
No Device Selection at Frontend: Check or uncheck this field as per requirement.
-
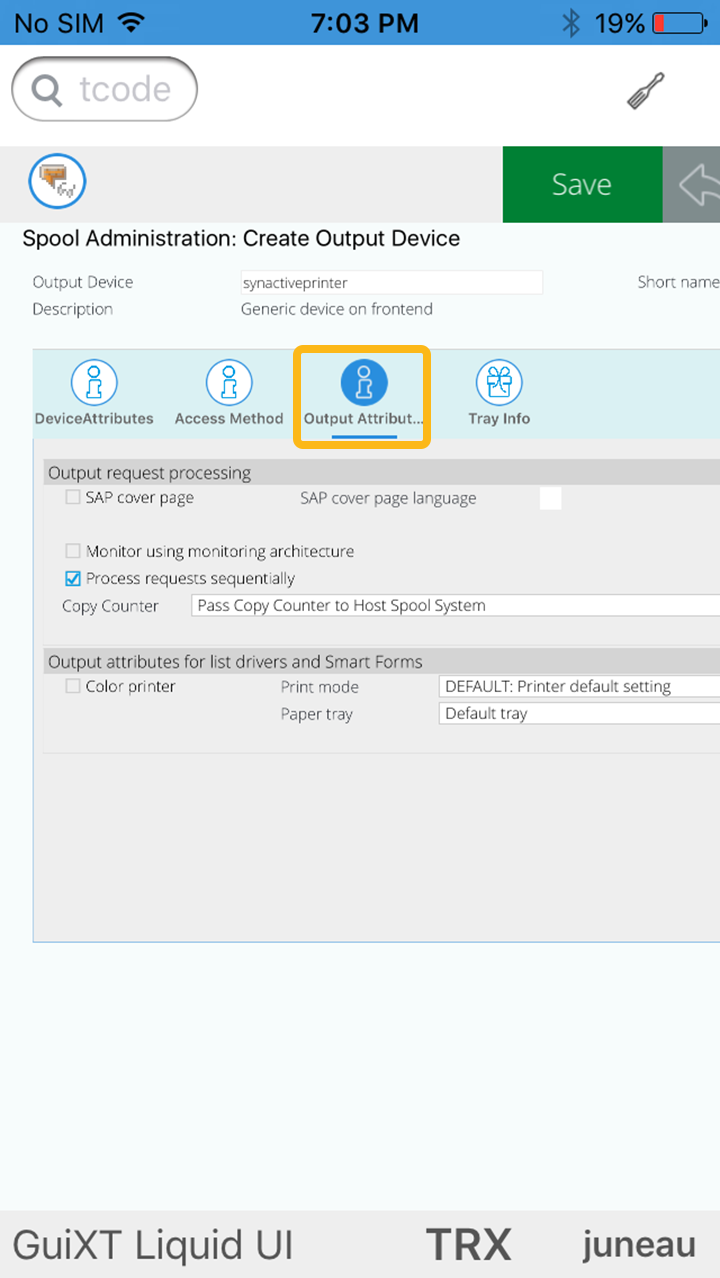
Click on Output Attributes tab and enter following details: SAP cover page – Check SAP cover page language – EN Process requests sequentially – Check Copy Counter – Pass Copy Counter to Host Spool Print mode – DEFAULT: Printer default setting
-
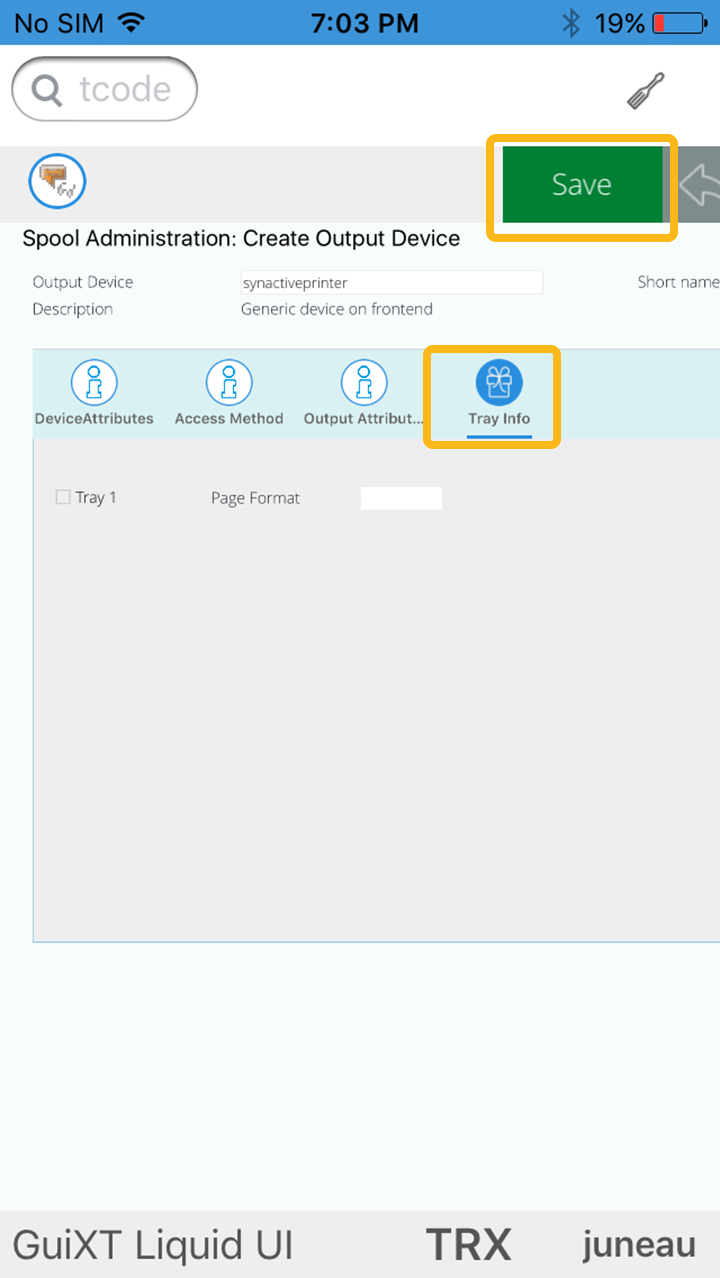
Click on the Tray Info tab to select the page format for printing.
-
You can also provide a short name for the Output device. Then, click the save button which is located on the top right corner of the transaction to save settings.
Setting the output device to the user
-
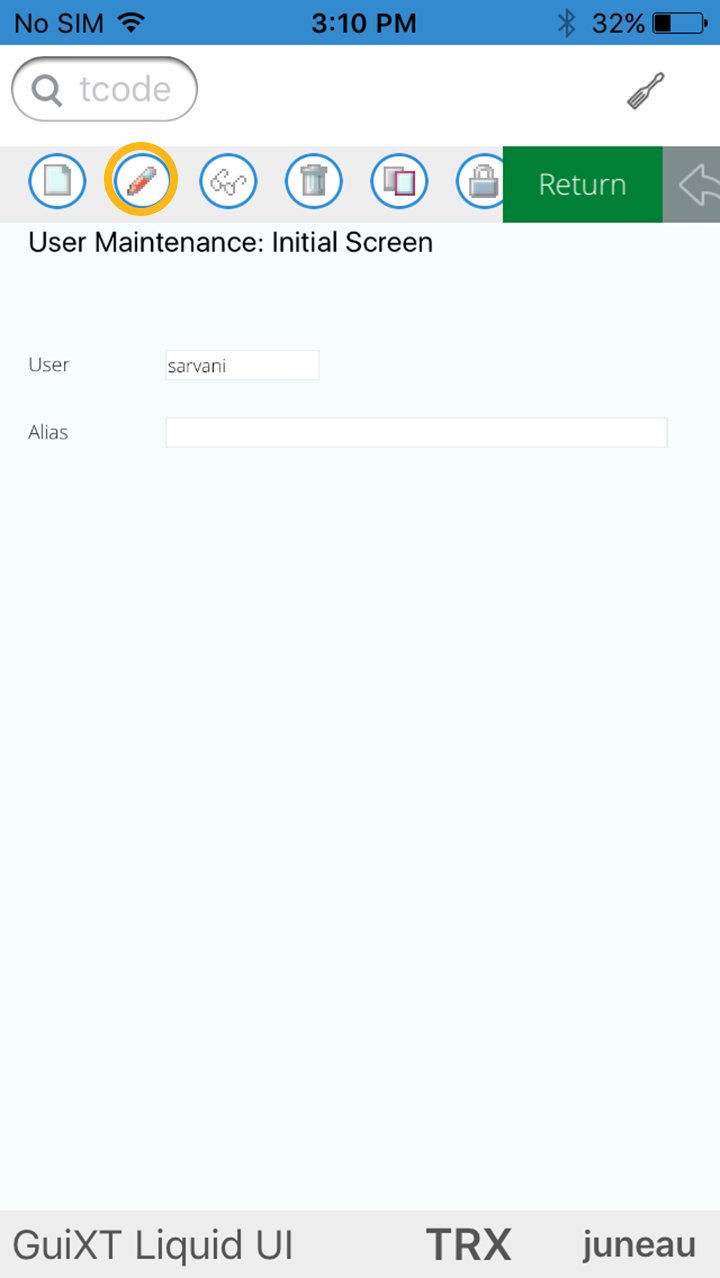
Set the device type in your SAP Server. To do this, navigate to the SU01 transaction and enter the username in the User field. Then, click on the change button.
-
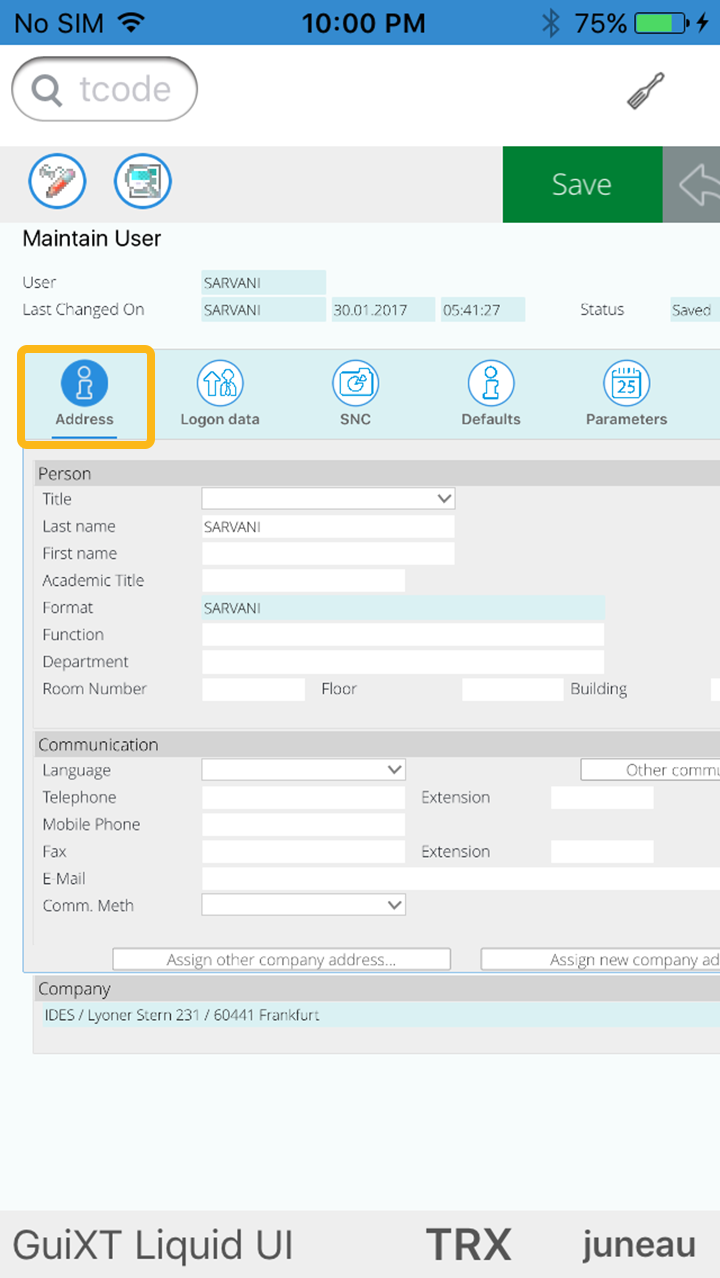
You will be navigated to Maintain User screen. This screen displays the complete user data.
-
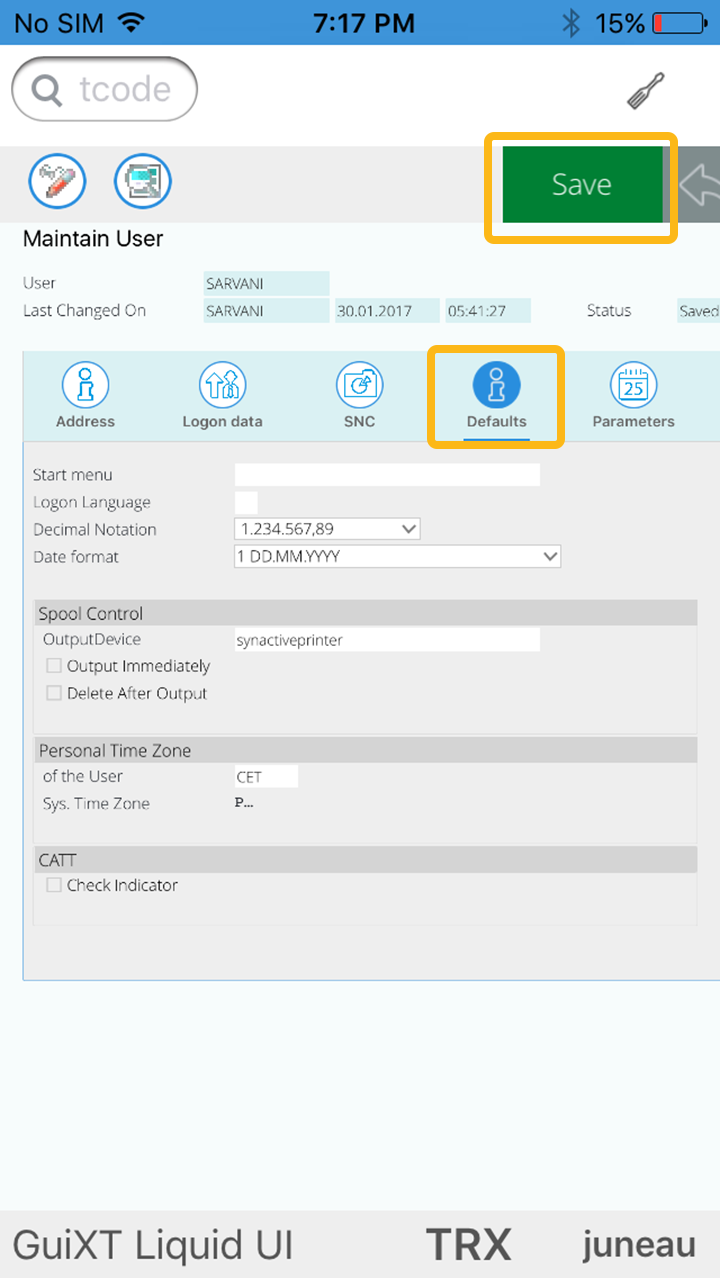
Click on the Defaults tab and enter the name of the output device which is created in the spad transaction. Click the save button to save the user data.
-
Click the “Save” button. The information message will appear at the bottom of the screen, confirming the changes.
Note: You need to have administrative privileges for your “SAP user logon” to make such changes.


