Purpose
With pushbutton(), you can create and modify pushbuttons within an SAP screen or the toolbar. It’s based on the action-event principle, which means a click action triggers an event. You can assign events such as invoking an SAP transaction, passing variables, calling functions, and so on. With OK code introduction, you can execute a transaction by just using the code in the pushbutton command, instead of processing a function when you click the pushbutton.
Pushbuttons are one of the most useful and powerful screen elements of WS in SAP. This command is used to create, modify, and link pushbuttons to other actions in SAP. For instance, you can program a pushbutton to navigate to other transactions or access menu functions.

Syntax
You can create pushbuttons at desired location with the required functionalities using the following formats.
Format 1: Adds a pushbutton with the label name at the row and column specified on the SAP screen.
pushbutton([row,col],"label name",{"options":values});
Format 2: Adds a pushbutton with the label name at the row and column specified and executes the function code/transaction code/function key.
pushbutton([row,col],"label name","/n[tcode]",{"options":values});
pushbutton([row,col],"label name","fcode",{"options":values});
pushbutton([row,col],"label name","fkey",{"options":values});
pushbutton([row,col],"label name","fcode","fkey",{"options":values});
Format 3: Adds a pushbutton that will add scan functionality for the designated field.
pushbutton([row,col],"label name","/_gala_scan,?,z_scan_inputfield",{"options":values});
Format 4: Adds a pushbutton with an icon, label name, and quick info text. Here ID refers to Icon and the tooltip displays the quick info text.
pushbutton([row,col],"@ID\\Qtooltip@labelname",{"options":values});
Format 5: Adds a pushbutton on the toolbar with the label name.
pushbutton([TOOLBAR],"label name",{"options":values}});
Format 6: Adds a pushbutton with respect to the other screen element at the row and column specified on the SAP screen.
pushbutton("F[screen element]+[row,col]","label name",{"options":values});
Properties
- startrow, startcol - row & column co-ordinates
- label name - label on pushbutton
- @iconID@label name - name of the field with icon
- @iconID\\Qlabel Tip@Label name - name of the field with tooltip and icon
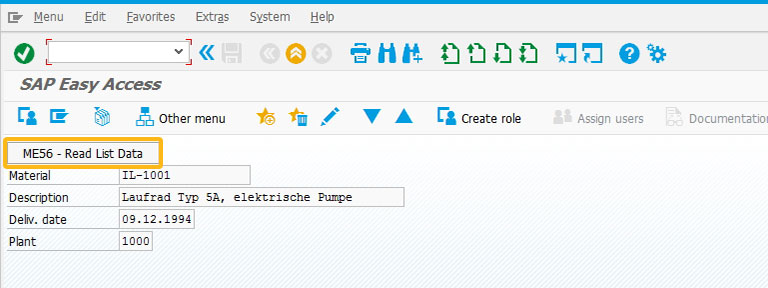
- /n[tcode] - executes a transaction code
- fcode - executes a function code
- fkey - executes a function key
- /_gala_scan,?,variable - enables scan functionality to the designated field
- screen element - field name
Available Options
You can use the following options with the pushbutton:
|
Disables pushbutton on the screen. |
|
|
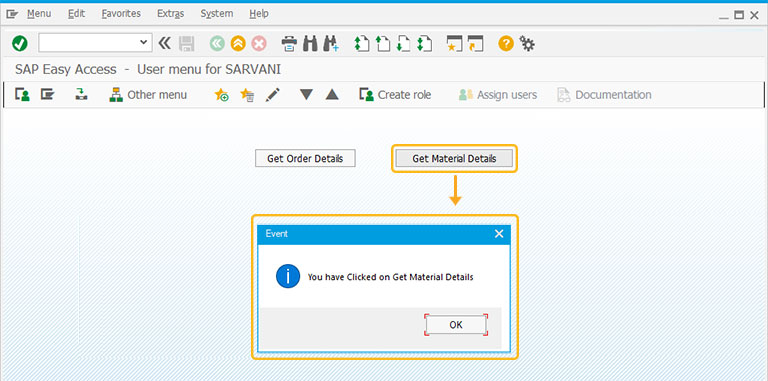
"eventid": value - Assigns a value to the pushbutton. You can retrieve this value using _eventid system variable. |
|
|
Launches a transaction or function when the pushbutton is click. |
|
|
Calls the process. |
|
|
"size":[rows,cols] - Specifies the size of the pushbutton in rows and columns. |
|
|
"separator":true - This option is used in conjunction with the toolbar option. Adds a small vertical line that separates the pushbutton created from the existing ones on the toolbar. |
|
|
Places the pushbutton on the toolbar of a given SAP screen. |
|
|
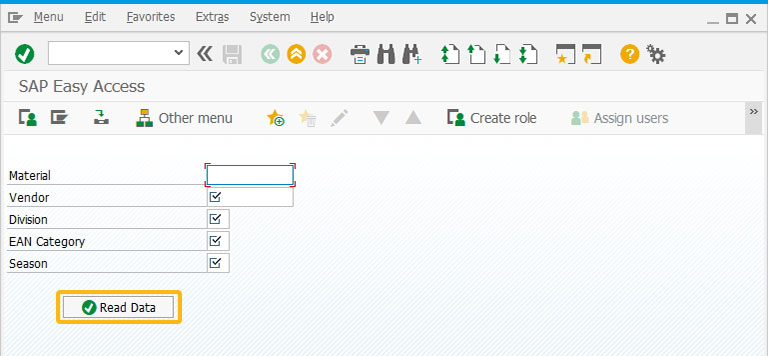
"using":{"param1":"value","param2":"value"…} - Passes values to processes. |
Options Detail
|
disabled |
|
|
eventid |
Learn more about the Display event performed using the eventid option of the pushbutton. |
|
fcode/tcode |
|
|
process |
|
|
size |
|
|
TOOLBAR |
|
|
using |
|

Example
The following example demonstrates the usage of the pushbutton command:
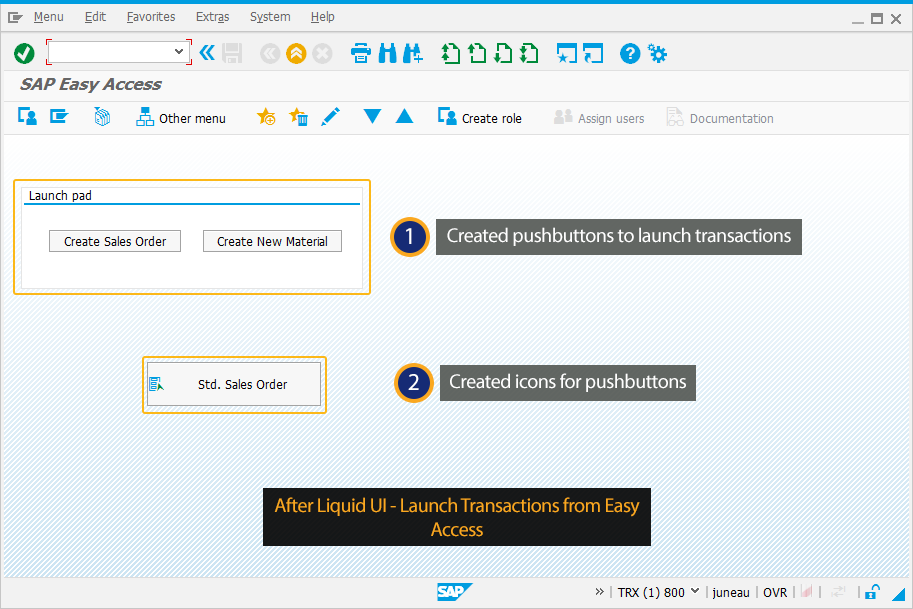
Script
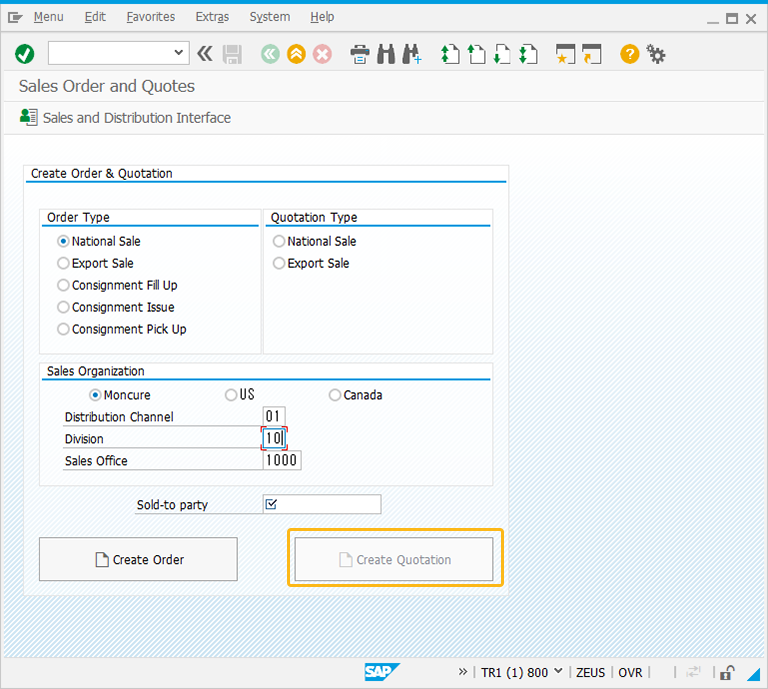
pushbutton([4,6],"Create Sales Order","/nva01");
pushbutton([4,28],"Create New Material","/nmm01");
pushbutton([10,20],"@4D\\QCreate a Std. Sales Order@Std. Sales Order",{"process":va01_process,"size":[2,24],"using":{"z_va01_ordertype":"OR"}});
Execute transaction with Ok code:
Now, you can skip the initial transaction screen, and execute the transaction by assigning fixed values to the initial transaction screen. This can be achieved by using OK code, a built-in feature in SAP-GUI, instead of calling a function attached to the pushbutton. Additionally, you can add quick info for each pushbutton with button size. Also, you can incorporate the pushbuttons in the standard toolbar, and a function key will be assigned automatically.
On the SAP Toolbar, the syntax is written as:
-
This Executes in the same session:
This syntax for OK code allows you to navigate to IW31 and set AUFPAR-PM_AUFART=PM02; CAUFVD-IWERK=1000; when you click on the pushbutton.
pushbutton([TOOLBAR],"Create Work Order (IW31)","{/nIW31 AUFPAR-PM_AUFART=PM02; CAUFVD-IWERK=1000});
-
This executes in a new session:
This syntax for OK code will perform the same action in the new session and navigate to IW31.
pushbutton([TOOLBAR],"Create Work Order (IW31)","{/OIW31 AUFPAR-PM_AUFART=PM02; CAUFVD-IWERK=1000});
Tips and Tricks
- Delete pushbuttons from the toolbar using del("P[pushbutton_name]");
- Add a tooltip to an existing pushbutton using tip("P[pushbutton_name]","Tip goes here");.
- Adds new toolbar pushbuttons on the right-hand side. They are also displayed in the function key overview window (right mouse button). Here the order corresponds to the assigned function keys.
- You can use a combination of function keys with the Ctrl and Shift keys or use numbers between 13 and 48.
Shift = +12
Ctrl = +24
| Shift+F1 | /13 | Ctrl+F1 | /25 | Shift+Ctrl+F1 | /37 |
| Shift+F2 | /14 | Ctrl+F2 | /26 | Shift+Ctrl+F2 | /38 |
| Shift+F3 | /15 | Ctrl+F3 | /27 | Shift+Ctrl+F3 | /39 |
| Shift+F4 | /16 | Ctrl+F4 | /28 | Shift+Ctrl+F4 | /40 |
| Shift+F5 | /17 | Ctrl+F5 | /29 | Shift+Ctrl+F5 | /41 |
| Shift+F6 | /18 | Ctrl+F6 | /30 | Shift+Ctrl+F6 | /42 |
| Shift+F7 | /19 | Ctrl+F7 | /31 | Shift+Ctrl+F7 | /43 |
| Shift+F8 | /20 | Ctrl+F8 | /32 | Shift+Ctrl+F8 | /44 |
| Shift+F9 | /21 | Ctrl+F9 | /33 | Shift+Ctrl+F9 | /45 |
| Shift+F10 | /22 | Ctrlt+F10 | /34 | Shift+Ctrl+F10 | /46 |
| Shift+F11 | /23 | Ctrlt+F11 | /35 | Shift+Ctrl+F11 | /47 |
| Shift+F12 | /24 | Ctrlt+F12 | /36 | Shift+Ctrl+F12 | /48 |


