Prerequisites
- Products: Liquid UI WS, Liquid UI Server or Local DLL, Client Software
- Commands: boxsize(), del(), text(), dropdownlist(), set(), enter()
Purpose
In this article, we will demonstrate customizing the existing Create Sales Order screen(VA01) through the following steps.
- Delete the unnecessary screen elements on the SAP screen using del() as per the customization
- Reposition existing screen elements
- Rearrange the screen elements and resize the group box accordingly
- Add required screen elements as per requirement
- Convert the F4 option into radio buttons
- Set default values to input fields
- Make required elements as read-only fields
- Add instructions on the screen to notify about customization
- Change the existing terminology
- Change dropdownlist values to radio buttons
User Interface
//Create this file inside your script folder for customizing Create Sales Order screen: SAPMV45A.E0101.sjs
//Now, let's start adding the Liquid UI script to the above file and save it.
Customization
- Logon to SAP. Using the del command delete Order Type, Distribution Channel, and Sales Group elements on the Create Sales Order: Initial screen, as shown in the image below. Here, the triple option is set to true to delete all three fields associated with the input field such as the text field, entry field, and an additional text field behind the entry field.
// Deletes the order Type, Distribution channel, and sales Group elements on the Create Sales Order: Initial screen.
del("F[Order Type]",{"triple":true});
del("F[Distribution Channel]",{"triple":true});
del("F[Sales Group]",{"triple":true});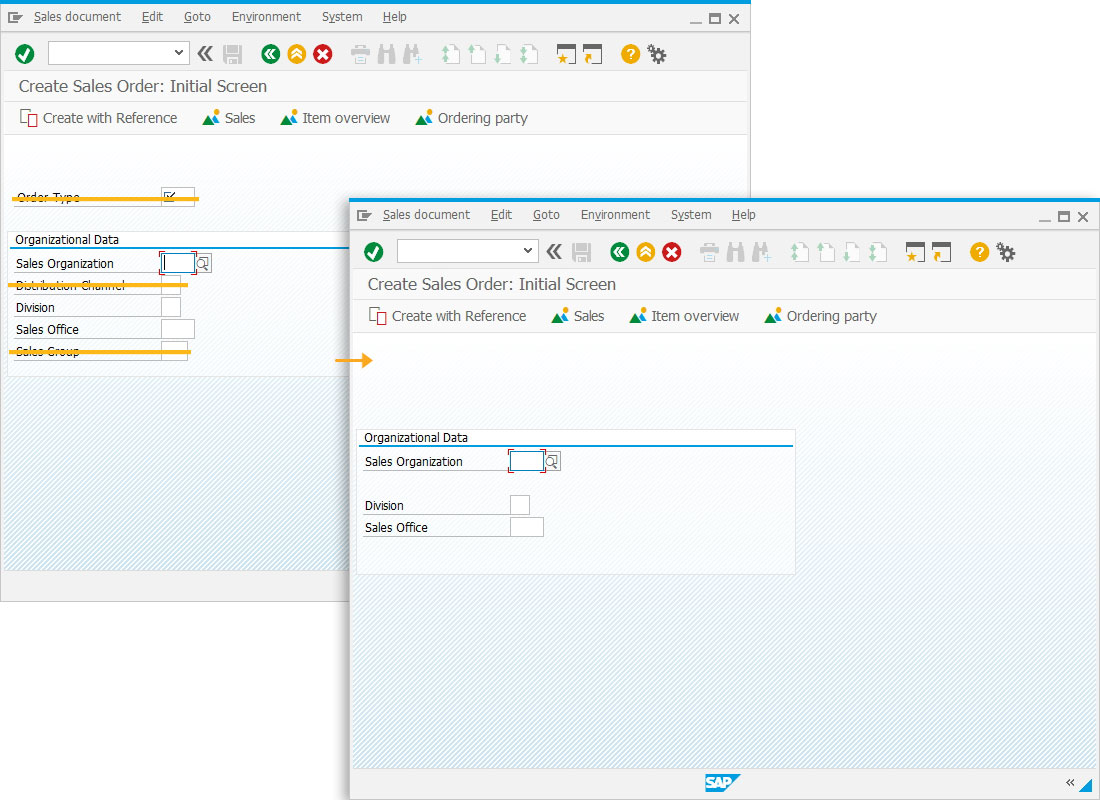
- Using the pos() change the position of the Sales Office input field.
//changes the position of Sales office input field
pos("F[Sales Office]",[6,1],{"triple":true});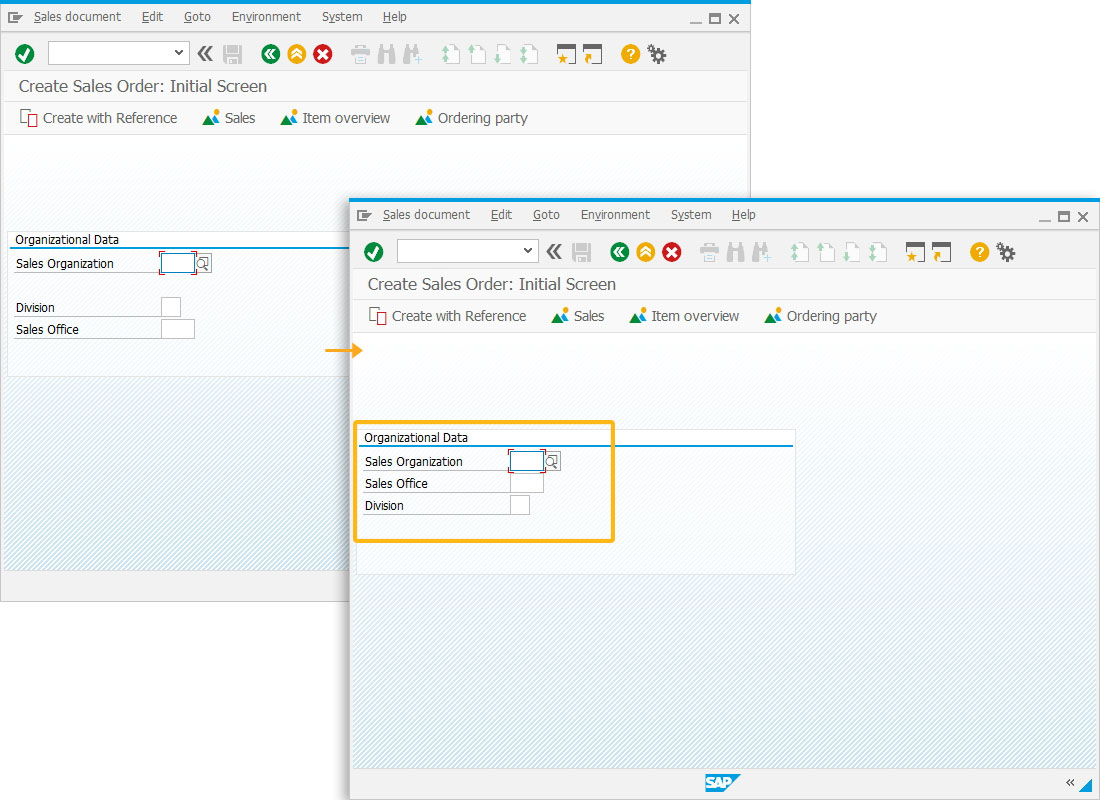
- Change the box size after rearranging the screen elements.
Using the boxsize command, we are changing the box size of the input field. Resized boxes are shown in the image below.
//changes the size of group box
boxsize("G[Organizational Data]",[5,62]);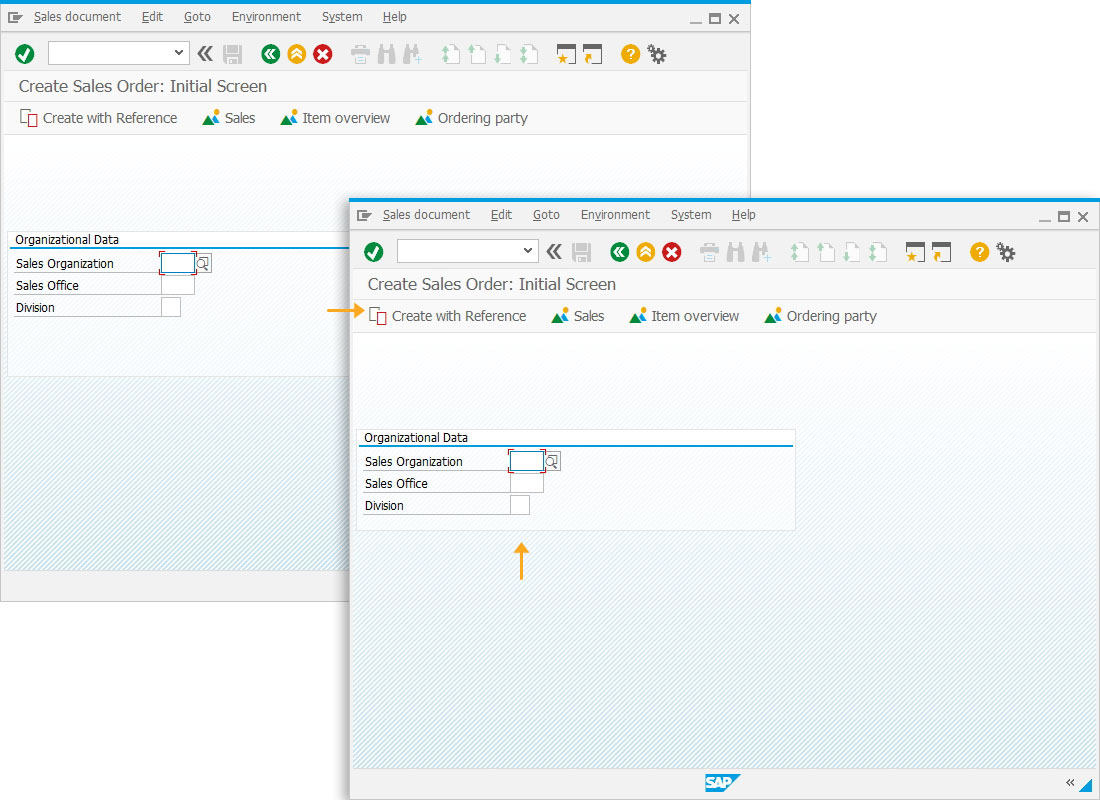
- Add the required number of radio buttons to represent the Order Type values.
We will create a set of radio buttons with Order Type values to pass the selected radio button value to the Order Type field on the same screen.
//creates three radio buttons
radiobutton([1,1],"Standard Order",{"[Order Type]":"OR"});
radiobutton([1,21],"Returns",{"[Order Type]":"RE"});
radiobutton([1,37],"Promotions",{"[Order Type]":"AA"});
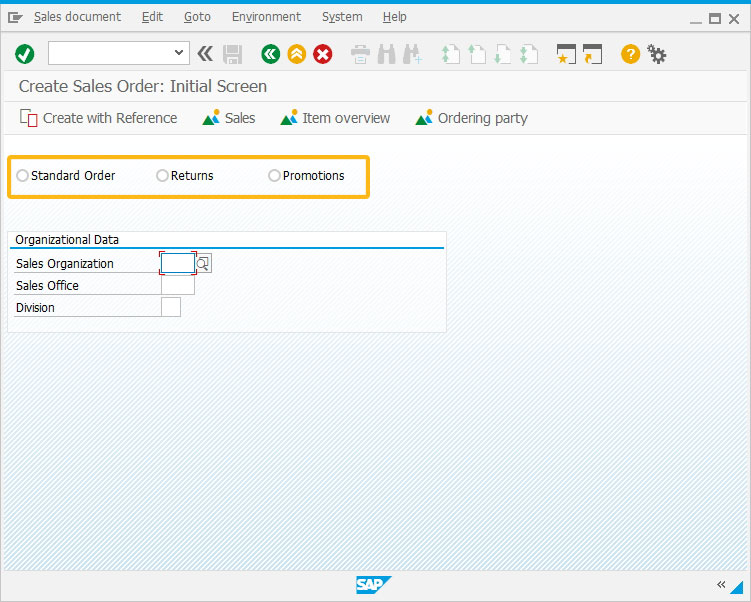
- Add a group box around the radio buttons with a title as Order Type.
//creates a group box
box([0,0],[2,61],"Order Type");

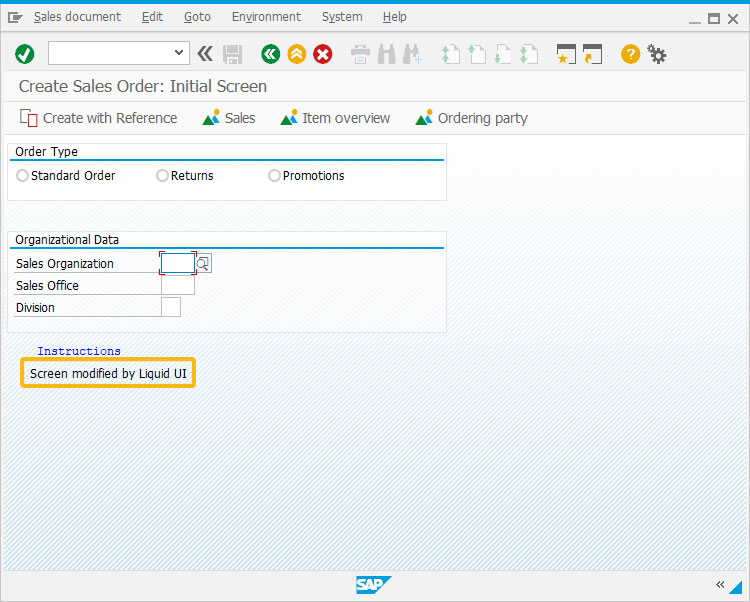
- Add a comment as "Instructions".
Using the comment command, we are adding a comment Instruction to notify the user about the entry.
//adds a comment "Instructions"
comment([9,4],"Instructions",{"size":20});

- Add a text below the comment as "Screen modified by Liquid UI".
Here, we are adding the comment, "Screen modification by Liquid UI" to notify the user that the screen is customized using Liquid UI.
//adds a text " Screen modified by Liquid UI"
text([10,3], "Screen modified by Liquid UI",{"size":29});
- Set a cursor on the Sales Organization field.
Using the setcursor(), the cursor is set on the Sales Organization input field, as shown below.
//sets cursor at Sales Organization input field
setcursor("F[Sales Organization]");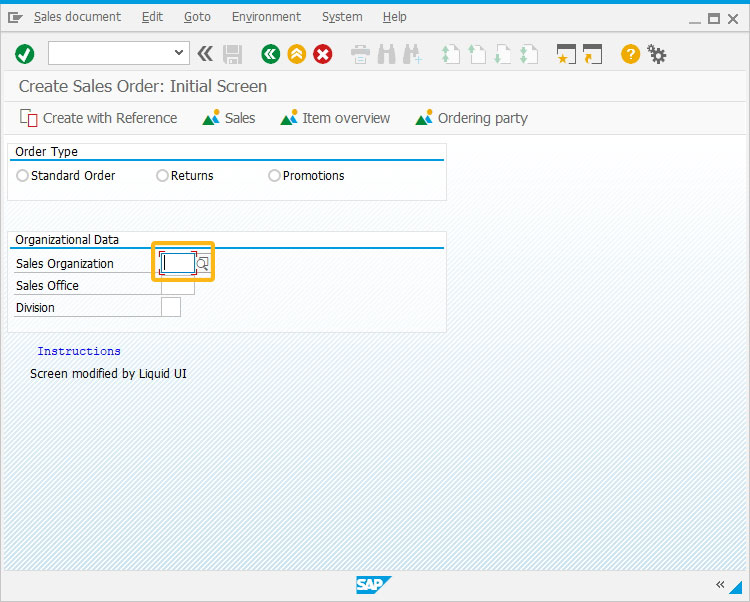
- Set a value to the Division field as 10.
Using the set(), the Division field value is set to 10, as shown below.
//sets a value 10 at Division input field
set("F[Division]","10");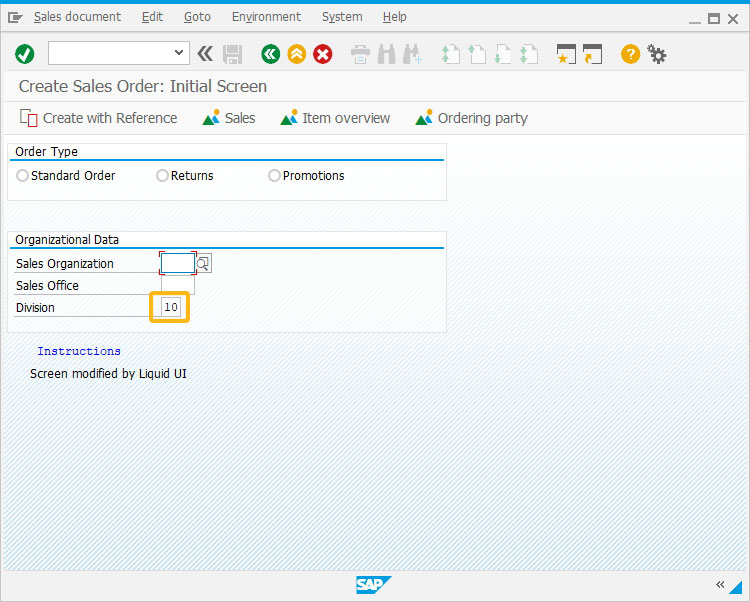
- Change the division field as non-editable using the noinput command.
//sets Division input field as non-editable
noinput("F[Division]");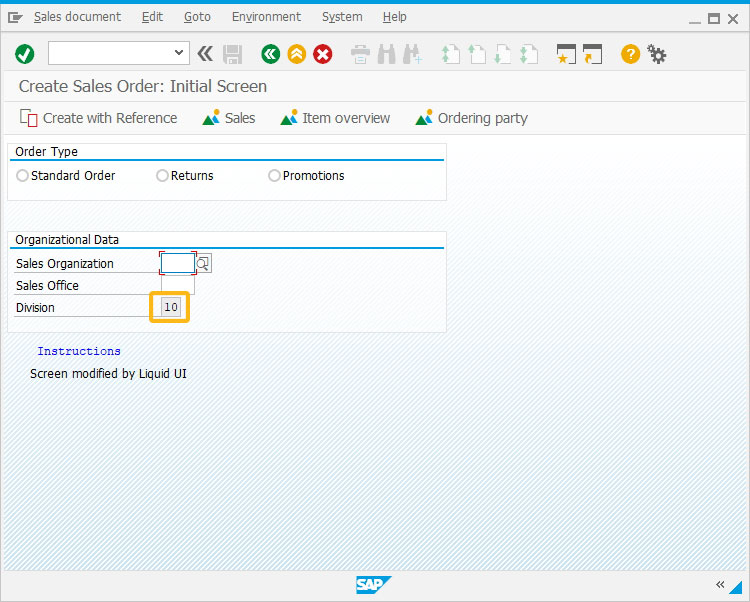
This article is part of the 3.0 Customize your existing SAP screen tutorial.


