To use the Liquid UI Web Server with SharePoint, you must integrate the Web Server into SharePoint. You can perform the integration as follows.
- Verify that you are at the 'Home' level as shown in the following screen. You will know you are at 'Home' if the tab displays as shown below:
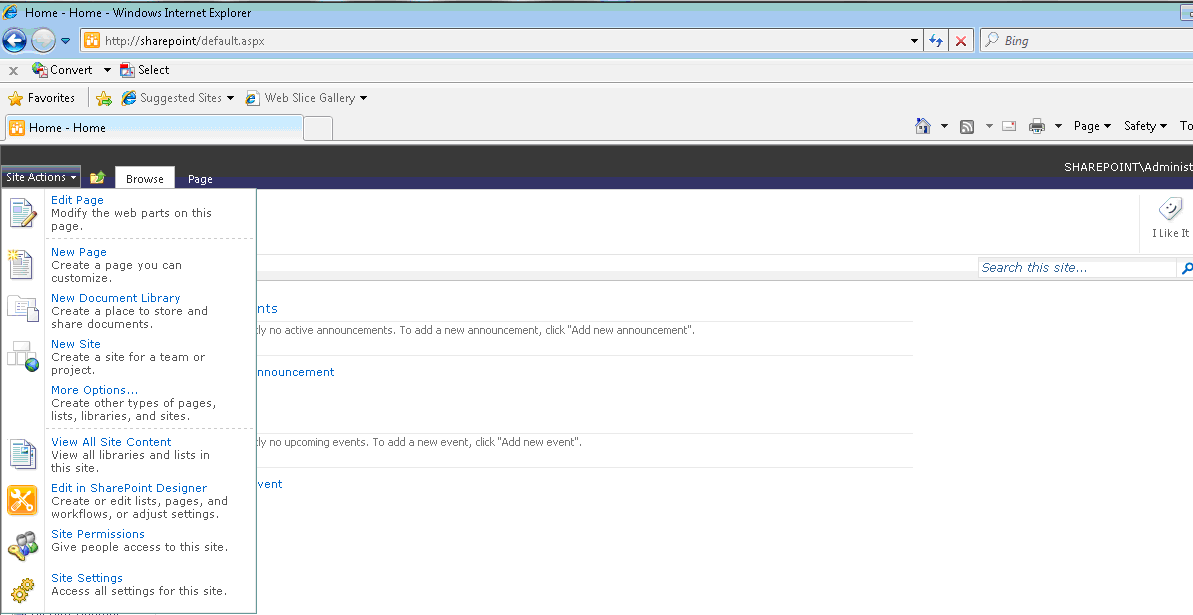
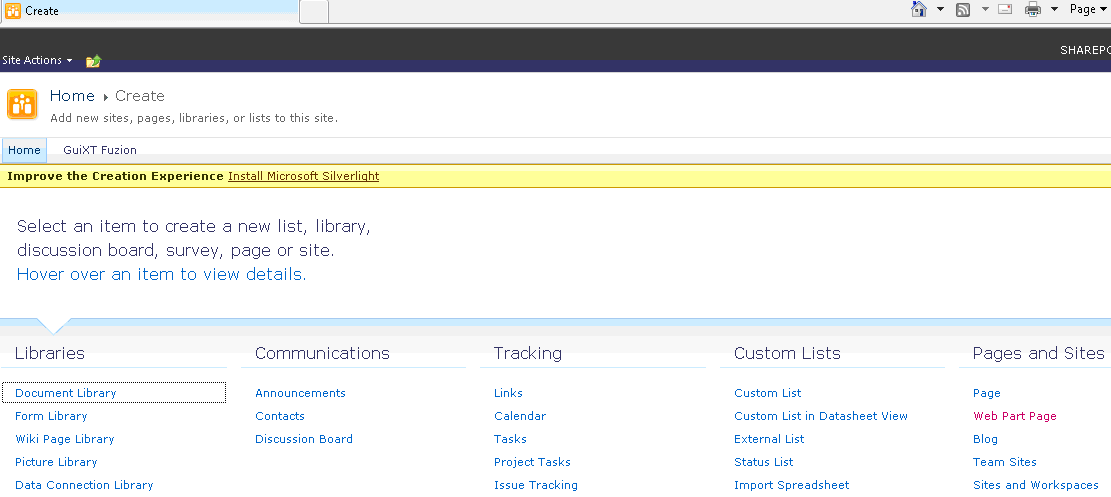
- A new window will display as shown below. Click the Create link.
- The following window will display. Select the Select the Web Part Page link from the Pages and Sites list.
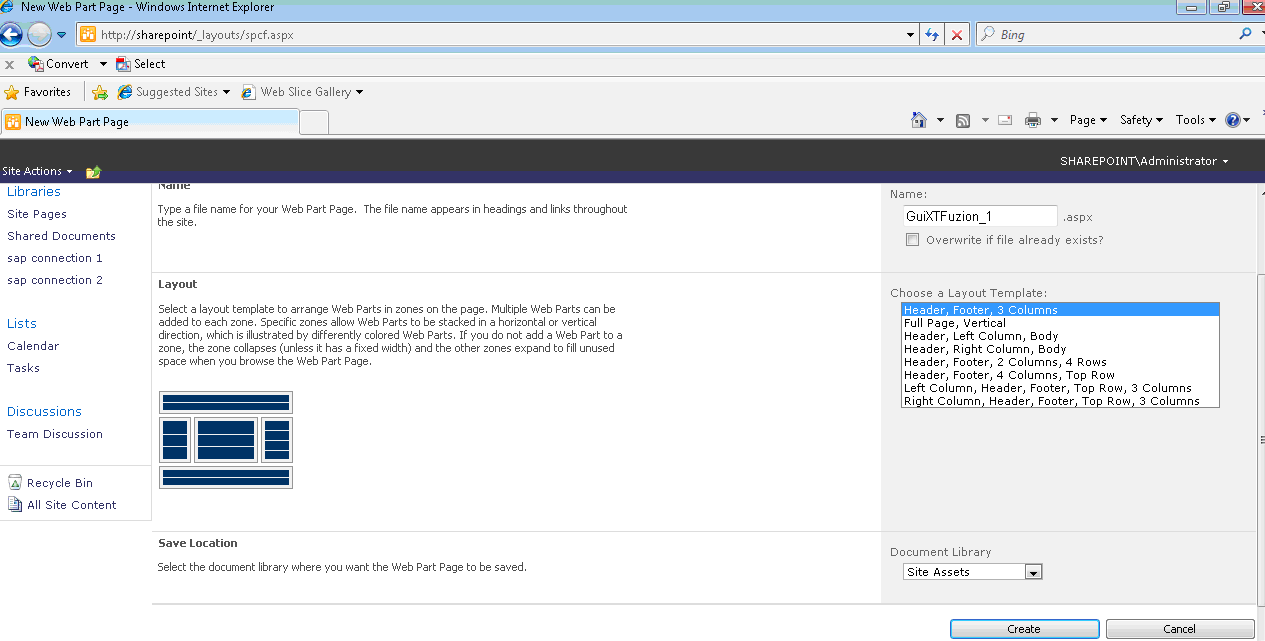
- You will see the window shown below. Enter a name for the new website in the Name field. In our example, we chose GuiXTFuzion_1 as shown below. Then click the Choose a Layout Template control located immediately below the Name field and select Header, Footer, 3 Columns.
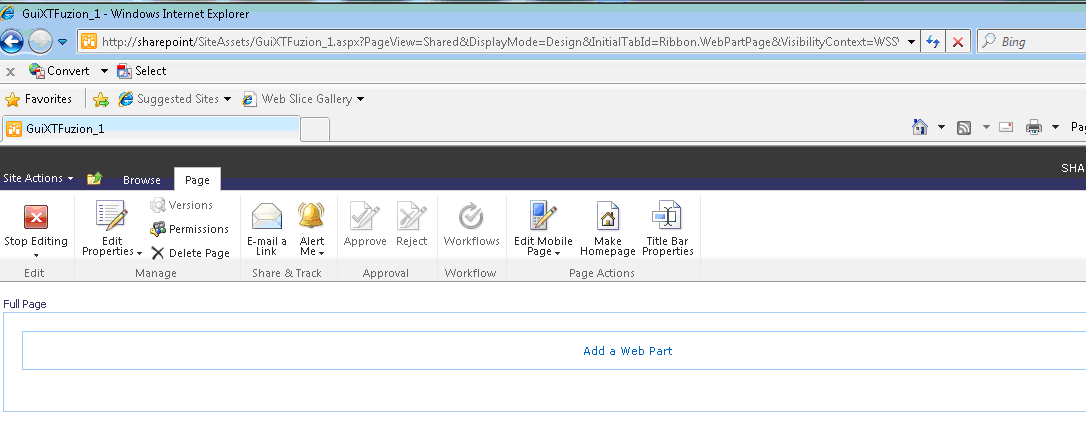
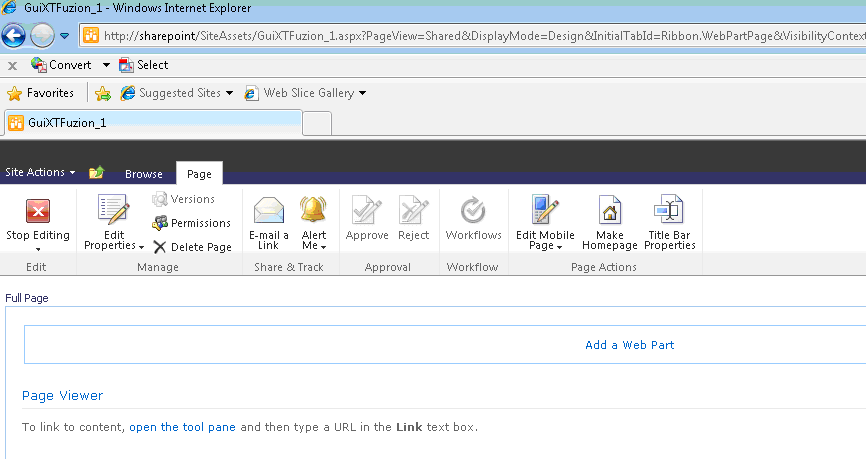
- The following window will display. Click the Add a Web Part link.
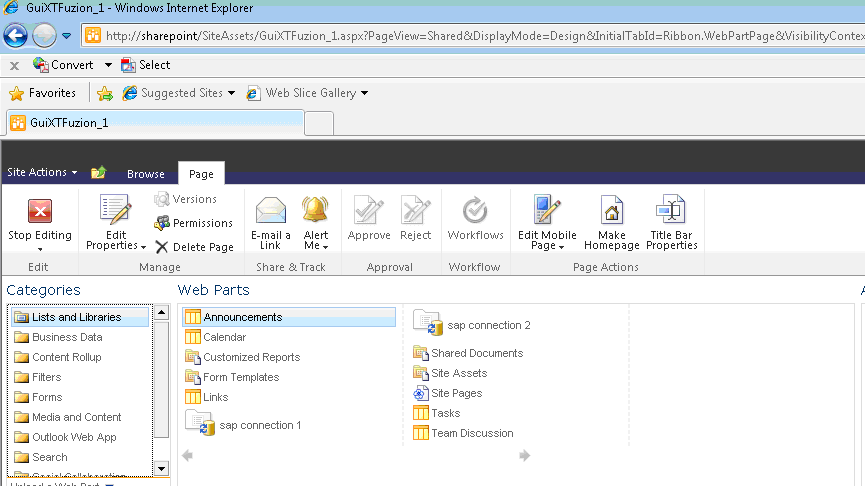
- The following window will display. Click the Media and Content link in the Categories sidebar on the left.
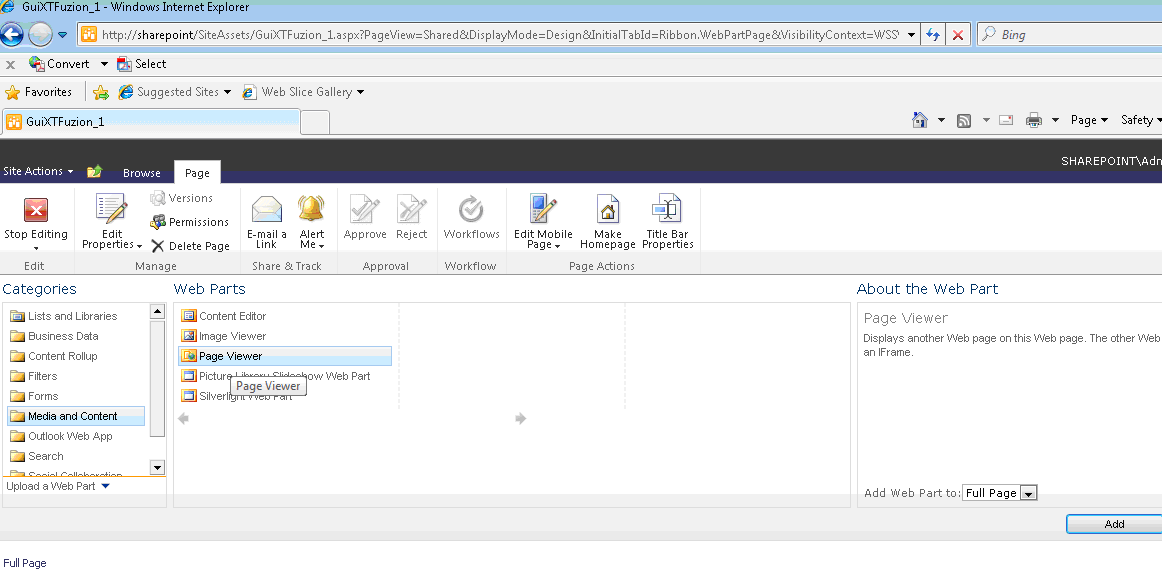
- The following window will display. Select the Page Viewer link and then click the Add button at the bottom right of the page.
- The following page will display. Click the open the tool pane link in the text directly below the Page Viewer link.
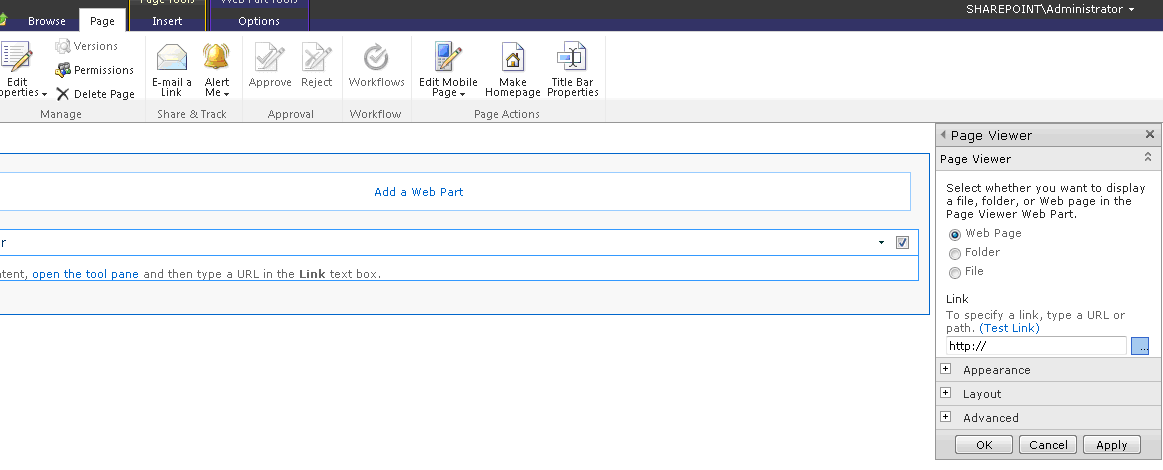
- The following window will display. Type the appropriate URL in the link box as shown in the example below, and then click the Apply button, followed by the OK button.
Note: Use the following format for the URL: http://[serverName]/guixt4web/start.gsp. If you use a different port than the default, place it behind the server name as in the following example: http://testServer:85/guixt4web/start.gsp.
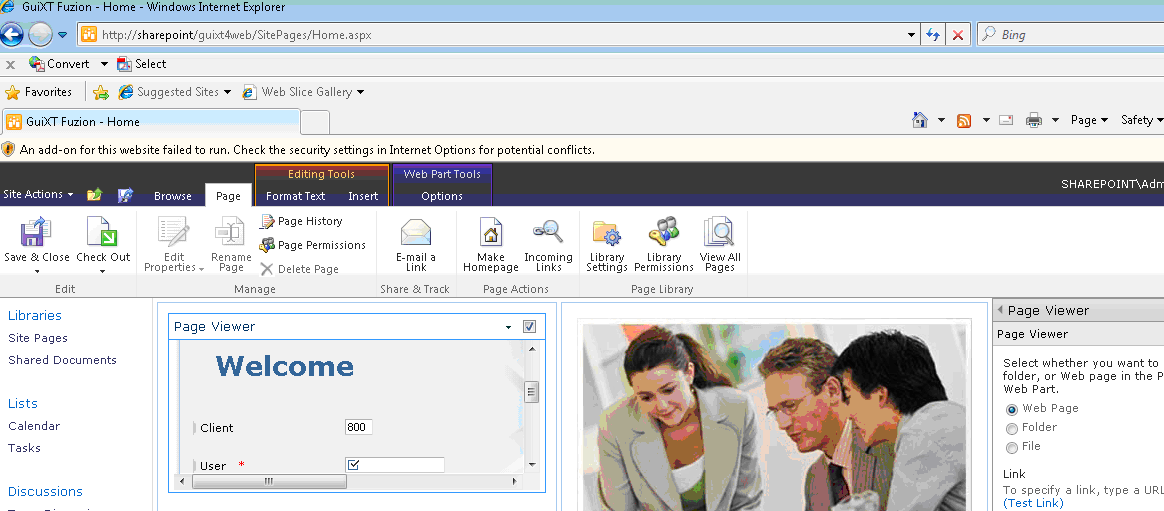
- The web page has now been created as shown below.

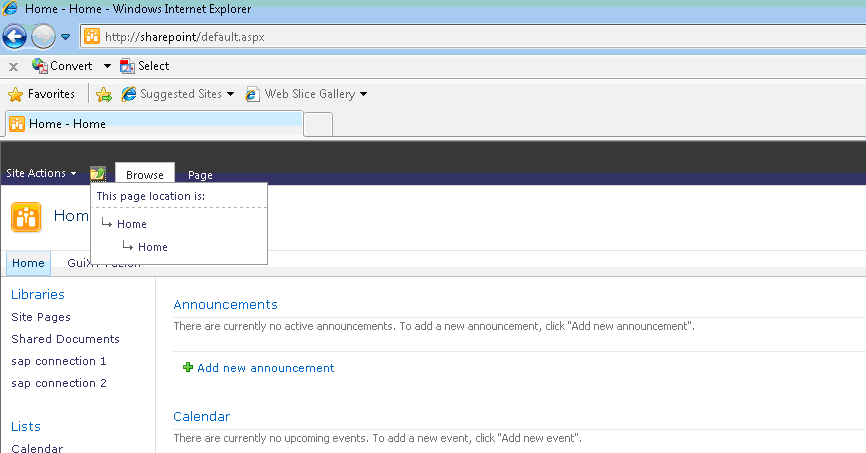
- Click the folder icon to the left of the Browse menu and select Home. The new web site should appear to the right of the Home link on the SharePoint tab strip as shown below.
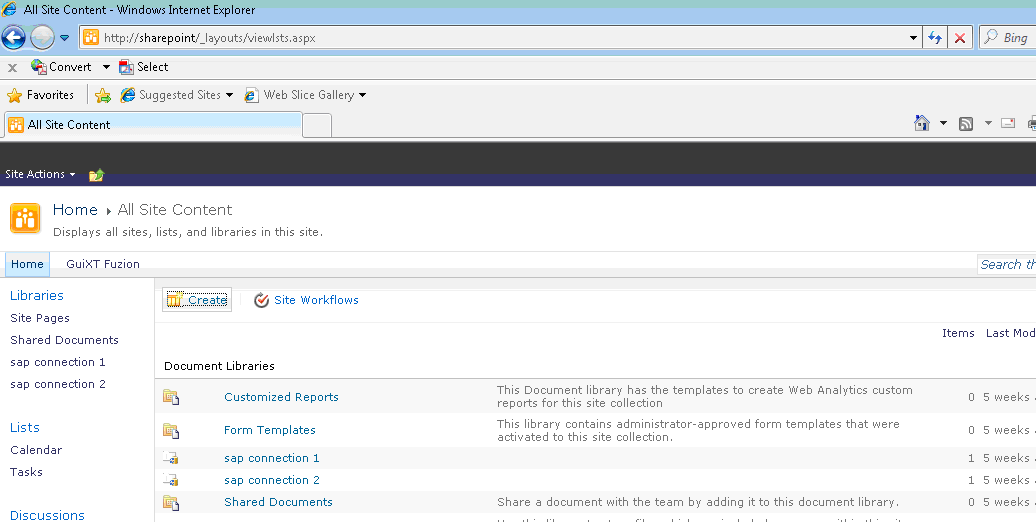
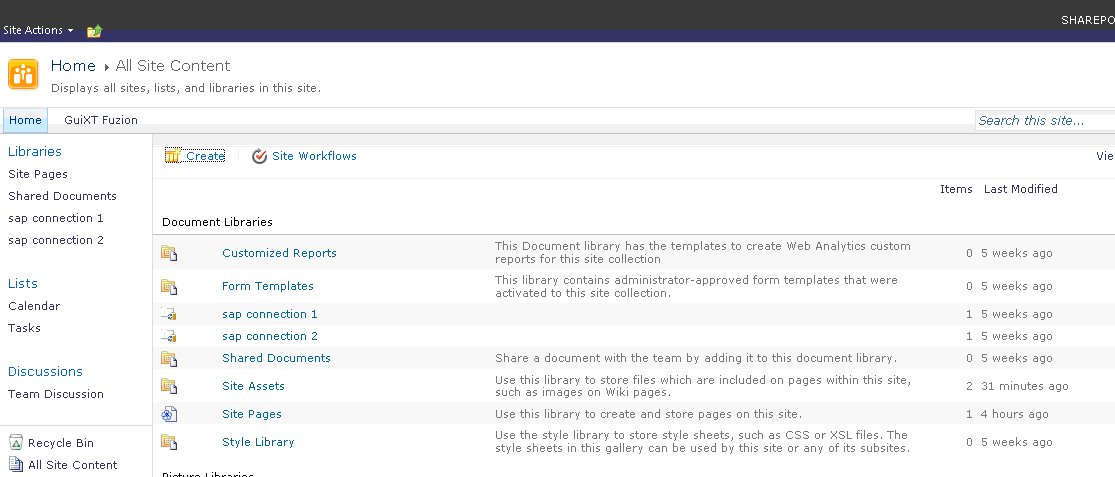
- Click the All Site Content link in the left sidebar. The following window will display. In the Document Libraries section, click the Site Assets link.
Note: You can create the web site in any available document library. However, for this example we used the Site Assets document library.
- Under the Site Assets library, you will see the new website that we just created, as shown below. Go back to the All Site Content page
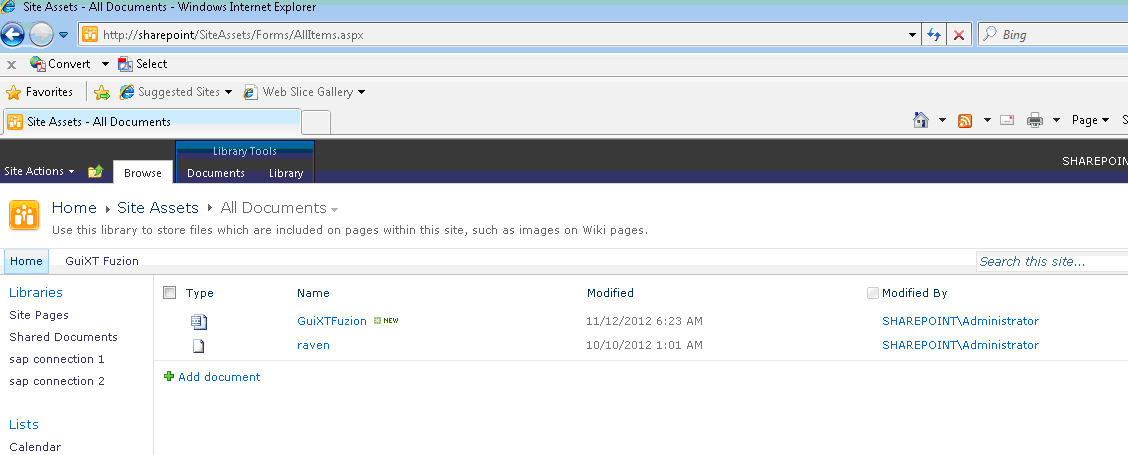
- Scroll down and click on the GuiXT Fuzion link as shown below.
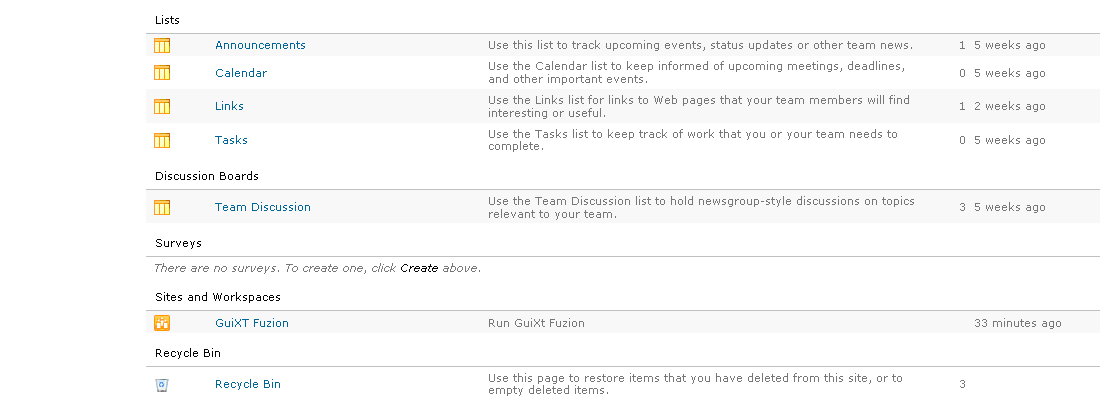
- The following window will appear. Click on the Page link in the tabstrip.
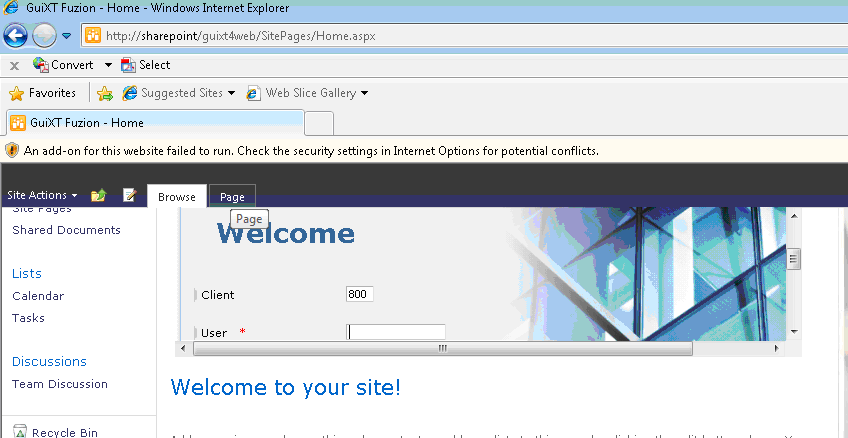
- The following window displays. Click the Make Homepage icon in the toolbar to set the new site as the default web site.