Prerequisites
- Products: Liquid UI WS, Liquid UI Server or Local DLL, Client Software
- Commands: inputfield(), pushbutton(), set()
Purpose
Learn how to add characters before a string value entered in the input field. We will walk you through the following steps.
- Delete unnecessary elements
- Add inputfields
- Add pushbutton
- Add function to pad a string value before another string.
- Show scenario on padding values
Create this file inside your script folder for customizing SAP Easy Access screen: SAPLSMTR_NAVIGATION.E0100.sjs
//Now let's start adding the content to the above file
- Delete the image container on the SAP Easy Access screen.
del("X[IMAGE_CONTAINER]");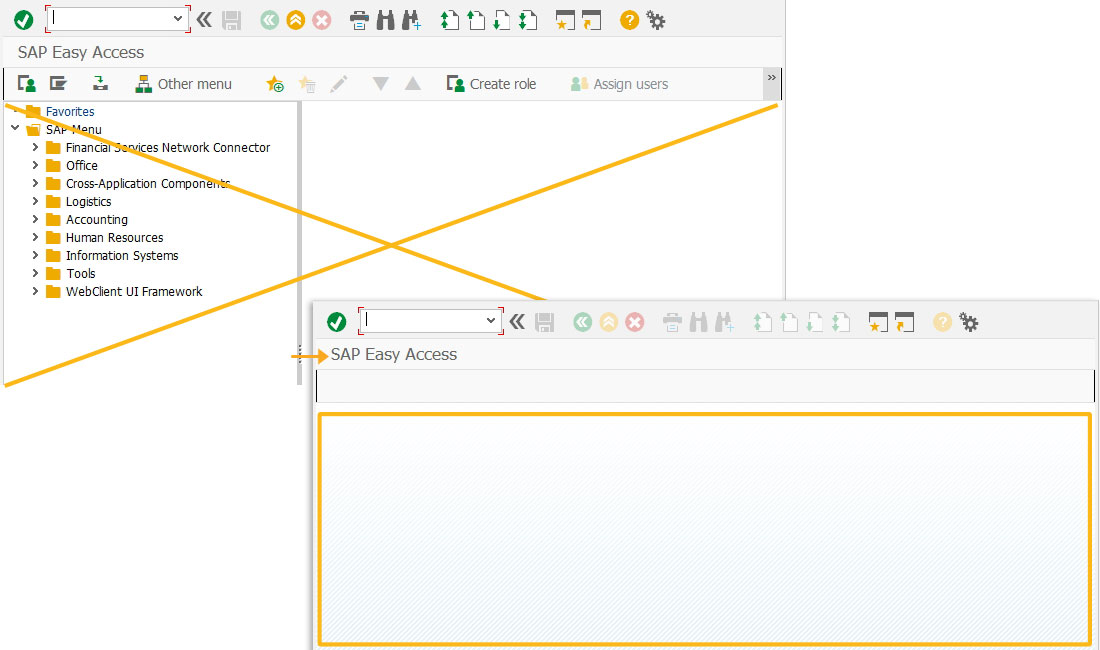
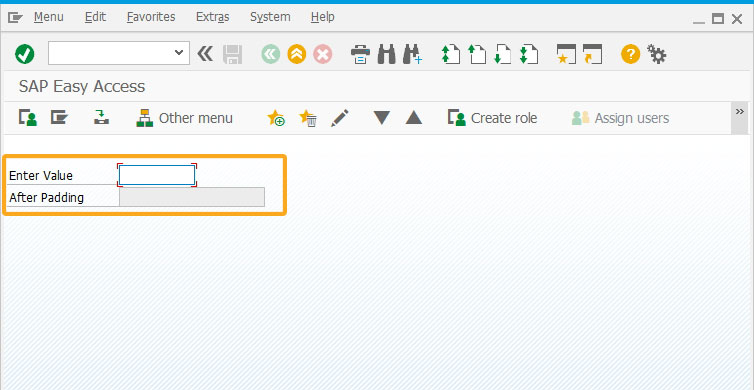
- Add two inputfields, to enter the number in decimal format.
// Create an inputfield with a label as Enter Value and technical name as z_value
inputfield([1,0], "Enter  Value", [1,16], {"name":"z_value", "size":10});
// Create an inputfield with a label as After Padding and technical name as z_padded_value
inputfield([2,0], "After Padding", [2,16], {"name":"z_padded_value", "size":10, "readonly":true});
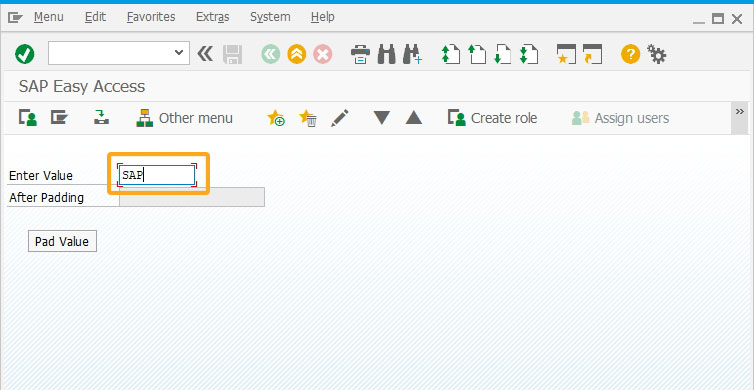
- Add a pushbutton, to execute a process to pad values before a value entered in the input field on click.
// Create a pushbutton with label name as Pad Value to execute a process called padValueWithChar using mychar parameter values
pushbutton([4,3], "Pad Value", {"process":padValueWithChar, "using":{"mychar":"Liquid UI for "}});

- Create a function to add characters before the value entered in the inputfield based on the parameters passed in the calling function.
String.prototype.trim=function(){return this.replace(/^\s+|\s+$/g,'');}

const PADDING_LEFT = 0;
const PADDING_RIGHT = 1;

// Function to add characters before or after the source based on the parameters
function padString(source,length,direction,character) {
    var loop;
    var output = "";
    var sourceLength = 0;
    if (typeof(source) != 'string'){
        source = source.toString();
    }

    set('V[z_source]',source.trim());
    if(z_source) {
        sourceLength = z_source.length;
    }

    switch(direction) {
    case PADDING_LEFT:
        for(loop = 0; loop < (length - sourceLength); loop++) {
            output += character;
        }
        output = output + z_source;

        break;

    case PADDING_RIGHT:
        for(loop = 0; loop < (length - sourceLength); loop++) {
            output += character;
        }
        output = z_source + output;
        break;
    }
    return output;
}
- Create a function to return the padded value based on the character value passed.
// Function to return the padded value based on the character value passed
function padValueWithChar(param){
    z_temp = padString(z_value,4,0,param.mychar);
    set('V[z_padded_value]','&V[z_temp]');
    return;
}
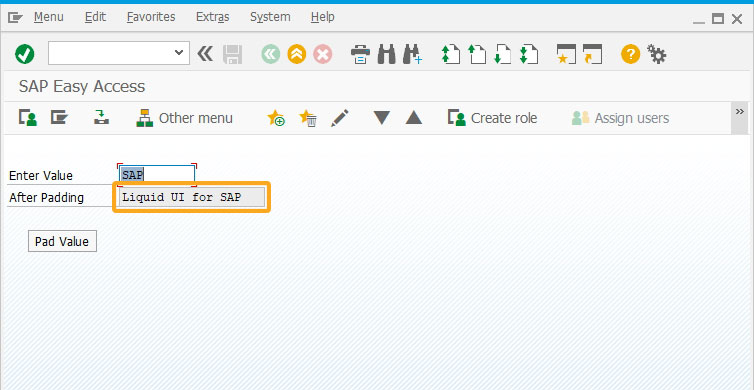
- Enter a value in the inputfield and Click Pad Value pushbutton.
- You will see Liquid UI for value is added to the SAP string value added in the input field.
Next Steps

This article is part of the Take-a-deep-dive-into-the-input-field-and-pushbutton tutorial.


