Prerequisites
- Products: Liquid UI WS, Liquid UI Server or Local DLL, Client Software
- Commands: gettableattribute(), pushbutton()
Purpose
In this scenario, you will learn to display pushbuttons relative to an SAP table using the table attributes on the Create Sales Order: Overview screen. To explain this, we’ll walk you through the following steps.
- Retrieve table attributes
- Add two pushbuttons
//Create this file inside your script folder for customizing the Create Sales Order Overview screen SAPMV45A.E4001.sjs
//Now, let's start adding the Liquid UI script to the above file and save it.
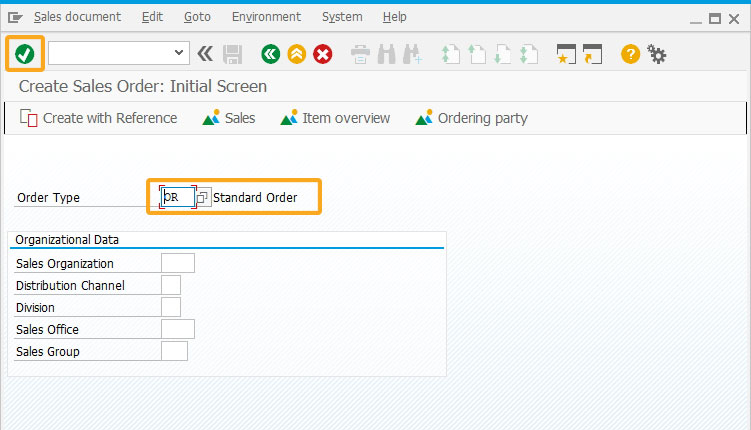
- Logon to SAP and navigate to the Create Sales Order (VA01) screen, and enter the value for the Order Type input field as OR; click enter.
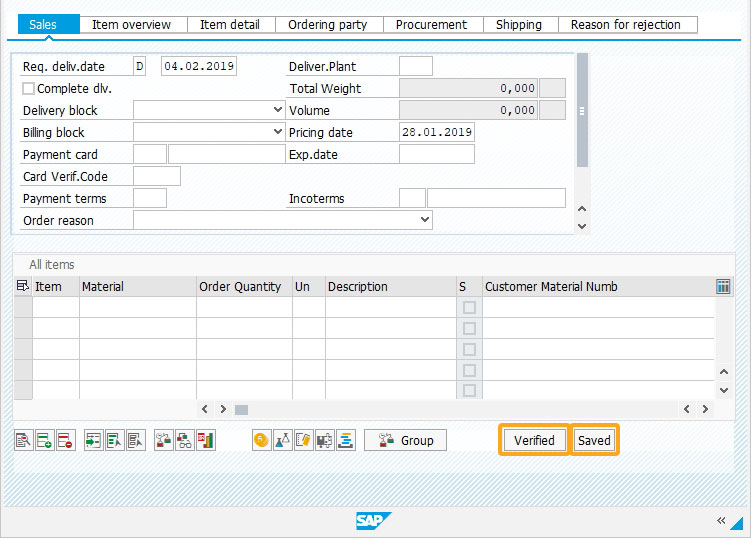
- Then, you will navigate to the Create Sales Order: Overview screen. Now, get the All items table attributes using the gettableattribute command.
// table attributes are fetched using ‘gettableattribute’
gettableattribute("T[All items]", {"firstvisiblerow":"FVisRow","lastvisiblerow":"LVisRow", "lastrow":"LastRow"});
//Lastvisible row is added with ‘3’ to add header and table border space occupied by table on screen
table_temp = LVisRow+3;
- Add two pushbuttons namely Verified and Saved relative to the All items table based on the last visible row values.
//Pushbuttons are made relative with table and variable “table_temp” is used in place of row coordinates
pushbutton("T[All items]+["+table_temp+",70]","Verified");
pushbutton("T[All items]+["+table_temp+",90]","Saved");
Next Steps

Dynamically create a table and read/write a value into the table cell
Learn how to create a table and perform read, write, and clear actions on the table cells dynamically.
Learn how to create a table and perform read, write, and clear actions on the table cells dynamically.
10 min.
This article is part of the 4.0 Take a deep dive into the SAP table and Liquid UI table


