Installing Liquid UI Webscript
Liquid UI WS is a license-based software. You need a valid license to use Liquid UI WS. Although, the license is not required while installing the software but it is required to run the software. In this article, we will discuss the pre-requisites and the procedure to install Liquid UI WS.
Pre-requisites
The following system requirement recommendations ensure effective performance of Liquid UI WS:
- RAM: 1GB of RAM in addition to the Microsoft system requirements for the WS engine.
- DISK SPACE: 20MB of free space on your hard drive over and above the Microsoft recommendations.
- SAP: All versions of SAP GUI from 6.0 are supported, but we recommend SAP GUI 7.20 or above for the best results.
Supported Operating Systems
The supported operating systems for WS are:
Necessary Files
The following files get installed after WS installation and are necessary for WS to function correctly:
- guixt.dll
- Contains the functions and libraries called by the GuiXT executable. You must have the correct DLL in order to use WS/64.
- guixt.sjs
- Configuration file where you add license key data and path of your script files location.
- webscript.dll
- Contains the Javascript parser, allowing the client-side Javascripts to communicate with the server-side C++ code.
Installation Procedure
-
Double-click the setup file, that you received :Figure 1: Setup

-
The InstallShield Wizard launches, as shown in Figure 2.Figure 2:
-
After the splash screen, the Welcome screen appears, as shown in Figure 3.Figure3: Welcome
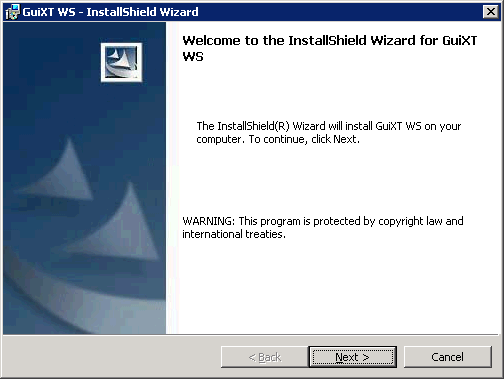
Note: Make sure that your antivirus software is not blocking Liquid UI files:guixt.dll, webscript.dll, sapproxy.ini, and guixt.sjs. You need to have admin privileges to install the software.
-
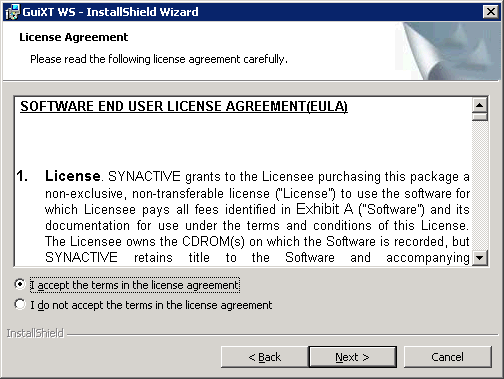
Click Next. The End User License Agreement appears, as shown in Figure 4.Figure 4: Agreement
-
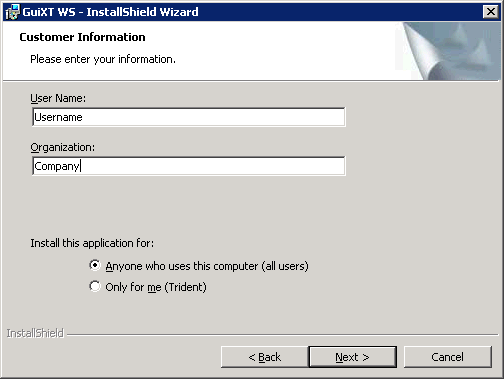
To proceed with the installation, select the option, 'I accept the terms in the license agreement and click Next. The Customer Information screen appears, as shown in Figure 5.Figure 5: Customer Info
-
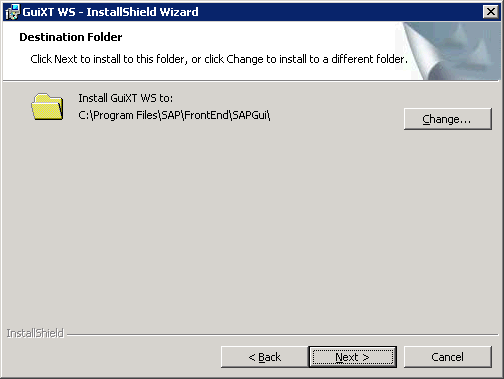
Click Next. The destination screen appears, as shown in Figure 6. If you want to change the installation location, click Change and select a folder locationFigure 6
-
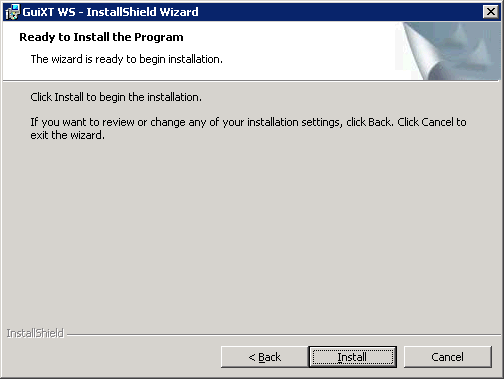
Click Next. The Start Install screen appears, as shown in Figure 7.Figure 7
-
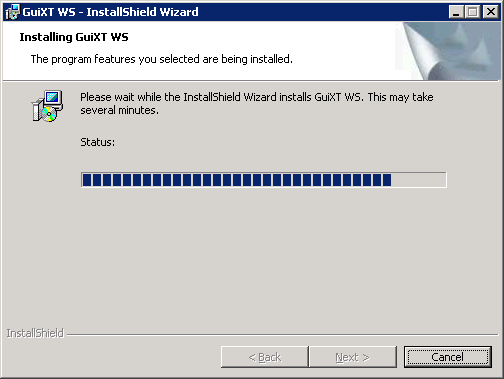
Click Install. The installation begins and the progress status appears, as shown in Figure 8.Figure 8
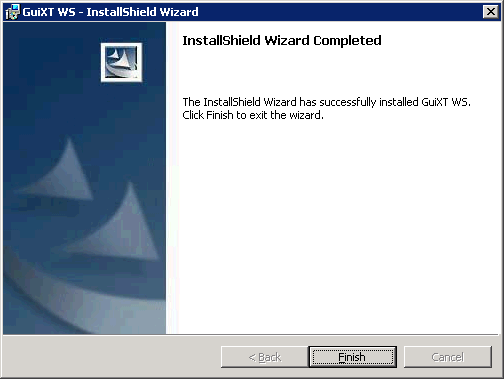
On completion of the installation, the completed status screen appears, as in Figure 9.
Figure 9
-
Click Finish to complete the installation. Liquid UI WS is now successfully installed on your system.
After installing Liquid UI WS, you will need to install the license. Please check the following link for the license installation procedure:


