Liquid UI - Documentation - 4.7.1 Configuring PDFs as iFrames

4.7.1 Configuring PDFs as iFrames


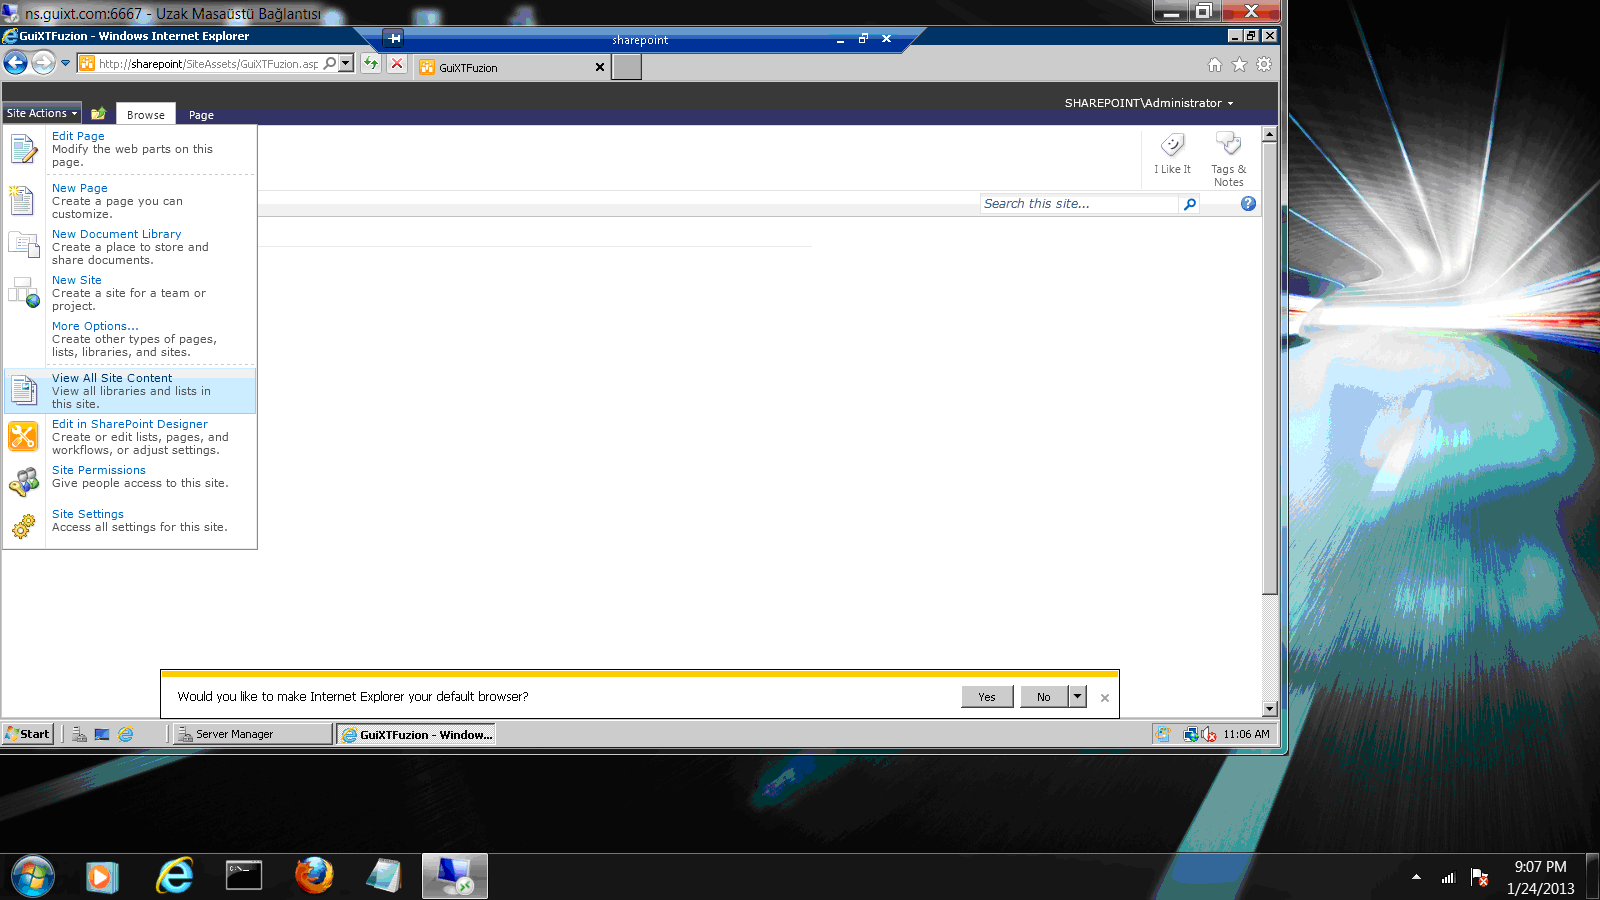
To use the Web Server with SharePoint, you must integrate it into SharePoint as an iFrame. To integrate Liquid UI Web Server in SharePoint, please do the following:
  1. Log into SharePoint.
    Note: You will need to get the URL and user credentials from your system administrator. For this example, we will use the following:
  2. Open a browser window and type in the following: sharepoint.
    Note: To open the site, you will need to input your credentials. You also may need to input your domain information. You can get these from your system administrator.
  3. Windows may ask for a user name and password as well. If so, use the following format:
    • User name: <domain>\<your_userName>
    • Password: <your_domainPassword>
  4. The SharePoint website will display as shown below:

  5. Click the Site Actions link and then select View All Site Content from the menu.
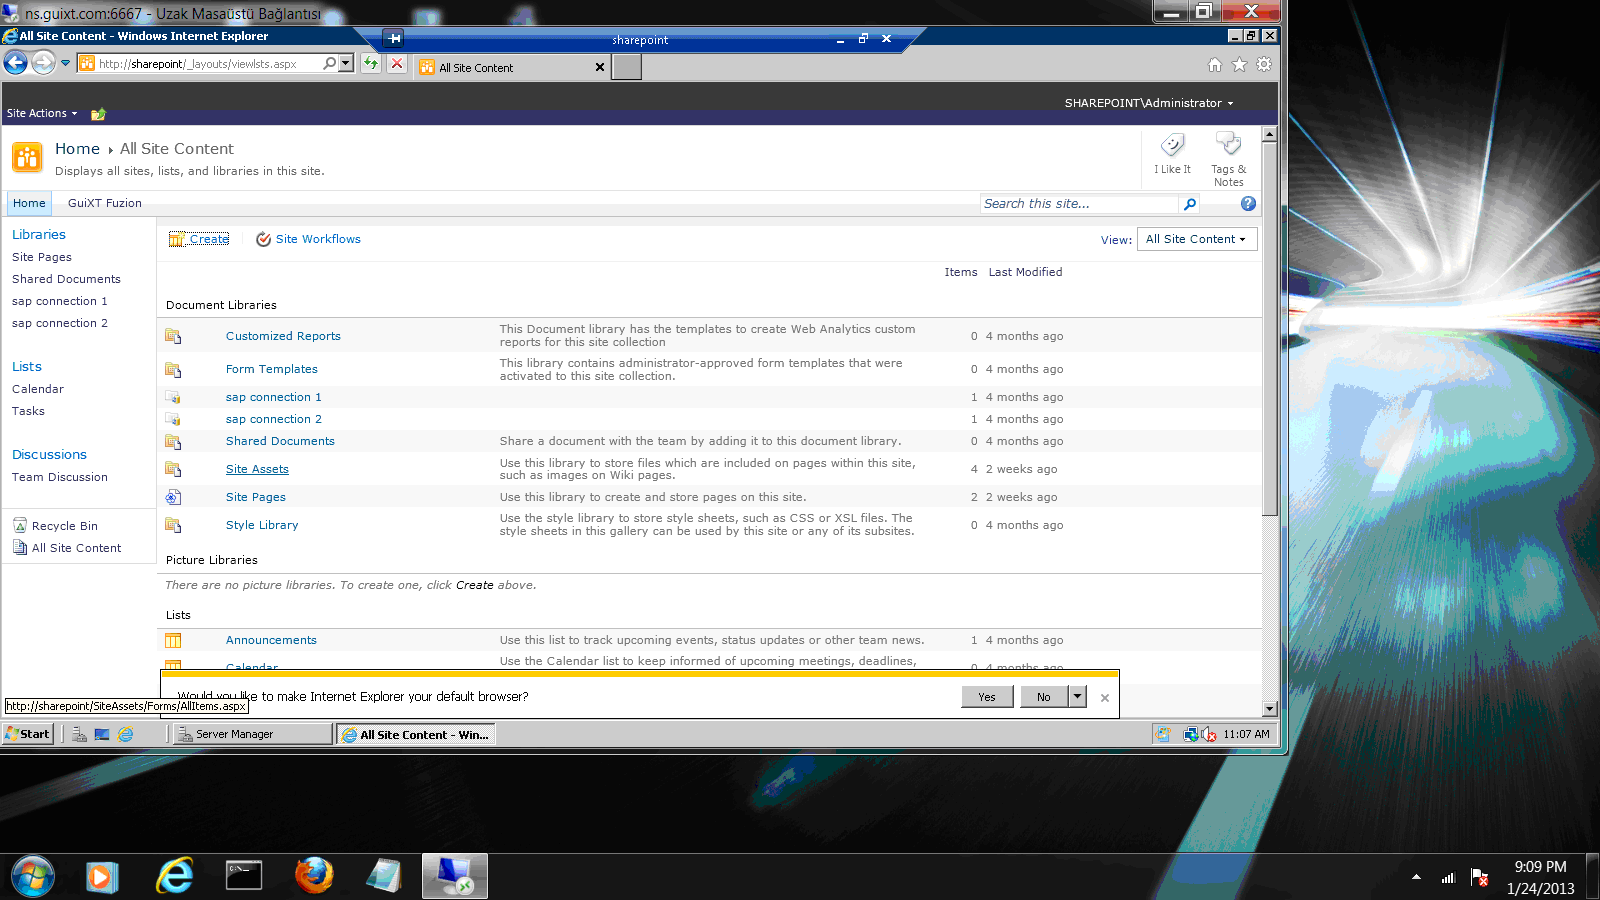
  6. The following window will display. Click the Create button.

  7. A new window will display as shown below. Click the Web Part Page link.

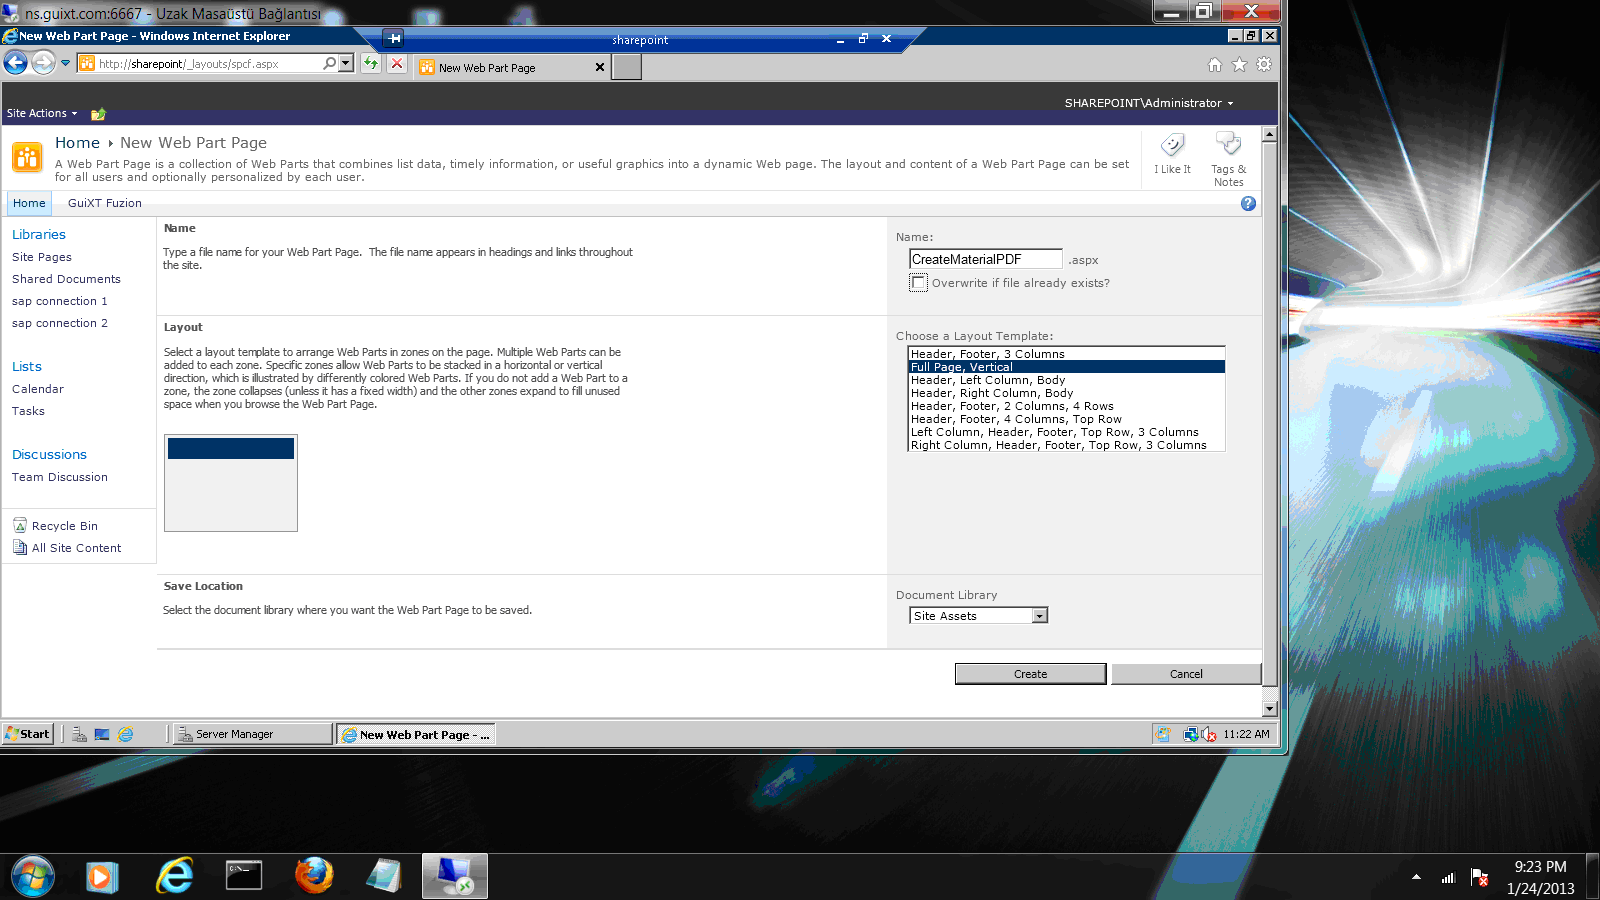
  8. The following window will display. In the Name field, enter CreateMaterialPDF.

  9. In the Choose a Layout Template dropdown list, select the Full page - vertical option. Then click the Create button.
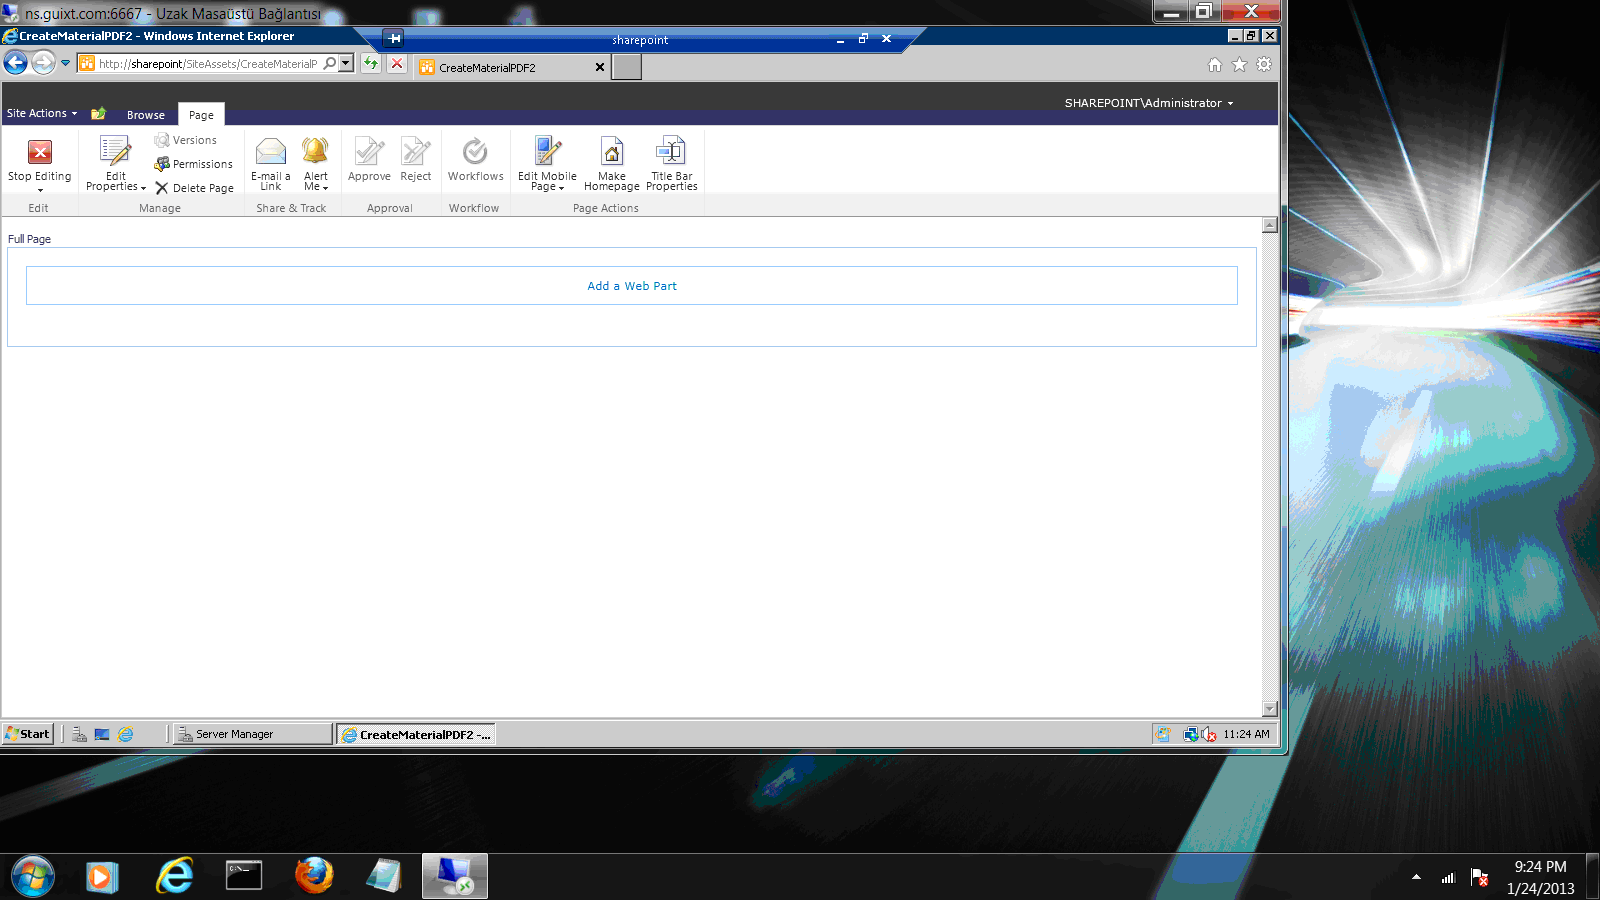
  10. The following window will display. Click the Add Web Part link.

  11. A new window as shown below will display. From the Categories sidebar, click the Media and Content link. Then from the Web Parts list, choose the Page Viewer link and click the Add button.

  12. The following window will display. Mouse over the 'Page Viewer' section and a small arrow will appear on the right as shown below. Select Edit Web Part from the drop-down menu.

  13. The following window will display. Click the File radio button in the right sidebar as shown below and verify that the link to your PDF file is accurate.
    Note: The PDF file can be created using the Workbench tool. For instructions on creating PDF forms with Workbench, please consult the Workbench documentation.

  14. Click on the Appearances tab in the right sidebar and set the width and height to the following parameters.
    • Width: 600
    • Height: 800
  15. Click the Apply button and then click OK.
  16. The PDF form is now configured in SharePoint.

Can't find the answers you're looking for?