Prerequisites
- Products: Liquid UI WS, Liquid UI Server or Local DLL, Client Software
- Commands: onscreen(), table(), column() ,onUIEvents, setcursor(), set(), enter()
Purpose
Learn how to add a column to an SAP table and assign values to that column automatically from the input field. To explain this, we will walk you through the following steps.
- Enter order details
- Add conditional statements to add a column
- Add a function to clear all the z_ variables
- Add functionality to fetch the volume field values for each item and assign them to the Volume column
//Create this file inside your script folder for adding functionality to the Display Sales Order Overview screen (VA03): SAPMV45A.E4001.sjs
//Now, let's start adding the Liquid UI script to the above file and save it.
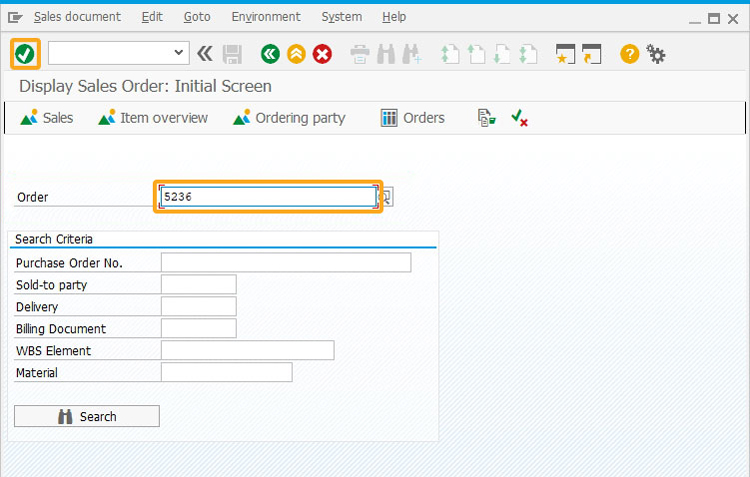
- Navigate to the Display Sales Order Overview screen (VA03). Then, enter the value for the Order input field and click continue, as shown below.
- Add a condition to check the transaction is VA03 to add the column with label Volume under the All items table on the Display Sales Order Overview screen.
if(_transaction == "VA03")
{
// on navigating to any transaction, va03clearvar() function gets executed
 onUIEvents["/n*"] = {"process":va03ClearVar};
 //Creates a column with label as Volume in All items table with technical name as z_volume at 4th position and is non editable.
 column("Volume", {"table":"All items","size":12,"name":"z_volume","position":4,"readonly":true});
 if(z_run_function == undefined)
 {
 z_run_function = true;
 //Executes the process on refreshing the screen
 enter("?",{"process":va03FetchVolume});
 }
 }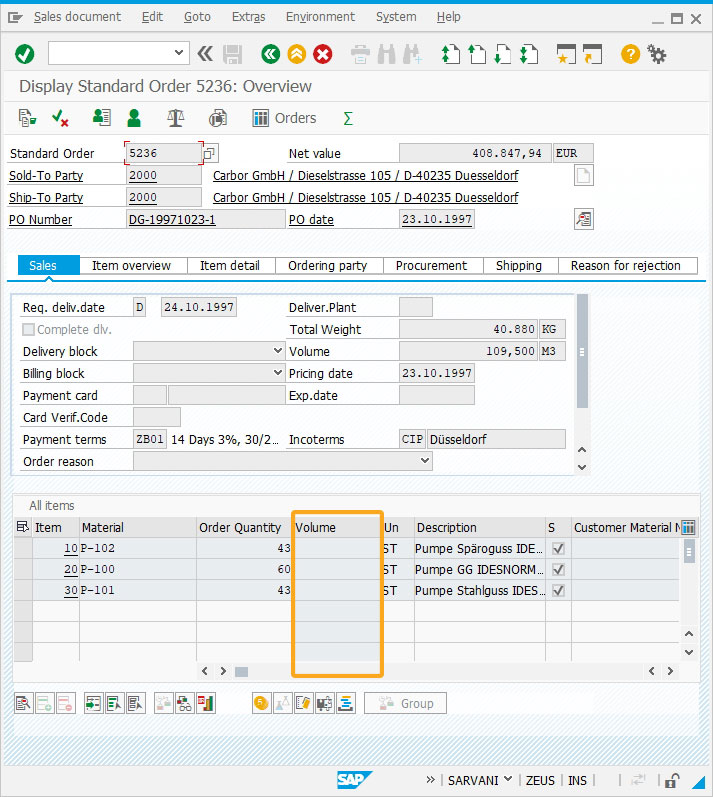
- Add a function to clear all the z_* variables defined on the Display Sales Order screen.
// This function is responsible for clearing all the variables
 function va03ClearVar()

{
    // set the column values to a blank string
    set("V[z_*]","");
	    // set the function flag to undefined
	z_run_function = void 0;
}
- Add a function to replace the special characters defined in the return statement with space.
// This is a trim function for strings that will return the original string with String.prototype.trim = function() { return this.replace(/^\s+|\s+$/g,""); } - Add a function to retrieve the Volume field values under the Item tab for various Items.
// This function is responsible for retrieving the Volume of each item
function va03FetchVolume(){
onscreen 'SAPMV45A.4001'
// Table Scroll through each Item
 absrow = 1;
 relrow = 1;
  // Fetch the table attributes
 gettableattribute("T[All items]",{"firstvisiblerow":"FVisRow","lastvisiblerow":"LVisRow","lastrow":"LastRow"});
 new_screen:;
 // Scroll to the absolute row
 enter("/ScrollToLine=&V[absrow]", {"table":"T[All items]"});
 onscreen 'SAPMV45A.4001'
 // Refetch table attributes, in case they might of changed
 gettableattribute("T[All items]",{"firstvisiblerow":"FVisRow","lastvisiblerow":"LVisRow","lastrow":"LastRow"});
  // Reset the relevant row
 relrow = 1;
 // reset the relative row with a new screen
 new_row:;
 if(absrow>LVisRow)
 {
     // end of the screen
goto new_screen;
}
if(absrow>LastRow)
{
            // end of the table
 goto end_of_table;
 }
- Then, add the values to the Volume column created under the All items table.
 // Set the cursor on the row
 setcursor("cell[All items,1,&V[relrow]]");
  // Go into Item Data enter("=ITEM");
onscreen 'SAPMV45A.4003'  // Navigate to the second tab enter("=T\\03");
onscreen 'SAPMV45A.4003'  // Set the Volume to our Liquid UI Column set("V[temp]","&F[Volume]");
set("V[z_volume.&V[absrow]]",temp.trim());
 // Go back to Overview Screen enter("/3");
onscreen 'SAPMV45A.4001'  // Increment out counters absrow++;
relrow++; goto new_row;
end_of_table:;  // Scroll back to the top of the table enter("/ScrollToLine=1",{"table":"T[All items]"}); }
}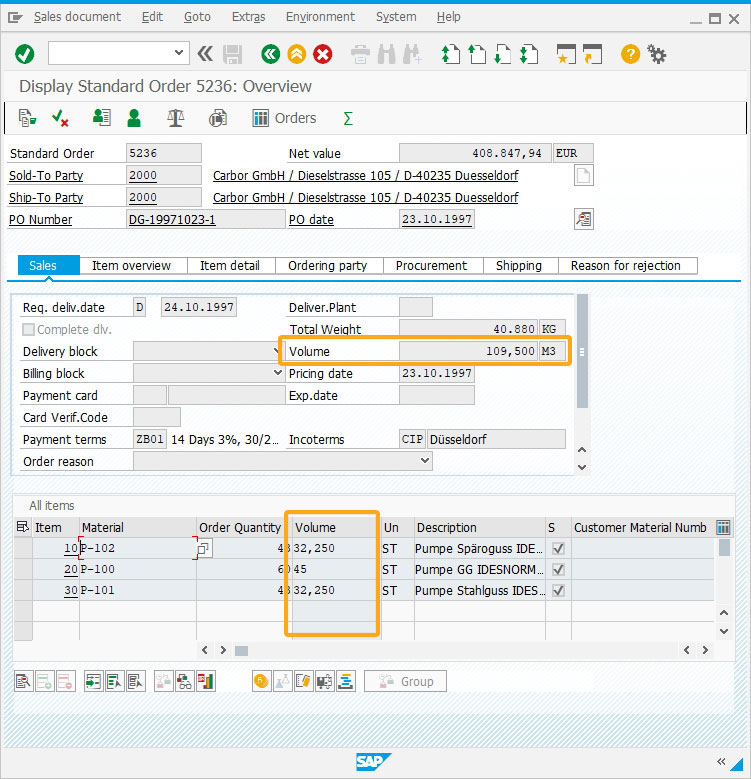
Next Steps

Assign values to the Liquid UI table
Learn how to assign values to the Liquid UI table from an array.
Learn how to assign values to the Liquid UI table from an array.
10 min.
This article is part of the Take a deep dive into the SAP table and the Liquid UI table tutorial.


