Prerequisites
- Products: Liquid UI WS, Liquid UI Server or Local DLL, Client Software
- Commands: column(), table()
Purpose
In this scenario, you will learn to assign values to cells inside a Liquid UI table. We will walk you through the following steps.
- Delete unnecessary screen elements using the clearscreen command
- Add screen elements
- Adding functionality to the screen elements to assign values to the column fields
//Create this file inside your script folder for customizing the SAP Easy Access screen: SAPLSMTR_NAVIGATION.E0100.sjs
//Now, let's start adding the Liquid UI script to the above file and save it.
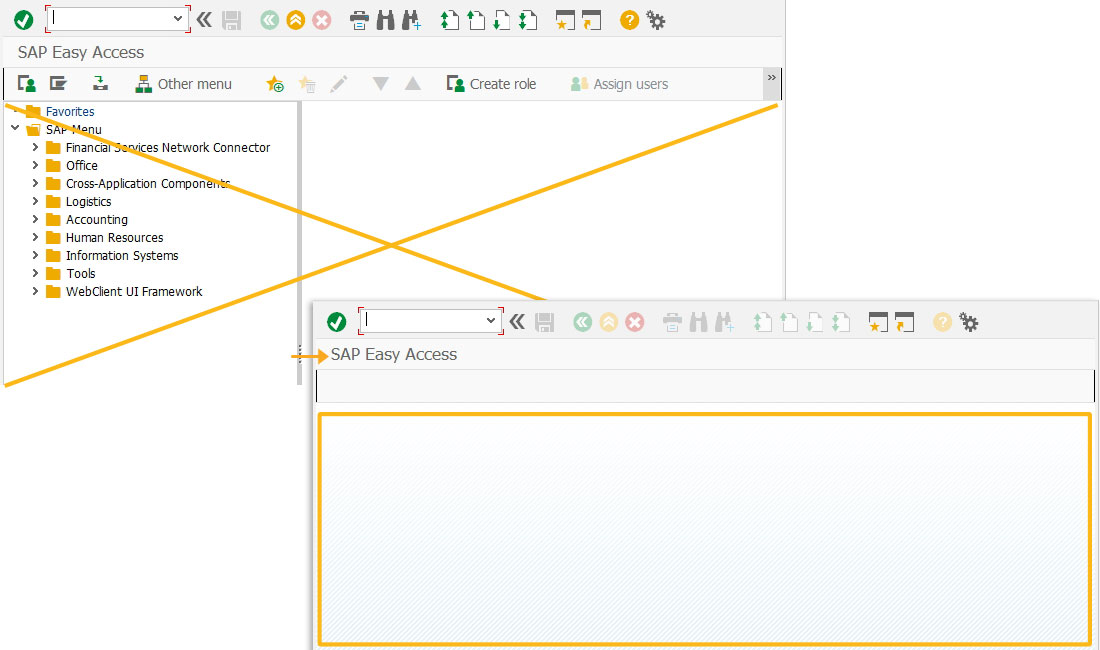
- Logon to SAP, and delete the image container using the del command on the SAP Easy Access screen.
// Deletes an IMAGE_CONTAINER on the screen
del("X[IMAGE_CONTAINER]");
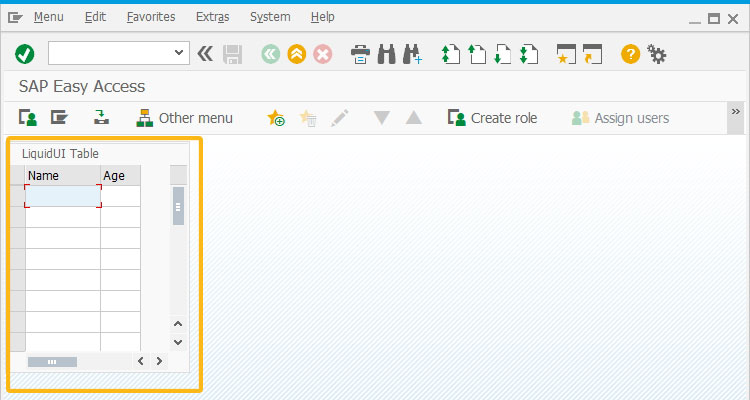
- Create a Liquid UI table with two columns as Name and Age, as shown in the image below.
table([0,0], [10,25], {"name":"z_table", "title":"Liquid UI Table", "rows":name.length});
column("Name", {"name":"z_column1", "size":10});
column("Age", {"name":"z_column2", "size":5});
- Add a for loop statement to assign values from an array to the newly created columns. These values will be reflected in the table columns, as shown in the image below.
name = ["Chirag", "Rajesh", "Ben"];
age = [24, 31, 30];

for(x=0;x<name.length;x++){
    z_table.z_column1[x] = name[x];
    z_table.z_column2[x] = age[x];
}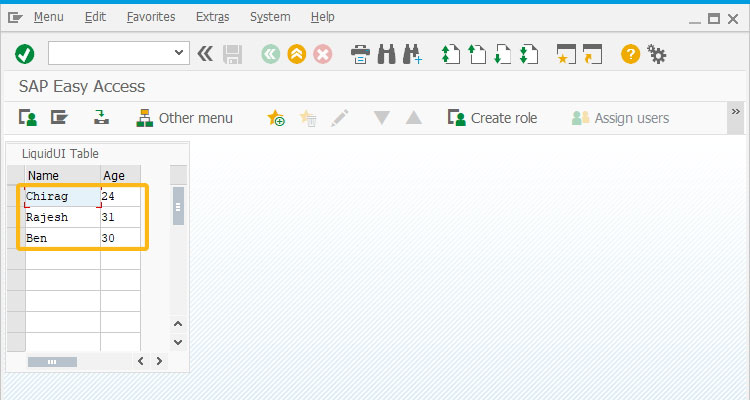
Next Steps

This article is part of the 4.0 Take a deep dive into the SAP table and Liquid UI table tutorial.


