Once you have created the launchpad, you can now proceed to create a custom screen that will be launched from your launchpad. In this example, we will use the VA01 'Create Sales Order' transaction in SAP. To create a custom VA01 screen, please do the following. This example involves only altering the existing VA01 screen. We will do more complex screen design in a later tutorial where we combine elements from multiple screens into a single custom screen. We will assume that you have both SAP and Designer open after the previous example. If not, please launch and log into SAP and then launch Designer.
-
Open the VA01 transaction in SAP.
-
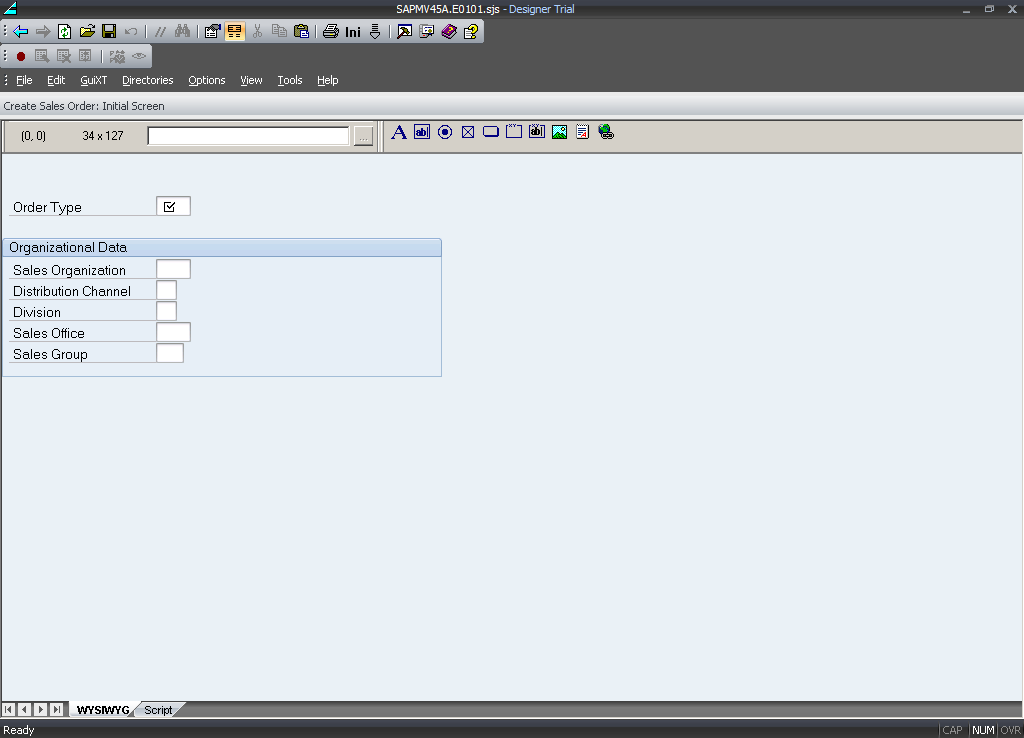
Click the Refresh button in Designer. The VA01 screen will load as shown below.
-
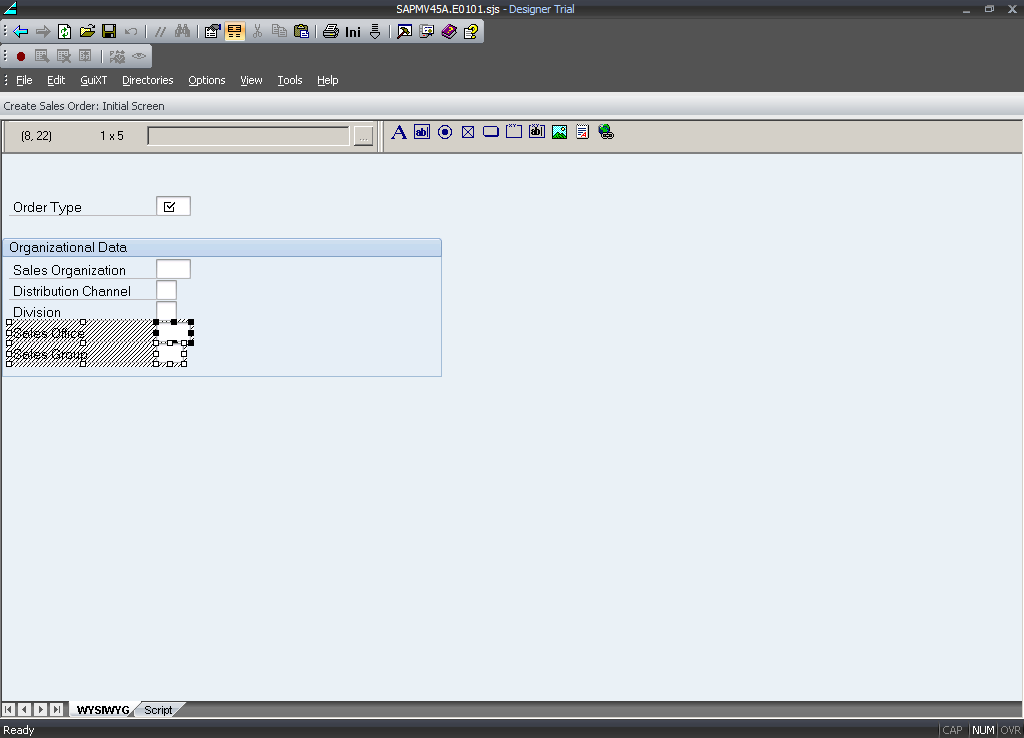
Click on the Sales Office and Sales Group labels and their associated fields as shown below.
Note: To select multiple fields or elements, hold the Control key while you click.
-
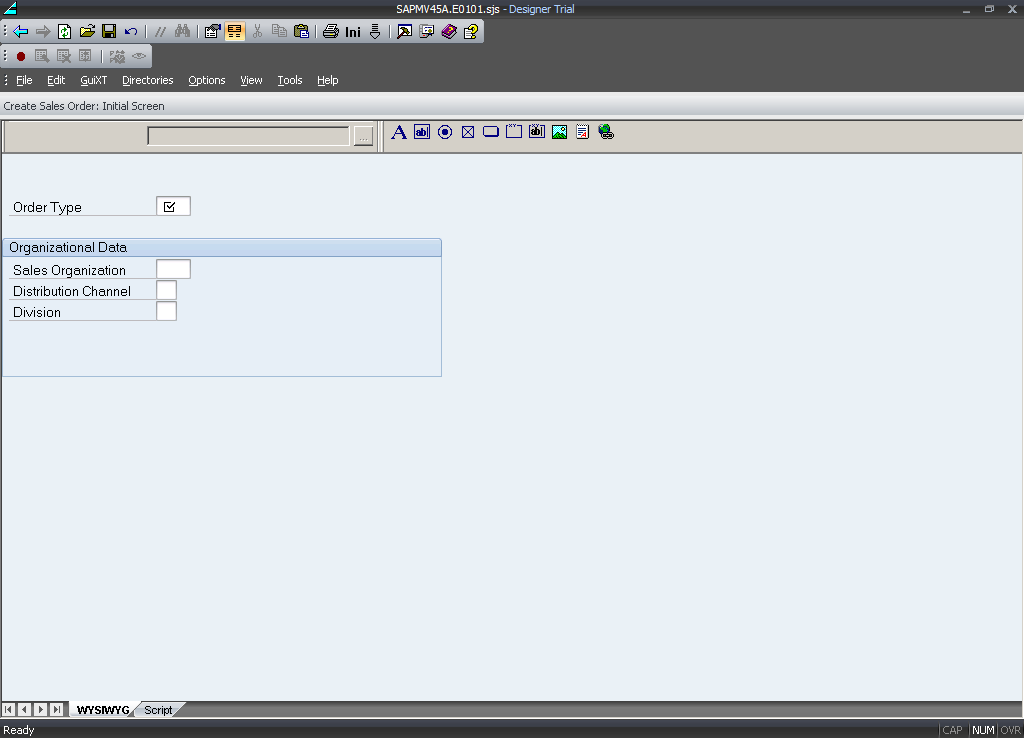
Click the Delete key. The screen will now appear as follows.
-
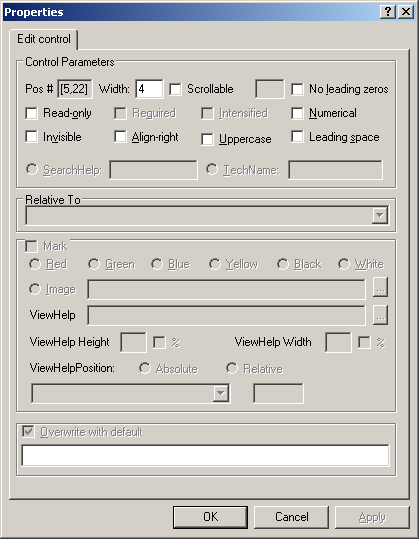
Double-click on the field beside the Sales Organization label. The Properties dialog will appear as shown below.
-
Enter the following value in the Overwrite with default field. This will change the default value of the Sales Organization field.
- 1000
-
Open the Properties window for the Sales Distribution field and in the Overwrite with default field enter the following value.
- 10
-
Highlight the Division field and then right-click to open the Properties dialog. Enter the following value in the Text field.
- Department
-
Click on the Order Type field and its associated label and then delete it.
-
Click on the Radiobutton icon in Designer and place it on the screen as shown below.
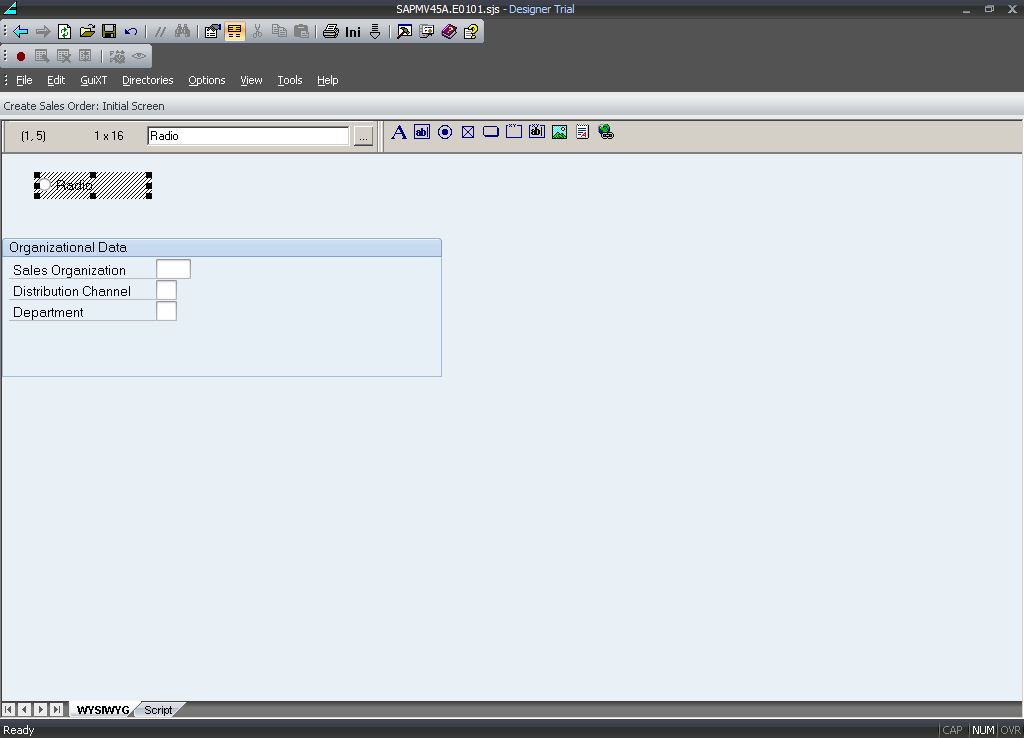
-
Copy the radiobutton and place it to the immediate right of the first radiobutton as shown below.
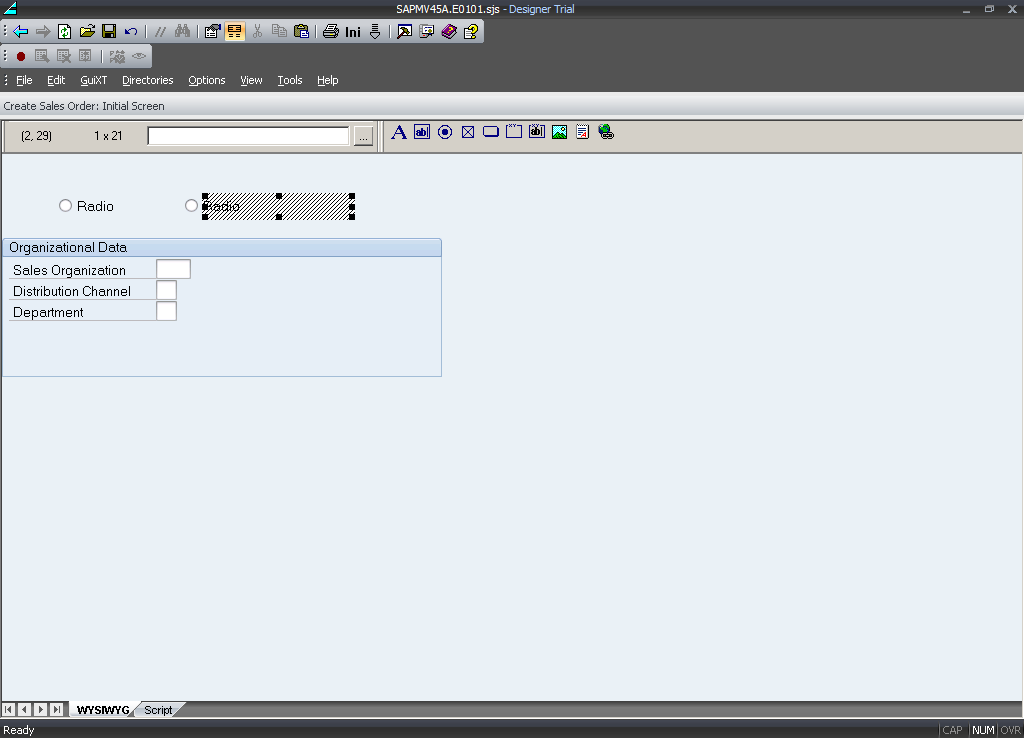
-
Right-click on the first radiobutton and open the Properties dialog. In the Text field on the Radio Button tab, enter the following value.
- Standard Order
-
Click the Fields and values tab and then click the New button. The Edit Field Value dialog appears. Enter the following values and click OK.
- Order Type
- OR
-
Right-click on the second radiobutton and open the Properties dialog. In the Text field on the Radio Button tab, enter the following value.
- Returns
-
Click the Fields and values tab and then click the New button. The Edit Field Value dialog appears. Enter the following values and click OK.
- Order Type
- RE
-
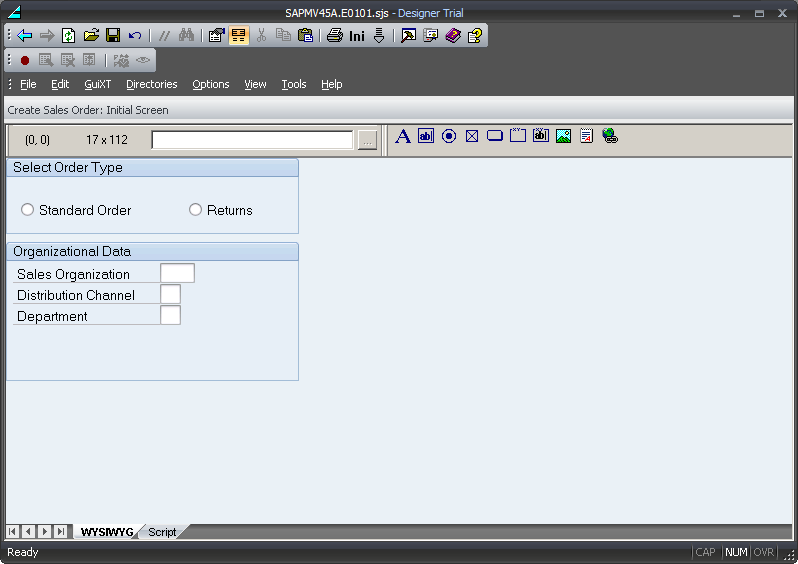
Place a groupbox around the two radiobuttons and open the Properties dialog.
-
In the Text field, enter the following value.
- Select Order Type
-
Highlight the area beside the existing editfields and delete them, then resize the groupbox to match the new radiobutton groupbox.
-
The screen now appears as follows.
-
Save the script file. Since this is a VA01 script, the file name will be 'SAPMV45A.E0101.sjs'.
-
Log out and then log back into SAP to see your changes.
You can add other elements to see how you can change SAP screens. Make sure to save your changes and log out and then back into SAP in order to see your changes.


