Purpose
You will learn how to upgrade your Liquid UI Server software. Synactive releases regular updates of the Liquid UI Server product. If you are a paid customer, you will receive these updates free of charge and we recommend keeping your software up-to-date. The upgraded software includes the latest features, bug fixes, UI refinements, and performance improvements.

Note: You must have administrative rights to upgrade the Liquid UI Server.
Pre-requisites
- Liquid UI Server with a valid license.
- Liquid UI WS with a valid license.
You can upgrade Liquid UI Server in two ways:
Using Liquid UI Server Installer
In this section, we will explain how to upgrade the Liquid UI Server using the installer.
- Initially, close all SAP windows, including the Logon Pad.
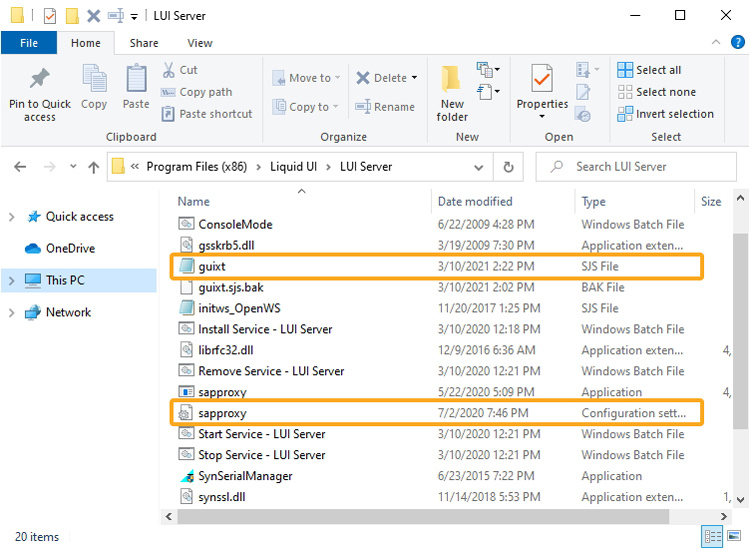
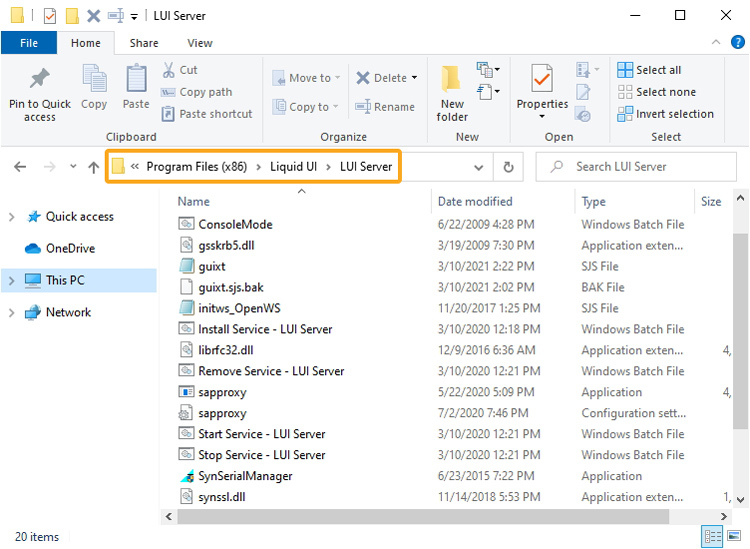
- Go to the directory containing the Liquid UI Server files. On most machines, this directory can be found at C:\Program Files\Liquid UI\Liquid UI Server.
- Make a backup of sapproxy.ini and guixt.sjs files from the Liquid UI Server installed folder in your system before upgrading to a new version to avoid adding your configurations again in the files.
Note: sapproxy.ini and guixt.sjs are the configuration files that help you to connect to your SAP Server.
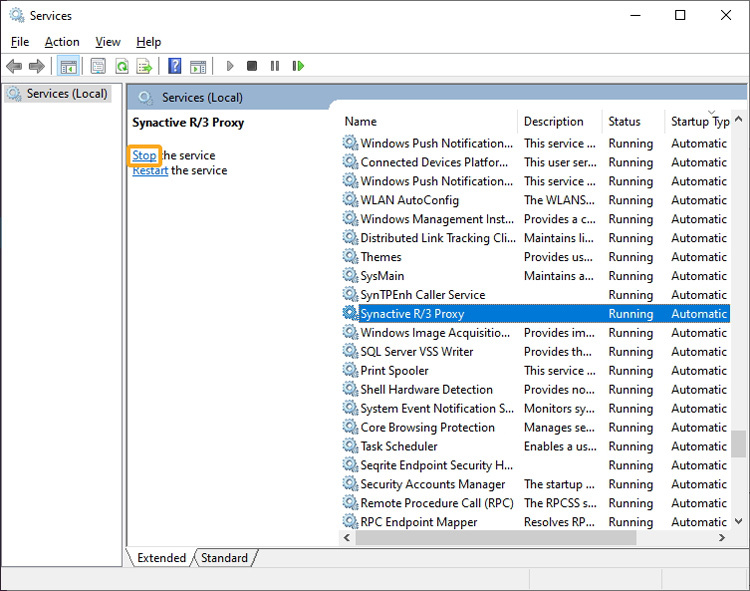
- Open the Services tool. This tool can usually be found at Start > Control Panel > Administrative Tools > Services.
- Find the Synactive R/3 Proxy Service as shown below and click the Stop button to stop the service.
- Download the Liquid UI Server Installer package from the location specified by the Support team or Sales Representative.
- Launch the Liquid UI Server InstallShield wizard, and follow the on-screen instructions to update. For more information, see Modify Liquid UI Server.
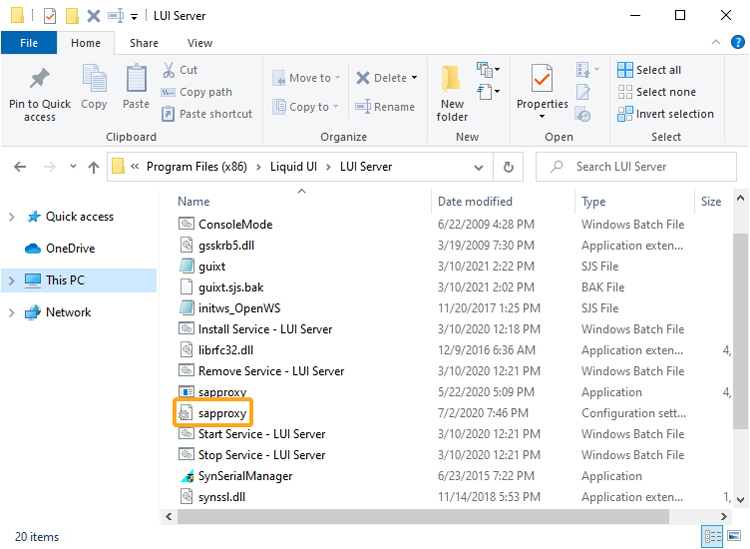
- Open the new Liquid UI Server folder and locate the sapproxy.exe file. Right-click the sapproxy.exe file, and select the Properties option to check the version.
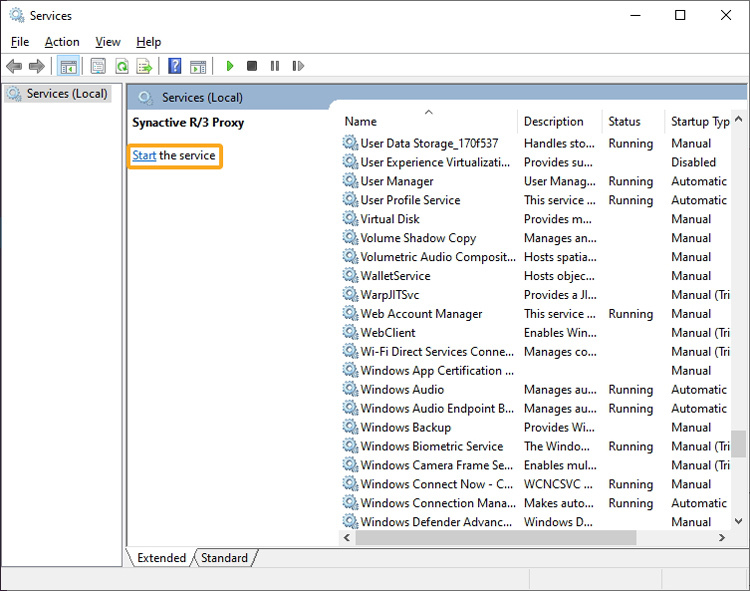
- Re-start the Synactive R/3 Proxy Service present in the Services panel. This will complete the upgrading process.
- The Liquid UI Server is now updated to the latest version, and you can start using it.
Using Liquid UI Server Version files
In this section, we will explain how to upgrade the Liquid UI Server by manually replacing the older version installation files with the newer files.
- Initially, download the Liquid UI Server new version files from the links below based on your system and copy them.
- Open the Services tool and stop the "Synactive R/3 proxy" service.
- Take the backup of two files: sapproxy.exe, and webscript.dll (from the current Liquid UI Server installed folder, e.g., C:\Program Files\Liquid UI\LUI Server).
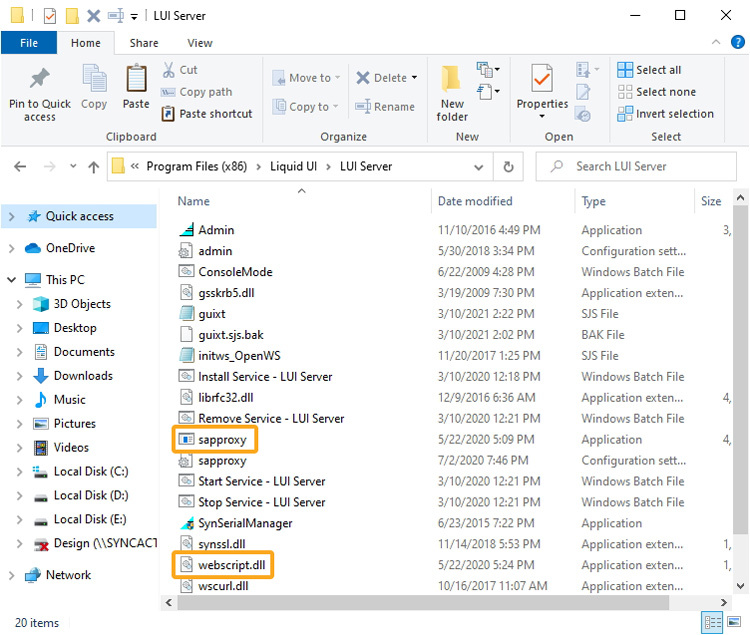
- Now place the downloaded files (sapproxy.exe and webscript.dll) in the Liquid UI Server folder.
- In the Services tool, re-start the "Synactive R/3 Proxy" service.
- Verify the new Liquid UI Server version.


