Prerequisites
- Products: Liquid UI WS, Liquid UI Server or Local DLL, Client Software
- Commands: del(), pushbutton(), set(), onscreen, enter()
Purpose
The automatic selection of table records allows you to delete, print, and display the row details. In this example, you will learn how to:
- Navigate from one transaction to another
- Assign values to the fields
- Assign values to table cells
- Select the table records using the set command
To explain the above aspects, we will walk you through the following steps.
- Delete the image container from the SAP screen using the del command
- Add a toolbar push button to navigate to the Change Sales Order screen and execute a process
- Add a function selecttablerecords to select the table rows and assign values to the fields
- Add a scenario to automatically select the SAP table records
//Create this file inside your script folder for adding functionality to the SAP Easy Access screen: SAPLSMTR_NAVIGATION.E0100.sjs
//Now, let's start adding the Liquid UI script to the above file and save it.
Customization
- Logon to SAP, and delete the image container using the del command on the SAP Easy Access screen.
// Deletes an image container on the easy access screen
del("X[IMAGE_CONTAINER]");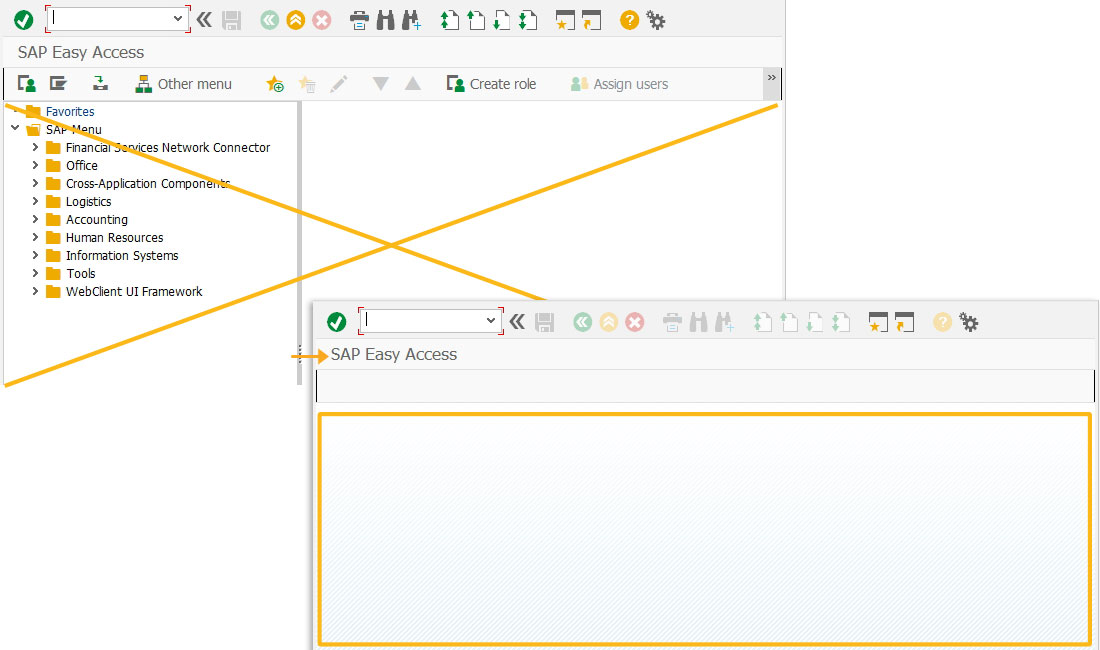
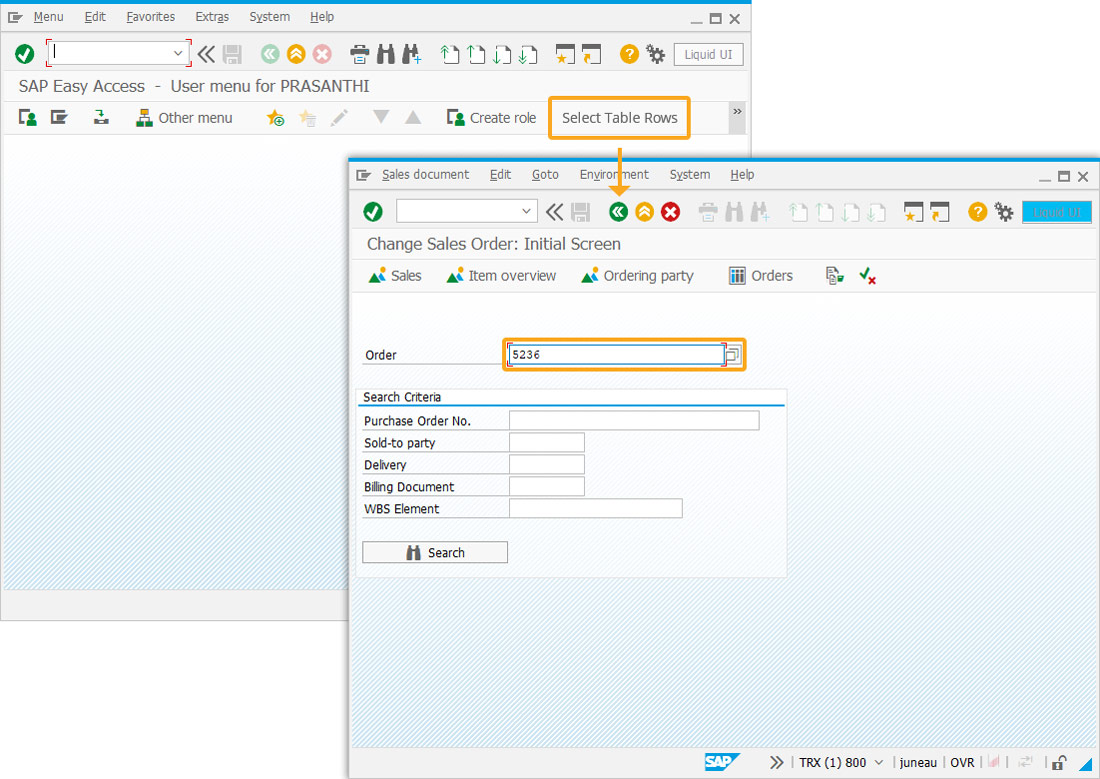
- Add a toolbar pushbutton with the label Select Table Rows to navigate to the Change Sales Order (VA02 second) screen and execute a process on click.
pushbutton([TOOLBAR], "Select Table rows", "/nva02",{"process":selecttablerecords});

- Now, add the selecttablerecords function to perform the following actions:
- Assign values to the required fields
- Assign values to the table cells
- Select table rows
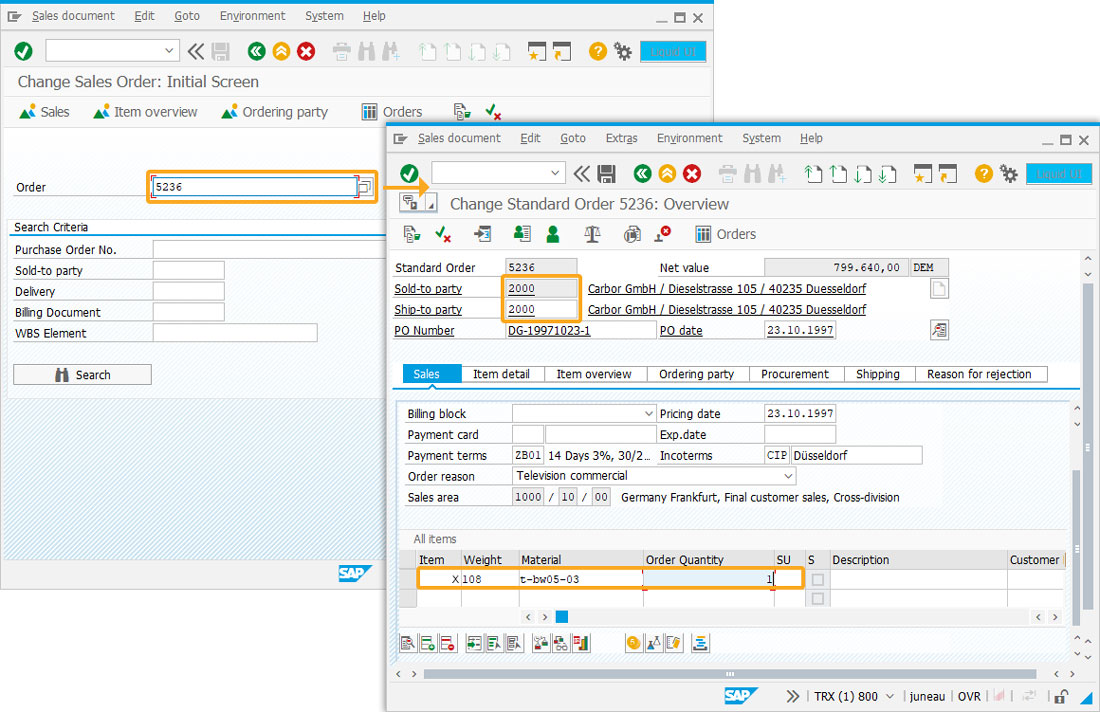
function selecttablerecords() {
          onscreen 'SAPMV45A.0102'
          set("F[Order]", "5236");
          onscreen 'SAPMSDYP.0010'
	  enter();
         onscreen 'SAPMV45A.4001'
          set("F[Sold-to party]", "2000");
          set("F[ship-to party]", "2000");
          set("cell[All items, Material,1]", "t-bw05-03");
          set("cell[All items, Order Quantity, 1]", "1");
          set("cell[All items,0,1]","X");
          enter();
          }
SAP Process
- Now, refresh the SAP screen. Click the Select Table Rows toolbar pushbutton on the SAP Easy Access screen that will automatically navigate to the Change Sales Order Screen (VA02), and assign the value 5236 to the Order input field, as shown below.
- Click enter, and then you will be navigated to the Change Standard Order 5236 Overview (VA02) screen and assign the values to the required fields, and selects the table records automatically, as shown below:
Next Steps

This article is part of the Take a deep dive into the SAP table and Liquid UI table tutorial.