Liquid UI app installation and management can now be simplified through any MDM software, providing efficient access to the application on all the associated devices. In this article, we'll demonstrate how to assign and configure Liquid UI through Microsoft Intune. We'll guide you through the following steps.
- Assigning Liquid UI app to a user.
- How to push Liquid UI Portal license.
Assigning Liquid UI app to a user
Before adding and assigning apps in Intune, it is required to create a user(s) within the platform. After creating user(s), follow the below procedures to add the Liquid UI app.
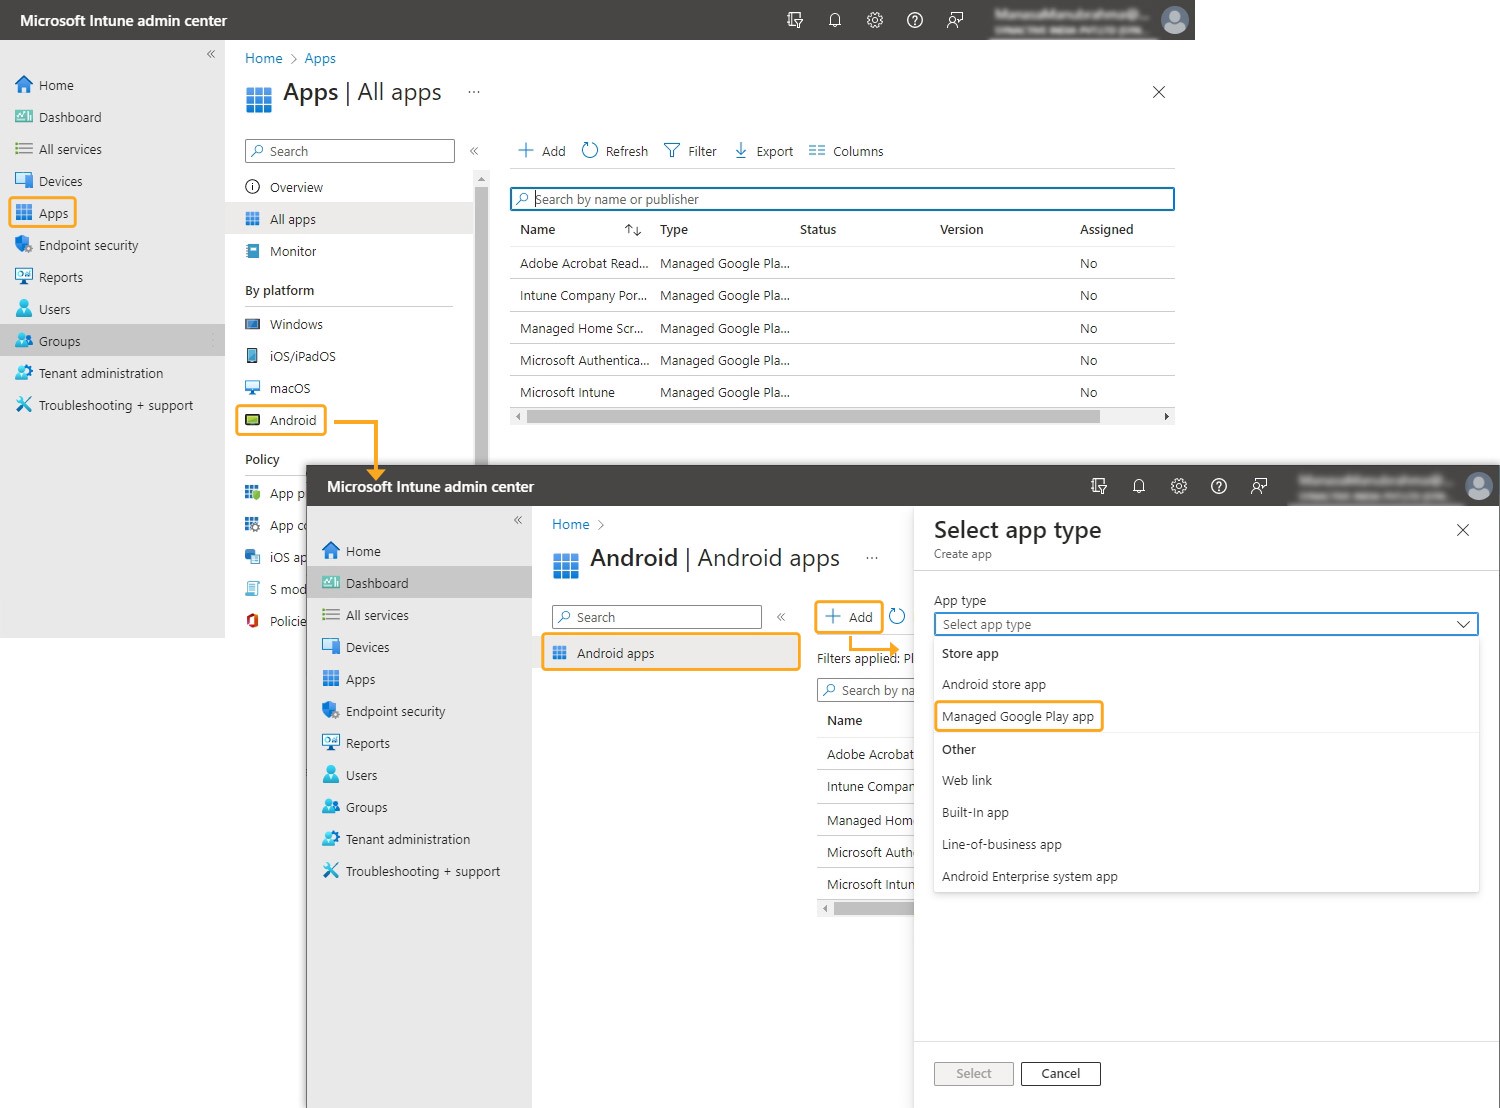
- Click on the Apps icon under Dashboard to navigate to the Apps window. Select Android under the By Platform category, and choose Managed Google Play App from the list of available app types by clicking on Add.
- Now, you will be navigated to the Google Play Store. From the app catalog, choose the Liquid UI app and click on Approve.
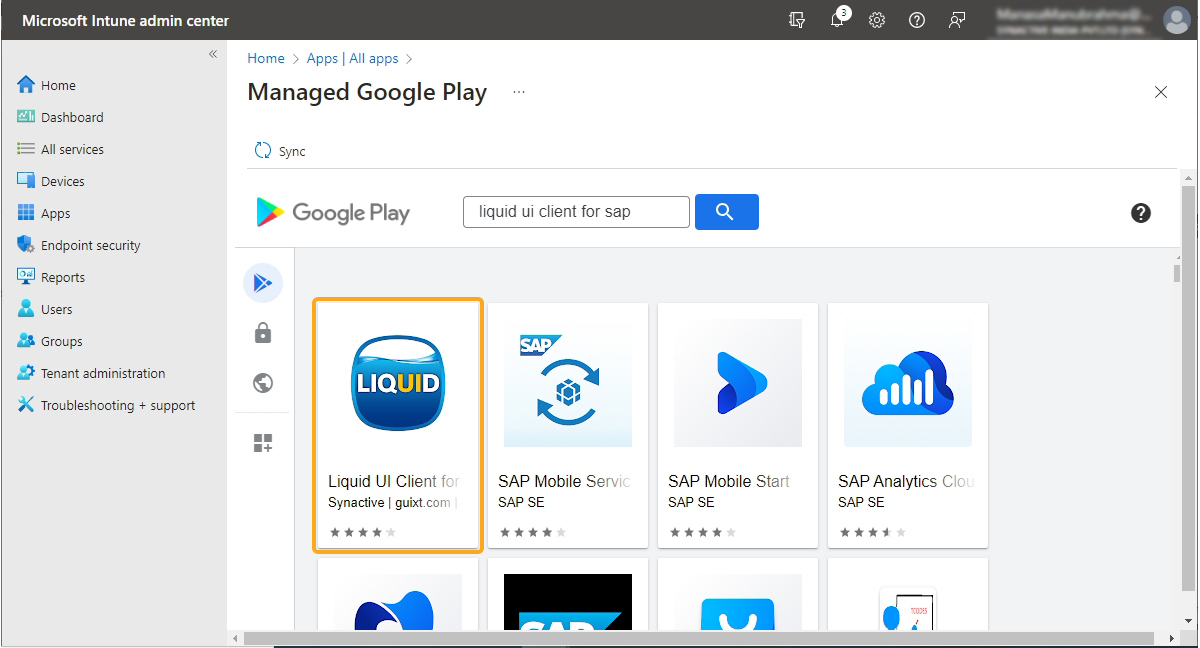

Note: Make sure to allow permissions and complete all required approval settings as instructed to add the app.
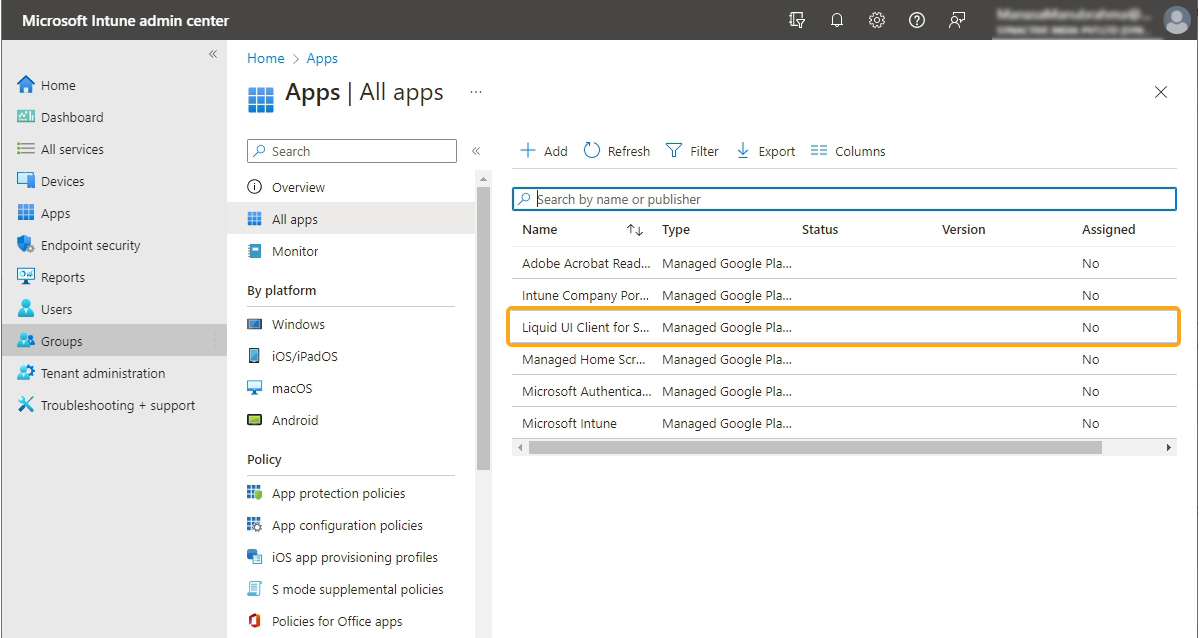
- Refresh the list to see the Liquid UI (approved) app in the list.
Follow the below sequence for assigning the Liquid UI app to a User:
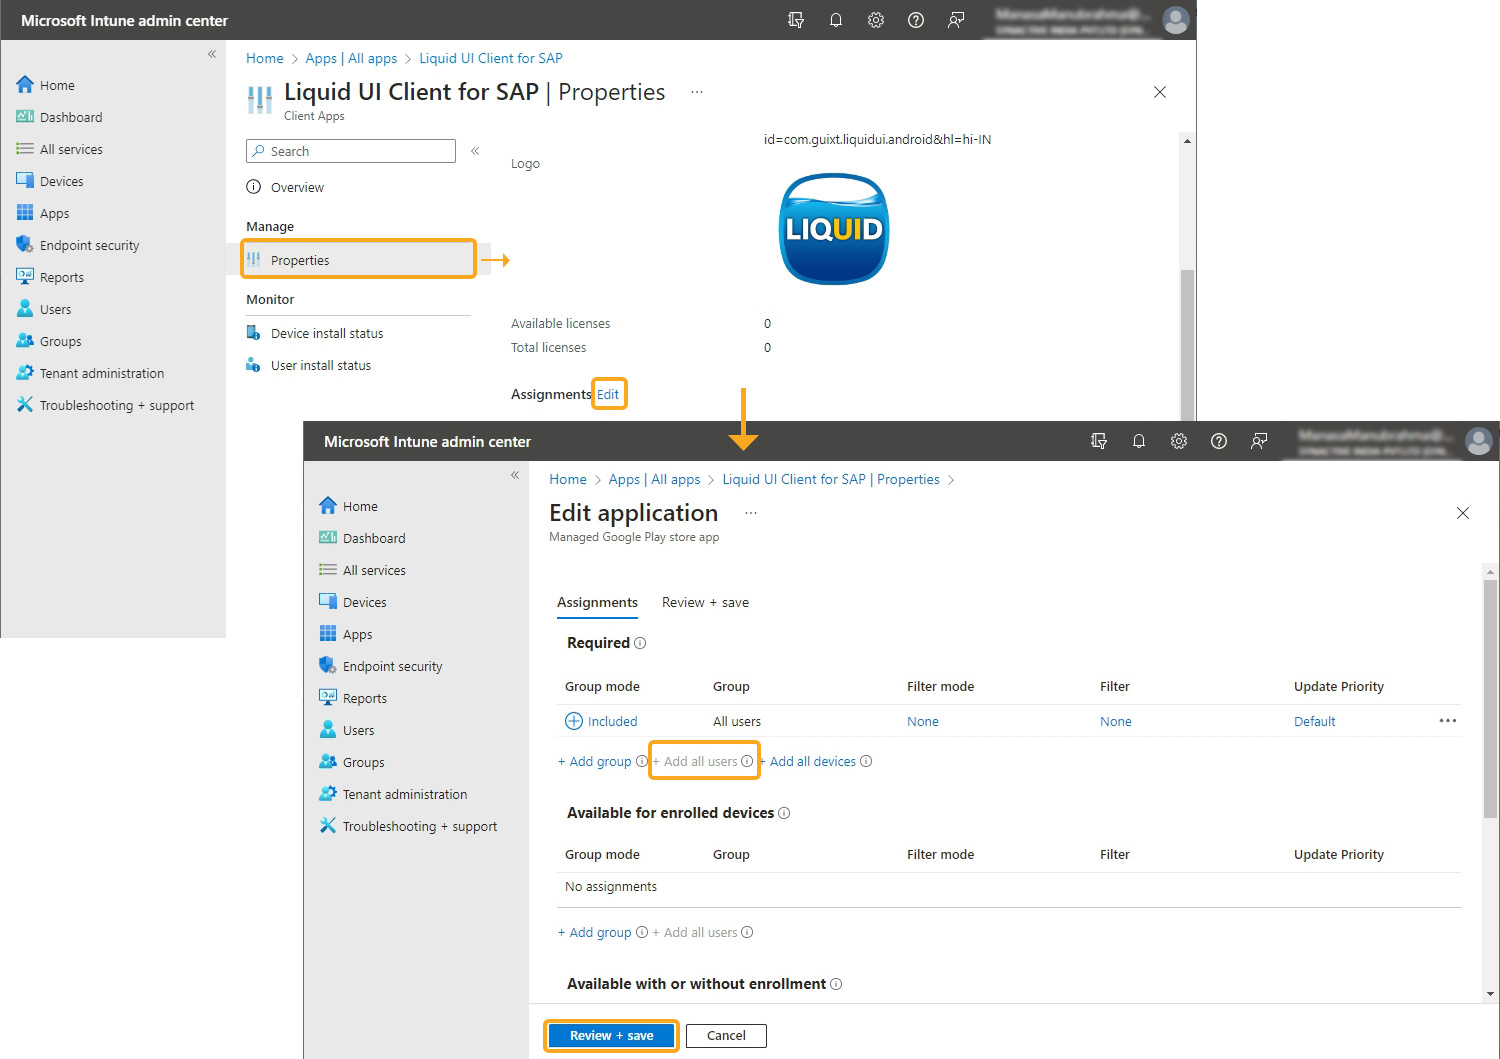
- Go to Apps->All Apps, select the Liquid UI app, and then click on Properties. Now click on Assignments Edit to add users to the application. On the Edit application window, select Add All Users, and finally click on the Review + Save button to assign the user.
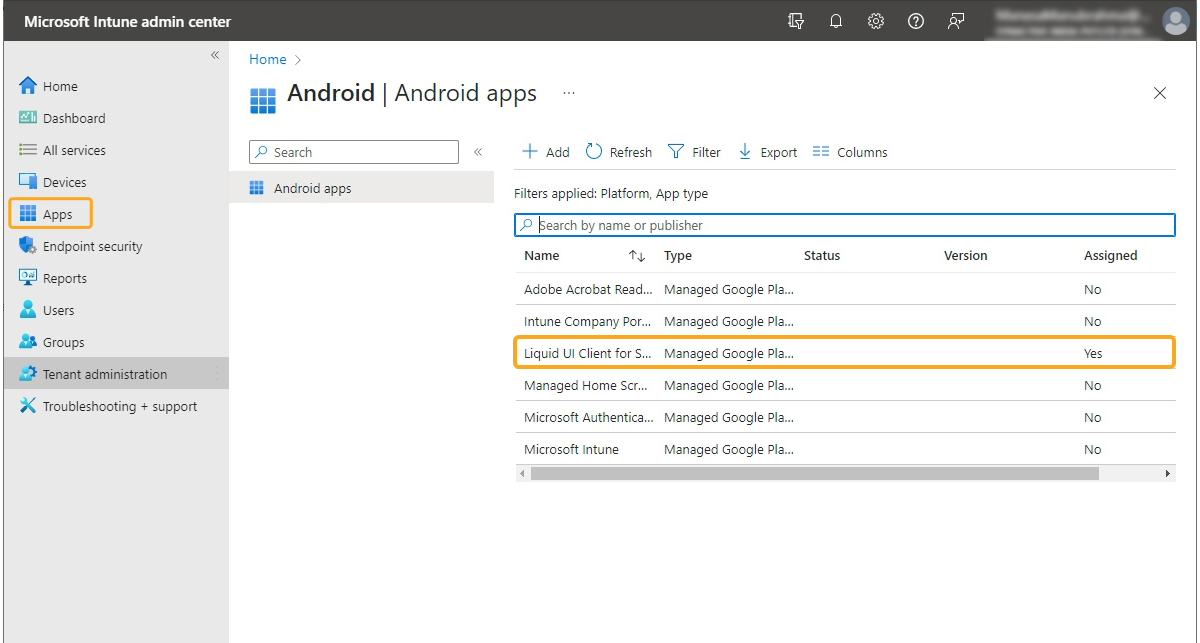
- To check the app status, navigate through Apps->All Apps, and then you can see the status of the Liquid UI app is Yes as assigned, as shown below.
How to push Liquid UI Portal license
With the App Configuration policies, you can remotely configure different app settings such as language, regional settings, pushing licenses, permissions for accessing device features, and more.
Follow the below sequence to push the Liquid UI Portal License through Intune.
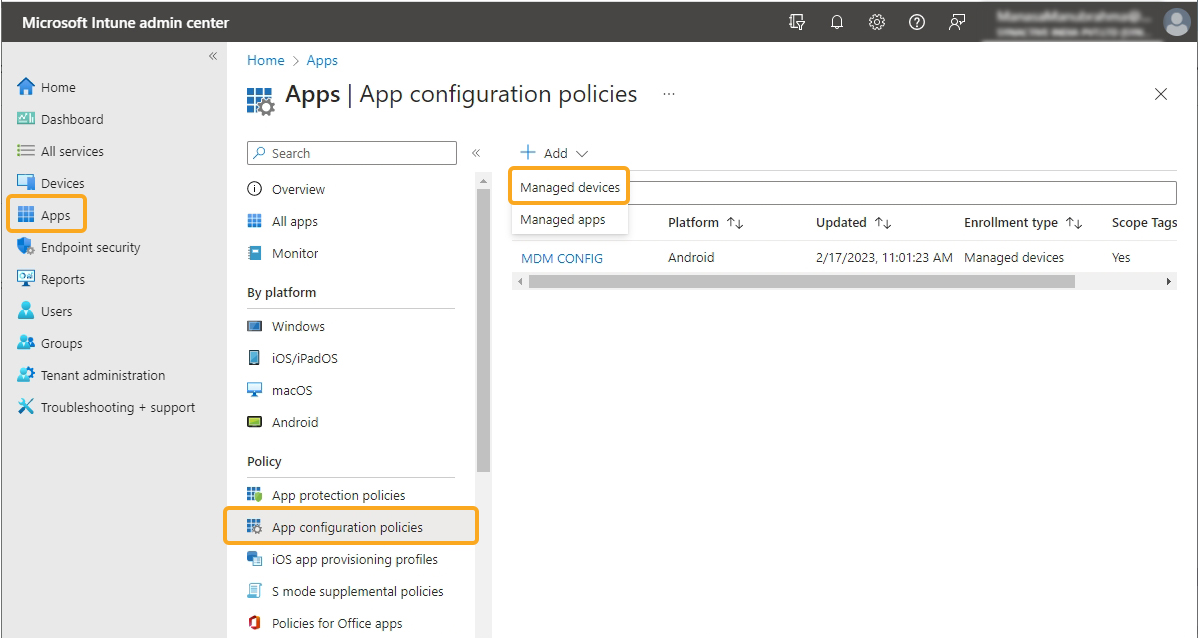
- Go to Apps->App configuration policies. Click on Add and select Managed devices. Then, you will be navigated to the Create app configuration policy page.
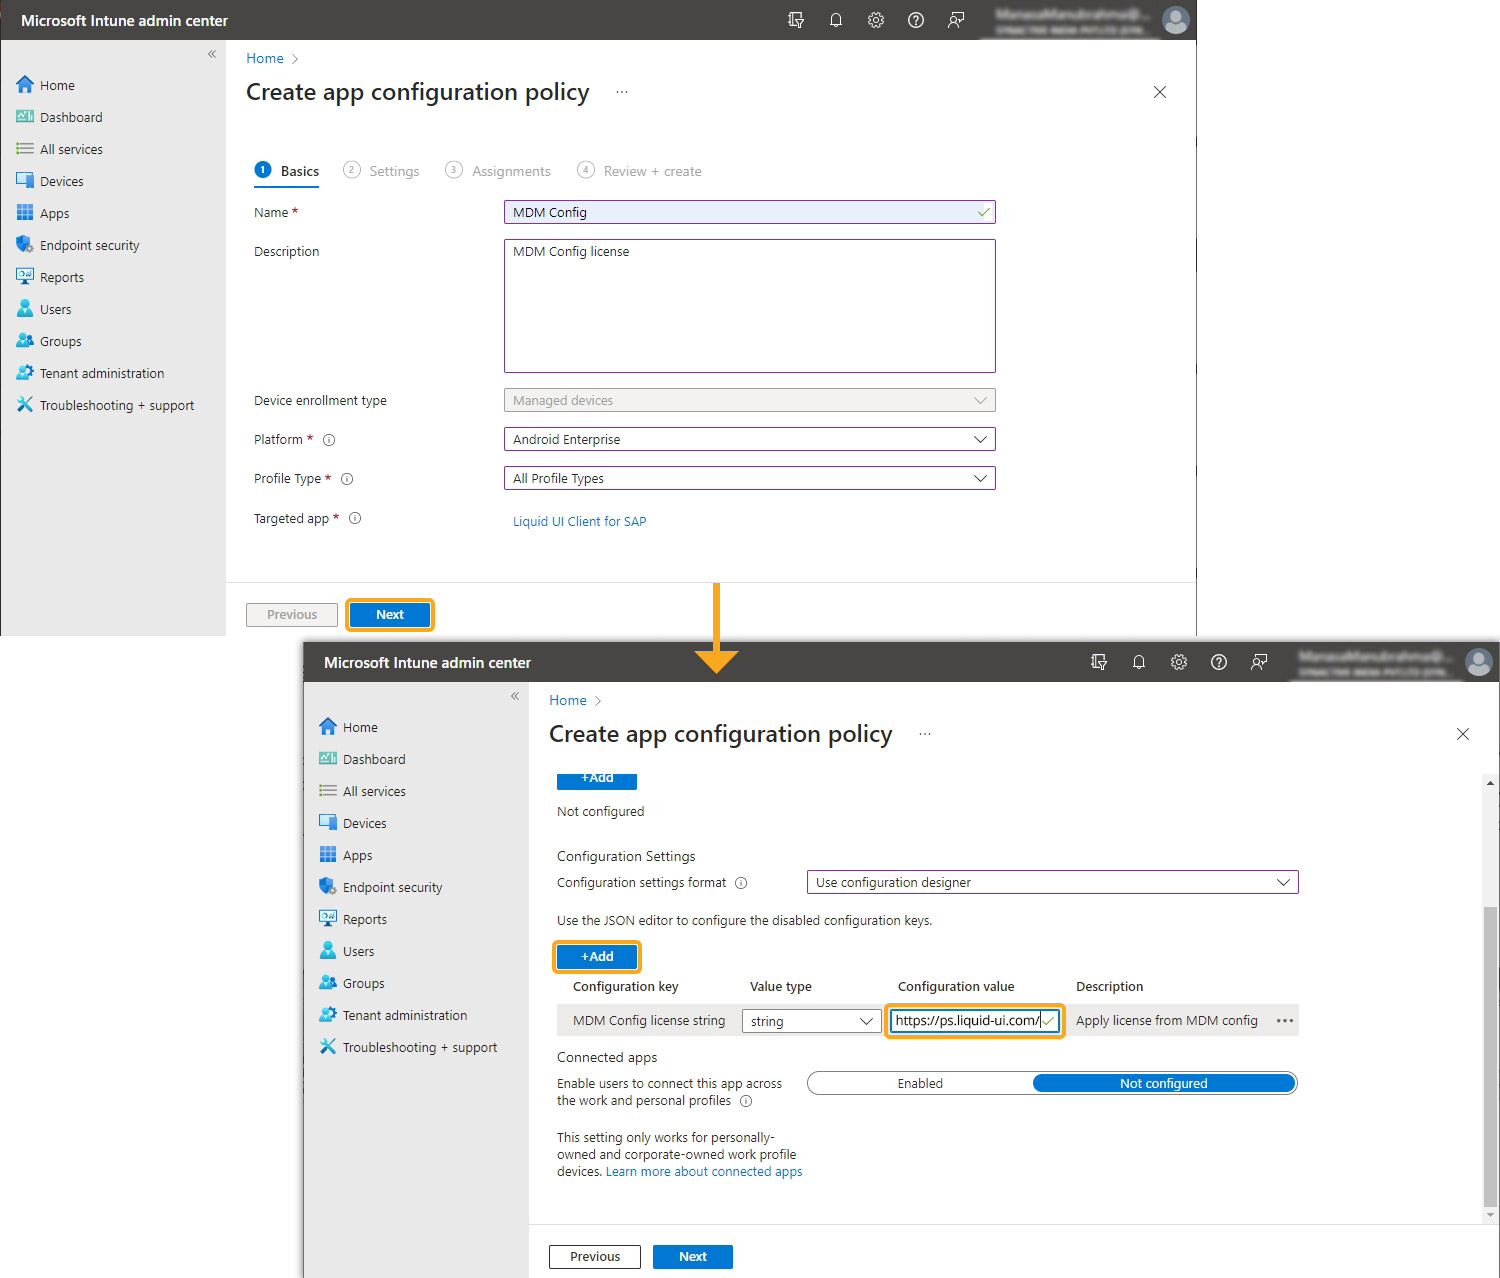
- Now, enter the required details in the Basics and Settings sections and then click Next, as shown below.
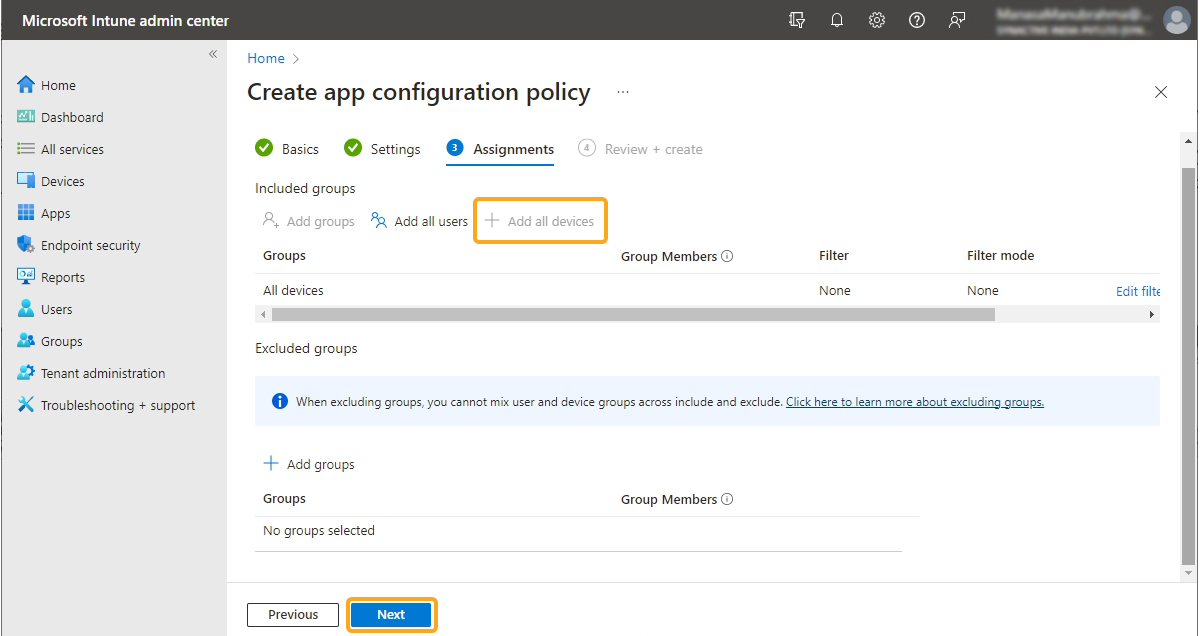
- Under the Assignments section, select Add all devices and proceed to the next step.
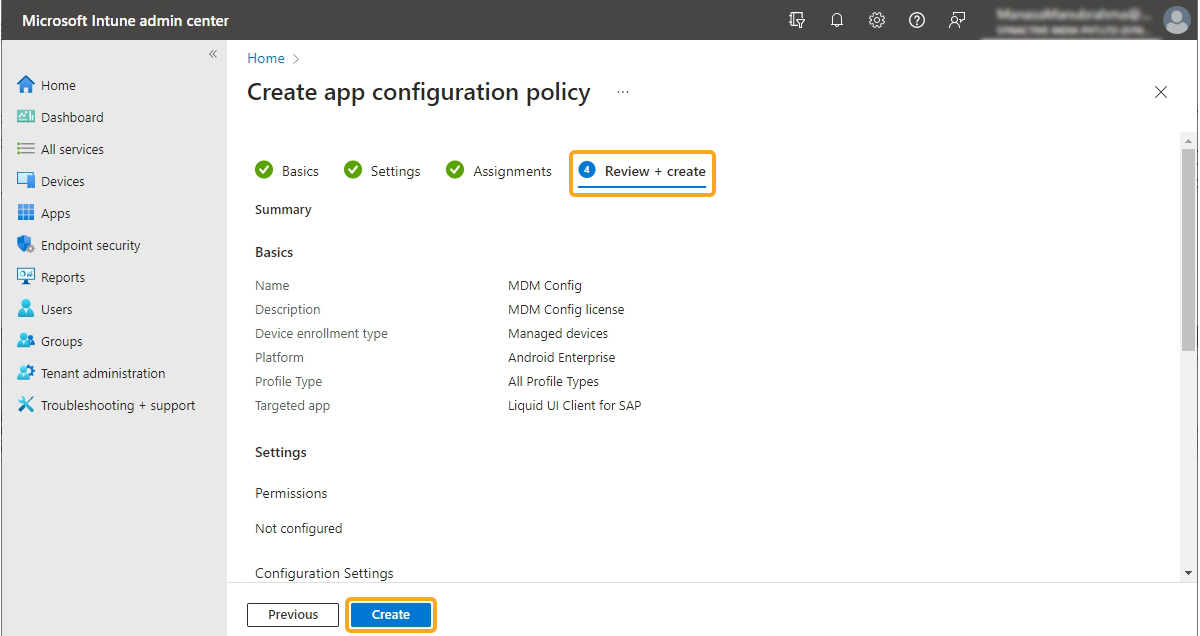
- Under the Review + create section, verify the settings and configuration policies. After that, click on the Create button to finish the configuration process.
- Once, the configuration policy is created, it displays a notification as App config policy successfully created, as shown below.

Verifying the License Status on the User's Device
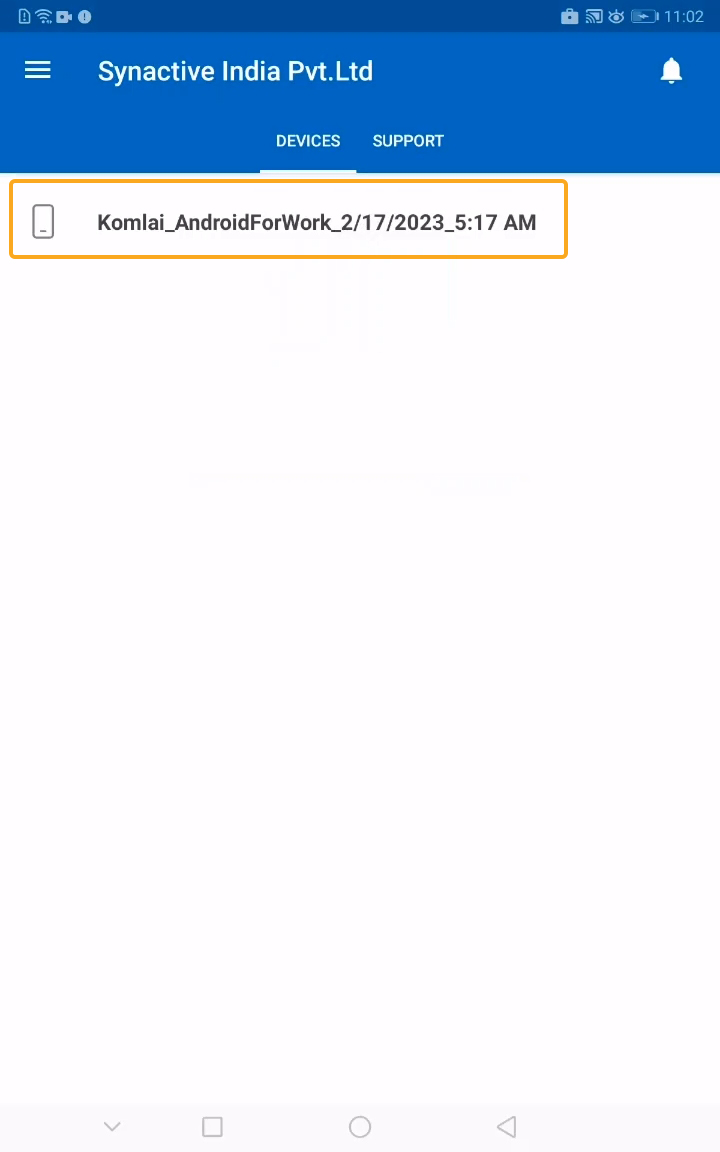
- Sign in to the company portal and select the DEVICES tab.
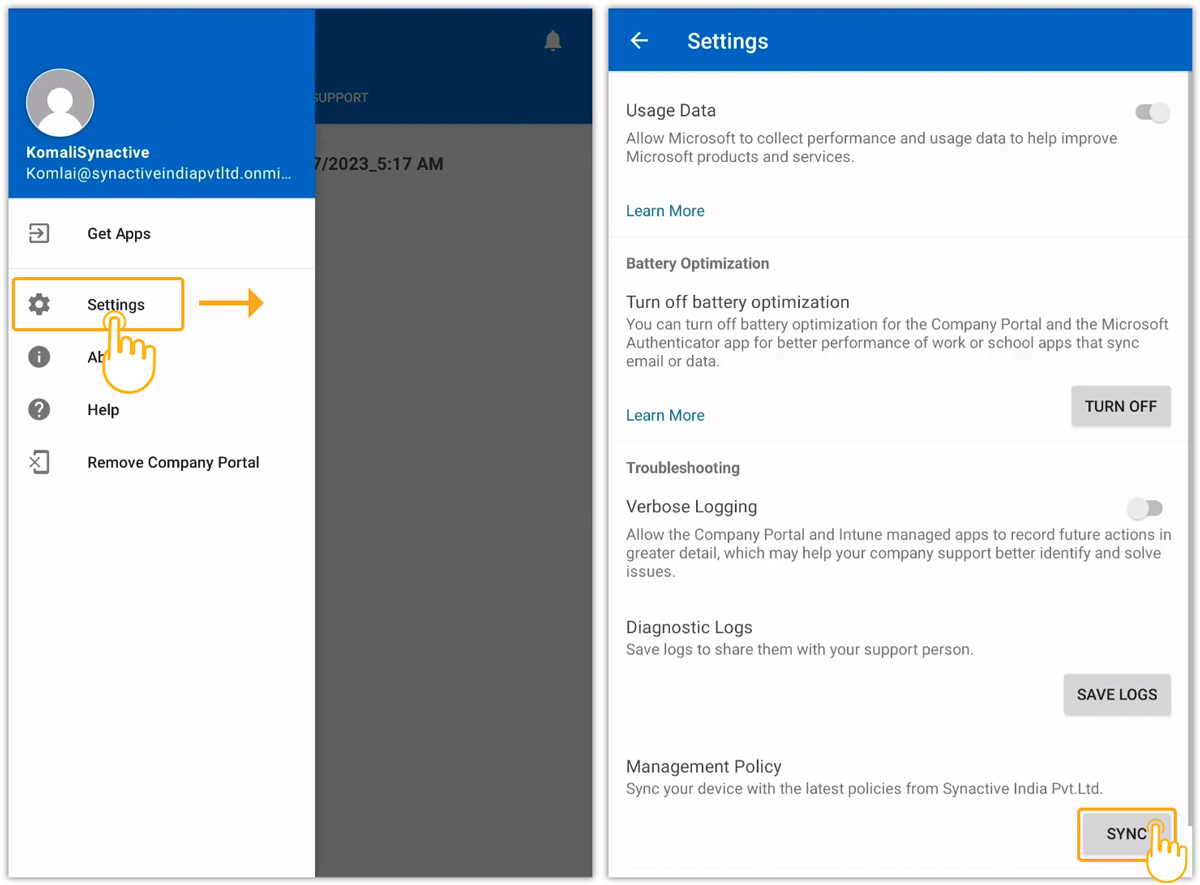
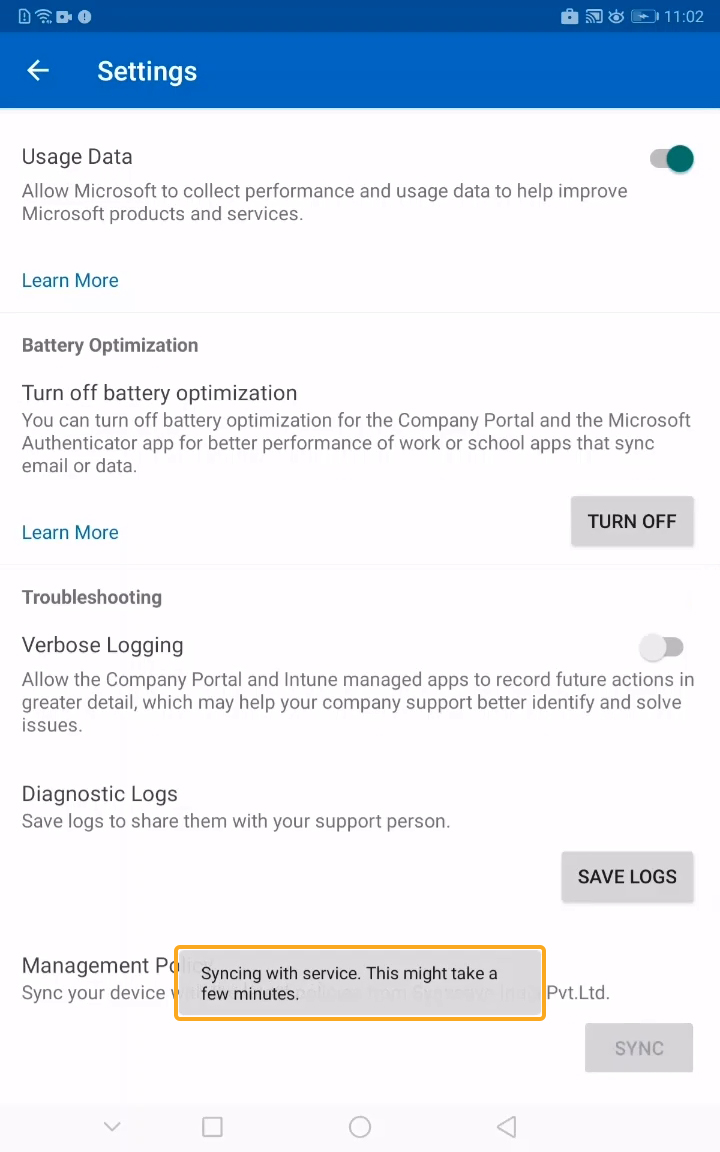
- Usually, the company portal syncs devices automatically with an active internet connection. To sync manually, click on Settings under the menu, select Management Portal, and finally tap SYNC.
- You can see a message as Syncing with service. This might take a few minutes, while your device sync settings.
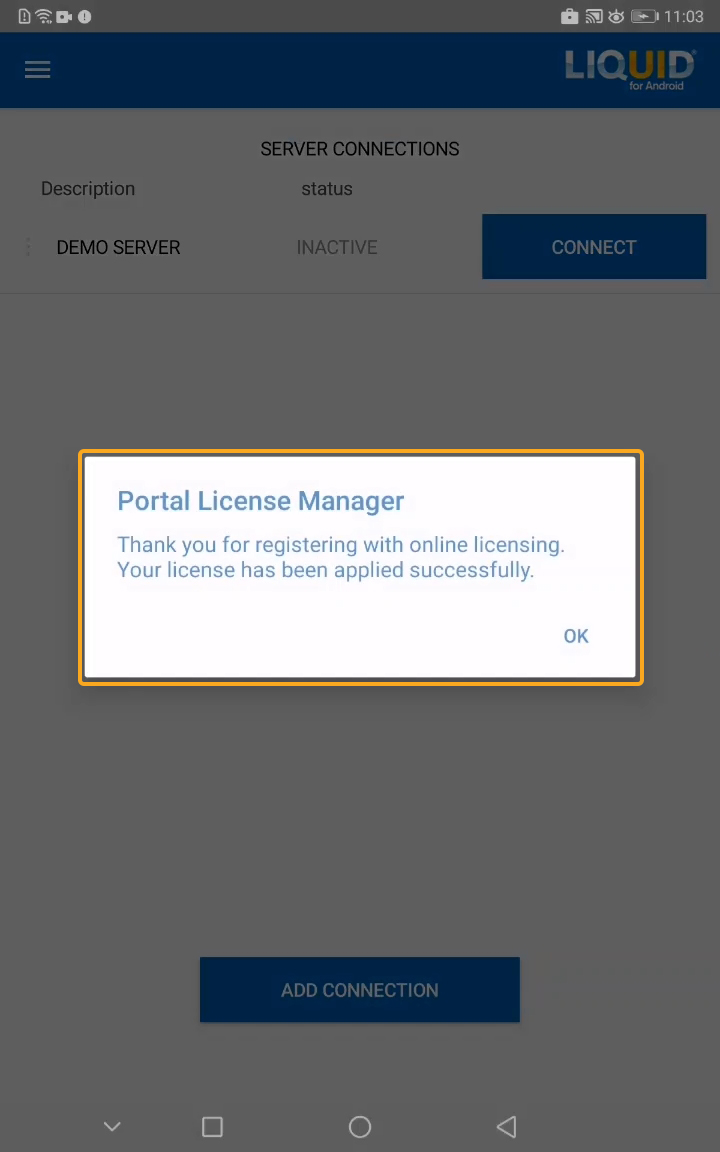
- Now, open the Liquid UI app in the work profile.
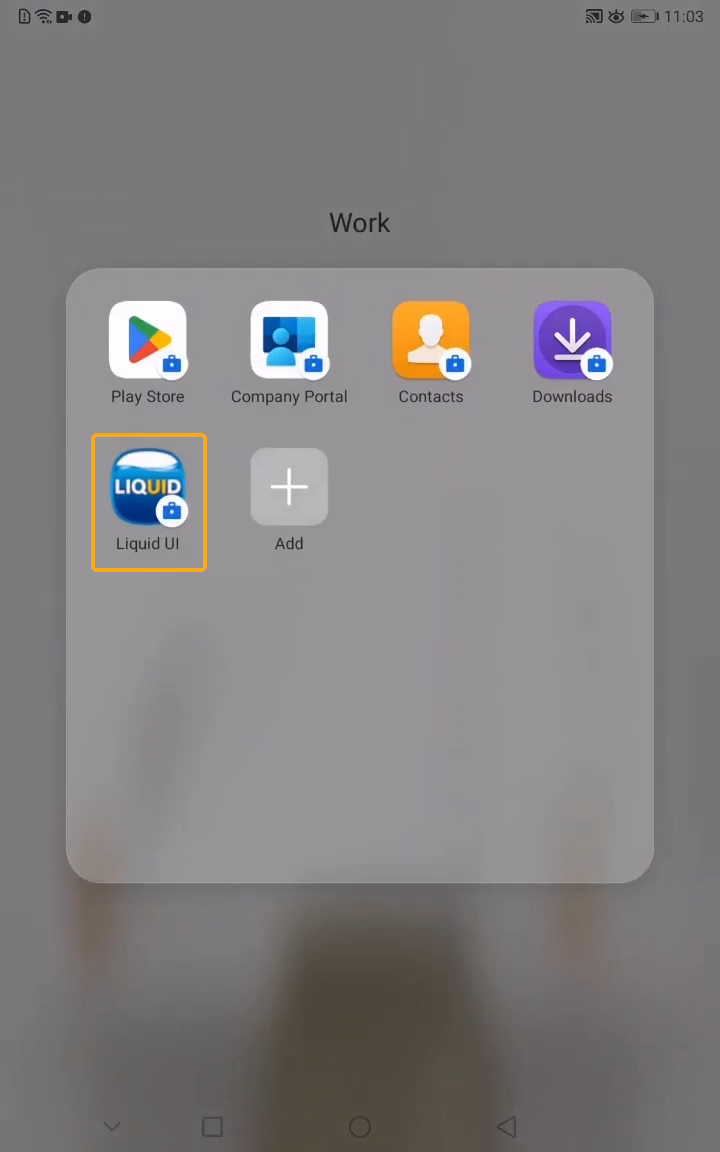
- While navigating within the Liquid UI app, You will see the Portal License Manager popup showing the successful license installation message.