Prerequisites
- Products: Liquid UI WS, Liquid UI Server or Local DLL, Client Software
- Commands: set(), enter(), onscreen(), statusmessage()
Purpose
Using the statusmessage command, you can view the status messages related to the particular SAP connection. It displays the following results in an onscreen message box.
- status message Listbox
- system messages
- custom messages
- IDs for system messages
In this article, you can learn how to view the relevant system messages displayed in the Listbox on an SAP screen. Also, enable and restrict the number and type of messages displayed in the Listbox. Here, we are considering a scenario to demonstrate the usage of the statusmessage command through the following steps:
- Delete unnecessary elements on the SAP screen using the del command
- Add a toolbar pushbutton to call the function that displays the statusmessage related to the current SAP connection
- Add a function to define and display statusmessage on the screen
User Interface
//Create this file inside your script folder for customizing the SAP Easy Access screen: SAPLSMTR_NAVIGATION.E0100.sjs
//Now, let's start adding the Liquid UI script to the above file and save it.
Customization
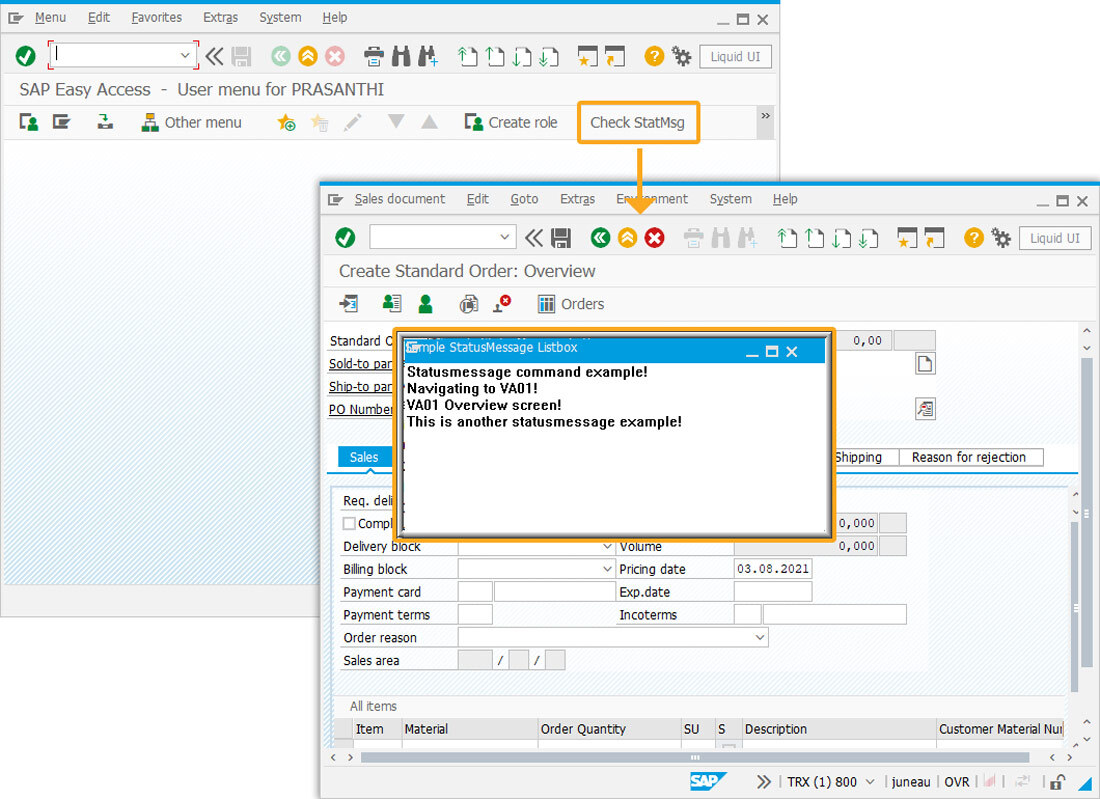
In the following example, we will display a Listbox containing four separate status messages, generated from several different screens on the VA01 transaction.
- Logon to SAP and delete the image container using the del command on the SAP Easy Access screen, as shown below.
// Deletes an image container on the easy access screen
del("X[IMAGE_CONTAINER]");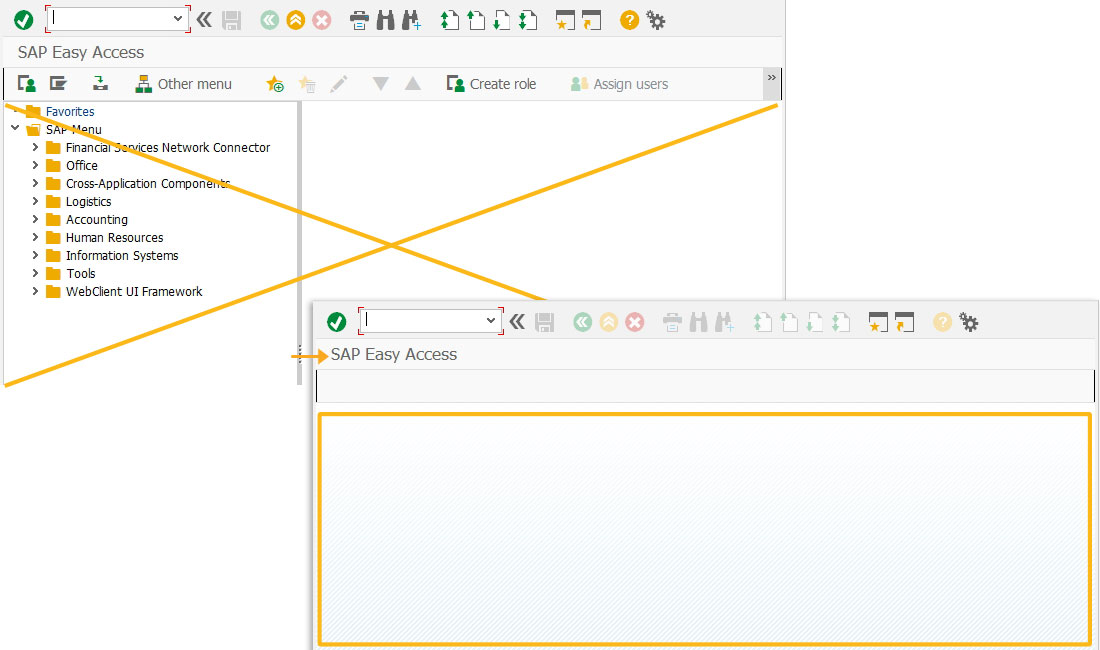
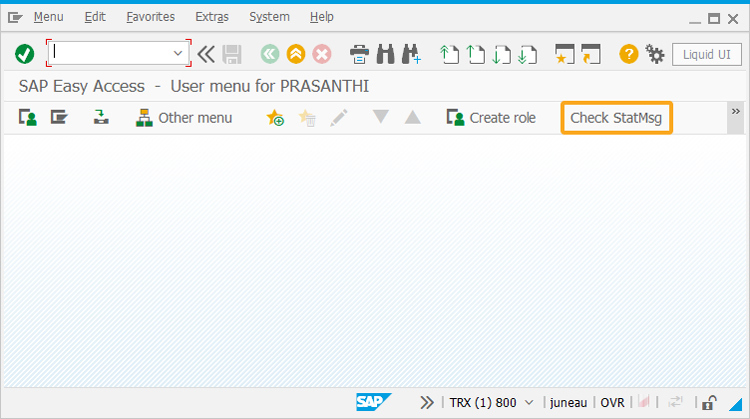
- Add a toolbar pushbutton with the label as Check StatMsg to call the function z_statmsg on click.
// Creates a toolbar pushbutton with label as the Check StatMsg
pushbutton([TOOLBAR], "Test StatMsg", {"process":z_statmsg});
- Now, add the following Liquid UI script to this file and save it.
// Create variables to store the Status message
var z_msg = "Statusmessage command example!";
var z_msgtitle = "Sample StatusMessage Listbox";
var z_msg2 = "This is another statusmessage example!";

//Function to display status message on screen
function z_statmsg() {
  onscreen 'SAPLSMTR_NAVIGATION.0100'
  statusmessage({"title":z_msgtitle, "size":[10,60], "position":[5,10], "addstring":z_msg});
  statusmessage({"addstring":"Navigating to VA01!"});
  enter('/nva01');
  onscreen 'SAPMV45A.0101'
  set("F[Order Type]","OR");
  enter();
  statusmessage({"title":z_msgtitle, "size":[10,60], "position":[5,10], "addstring":"VA01 Overview screen!"});
  statusmessage({"addstring":z_msg2});
}
SAP Process
- Refresh the SAP screen, and click the Check StatMsg toolbar pushbutton that initiates the process to display the status messages. Then, a Listbox appears on the VA01 screen with the defined StatusMessages, as shown in the image below.