LAMP now supports the User Group feature for its users. Using this feature, you can create, edit, and delete a User Group.
In the User Group, you can add desired users and SAP connections to the account. The users in a group can view and access only the SAP connections associated with the group.
In LAMP, the admin has all the privileges to manage the data using this User Group feature. You can perform various actions under the User Group, such as adding and removing users, devices, and SAP connections. Also, you have the flexibility to activate and deactivate them as and when needed.
In this scenario, you will learn how to create a User Group under LAMP.
- Log in to LAMP and navigate to the Account Administration screen. Select the User Groups tab from the Explore menu to navigate to the User Group table screen where you will find various fields such as Group Name, Group Description, Status, and Action.
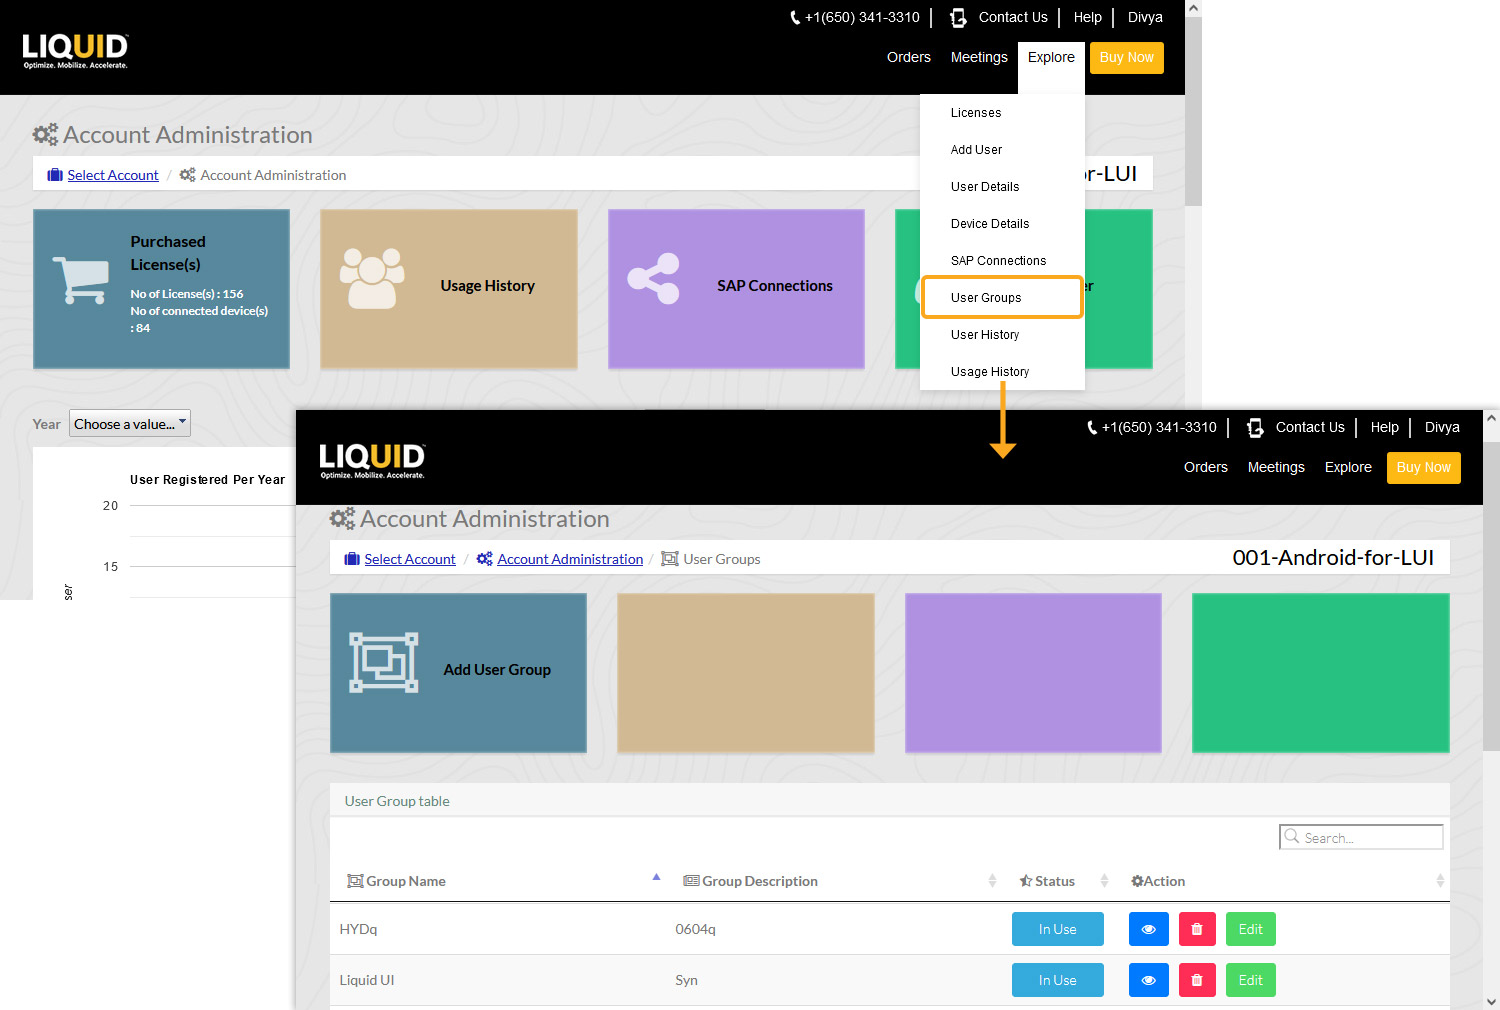
The User Group table consists of the following details, as explained below:
User Table
Group Name
Displays the name of the User Group
Group Description
Displays the description of the User Group
Status
Allows you to activate or deactivate a User Group
Action
Allows you to view, delete, and modify the User Group
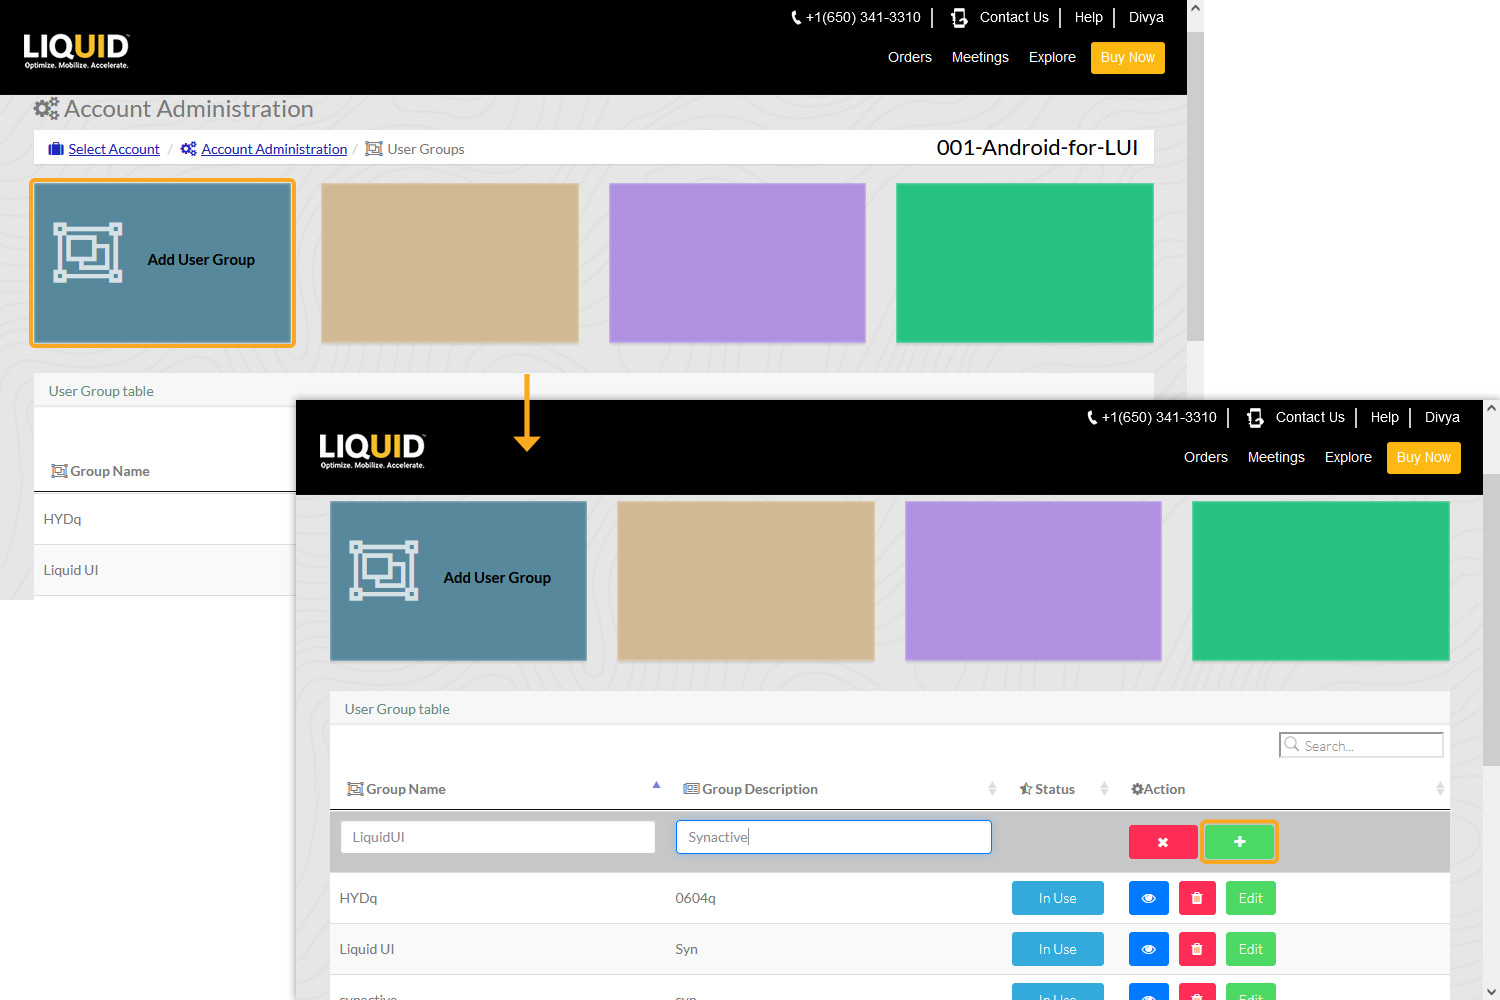
- Click the Add User Group tab to create a new User Group. Enter the desired Group Name and Group Description in the input fields, as demonstrated below. Then, click the plus button to add the new one to the User Group table.
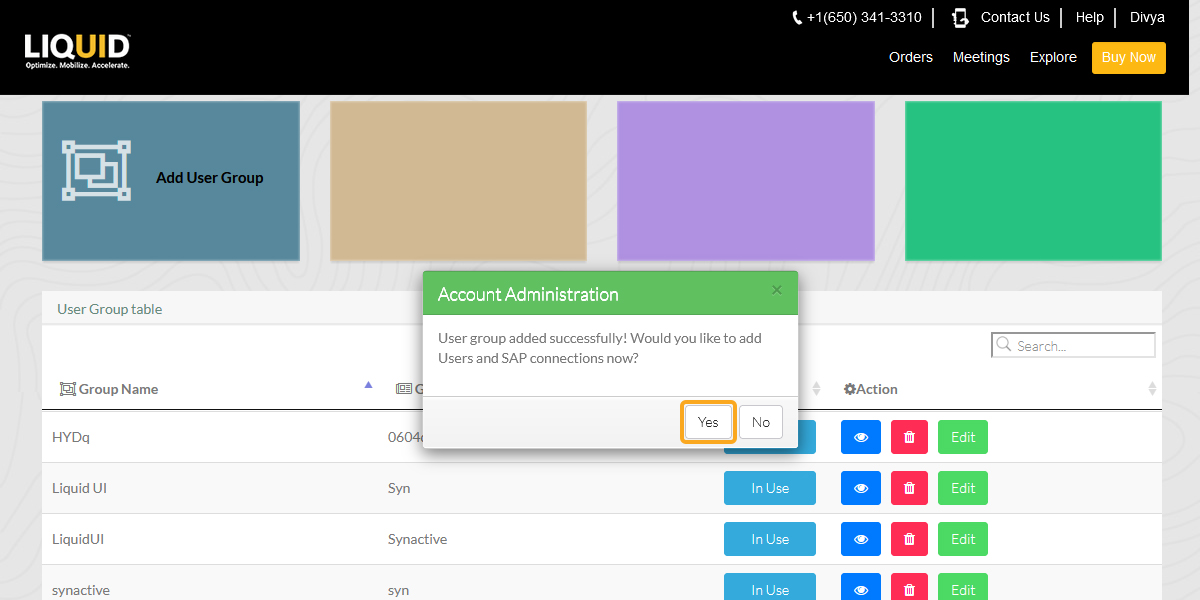
- You will see a confirmation pop-up window asking you to add Users and SAP connections now. Click Yes to add Users and SAP connections to the added User Group.
Click here, to know more about how to add Users to a User Group.
Click here, to know more about how to add SAP connections to a User Group.
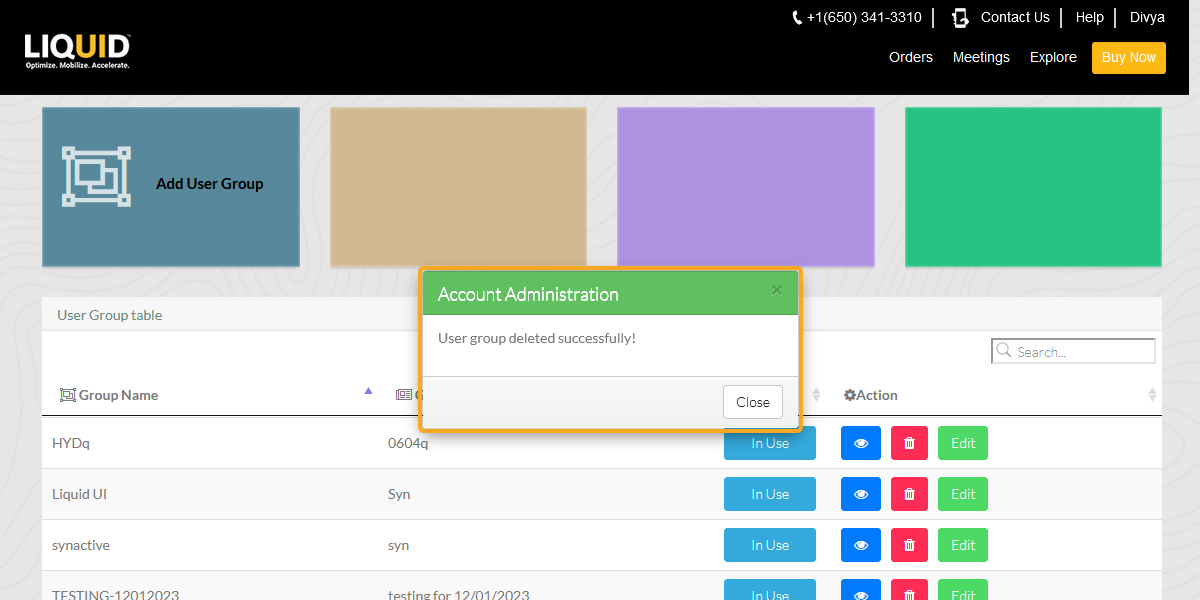
- Click the Delete button to cancel the User Group addition to the User Group table. You will see a confirmation pop-up window asking you to delete the User Group. Click Yes to delete the User Group.

- Then a pop-up appears stating the User group deleted successfully.
- The Edit option under the Action column allows you to modify the User Group details such as Group Name and Group Description. Click the Edit option on a user group. Enter the details in the Group Name and Group Description input fields. Then, click the confirm modification button to save the newly entered details.

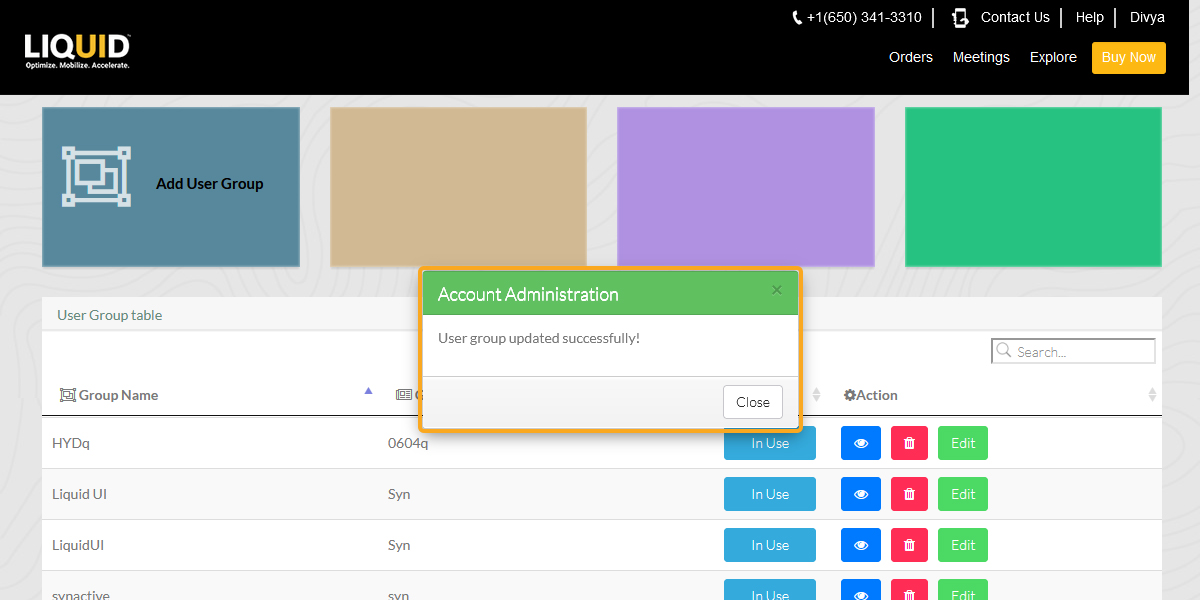
- Then a popup appears stating the successful update, as shown in the image below: