Purpose:
Trust can be established between Liquid UI Server and SAP ERP Server by utilizing the appropriate certificates and private key. This trust relationship enables Liquid UI Server to log into SAP ERP, thereby enabling the use of a common user database, such as Microsoft Active Directory.
Configuring Steps
- Obtaining the certificate
- Import the certificate into Liquid UI Server and SAP System
- Import the key-certificate pair into SAP Server
- Import Synssl.dll
- Configure Liquid UI Server with sapproxy.ini file
Obtaining the certificate
If you have an SAP Netweaver Portal that is already set up with a trust relationship with your SAP ERP, you can download the keypair from the Portal and use it in Liquid UI Server. This way, you do not have to set up your SAP ERP. Follow the below steps to obtain the Certificate and Private Key from the SAP Netweaver Portal to your SAP server.
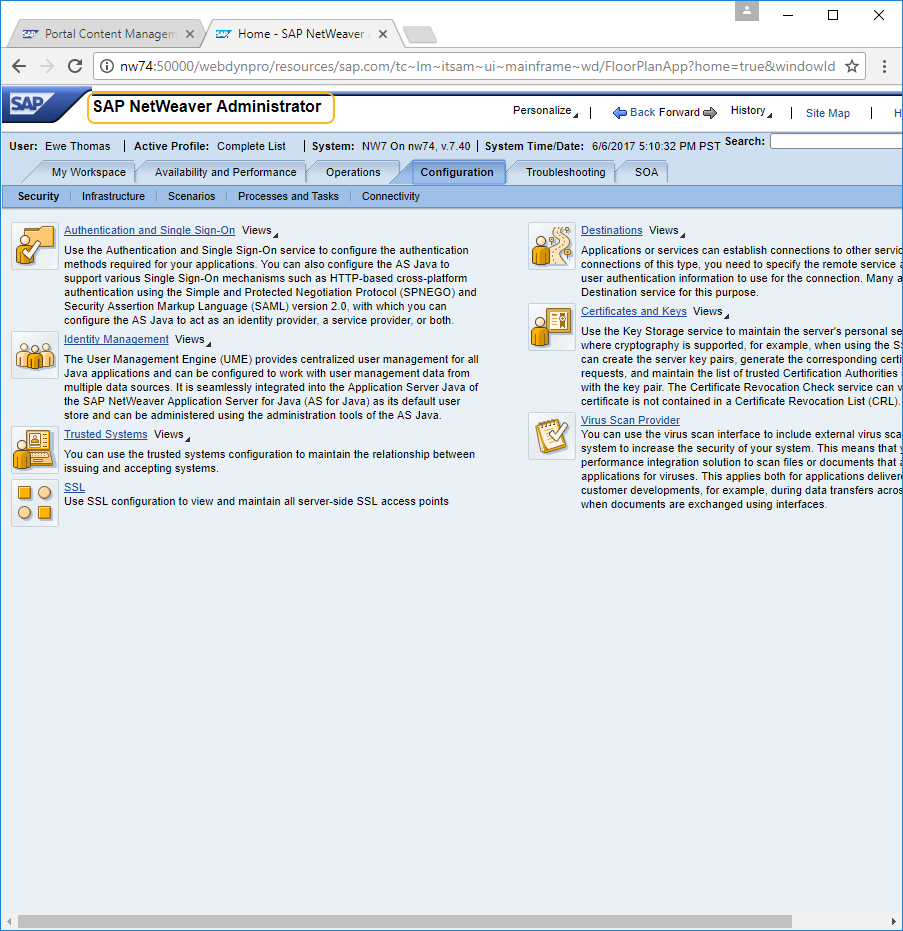
- To download the key pair, open the SAP Netweaver Portal and navigate to Access SAP NetWeaver Administrator, as shown below:

-
Then, click the Configuration tab to select the certificates and keys.
-
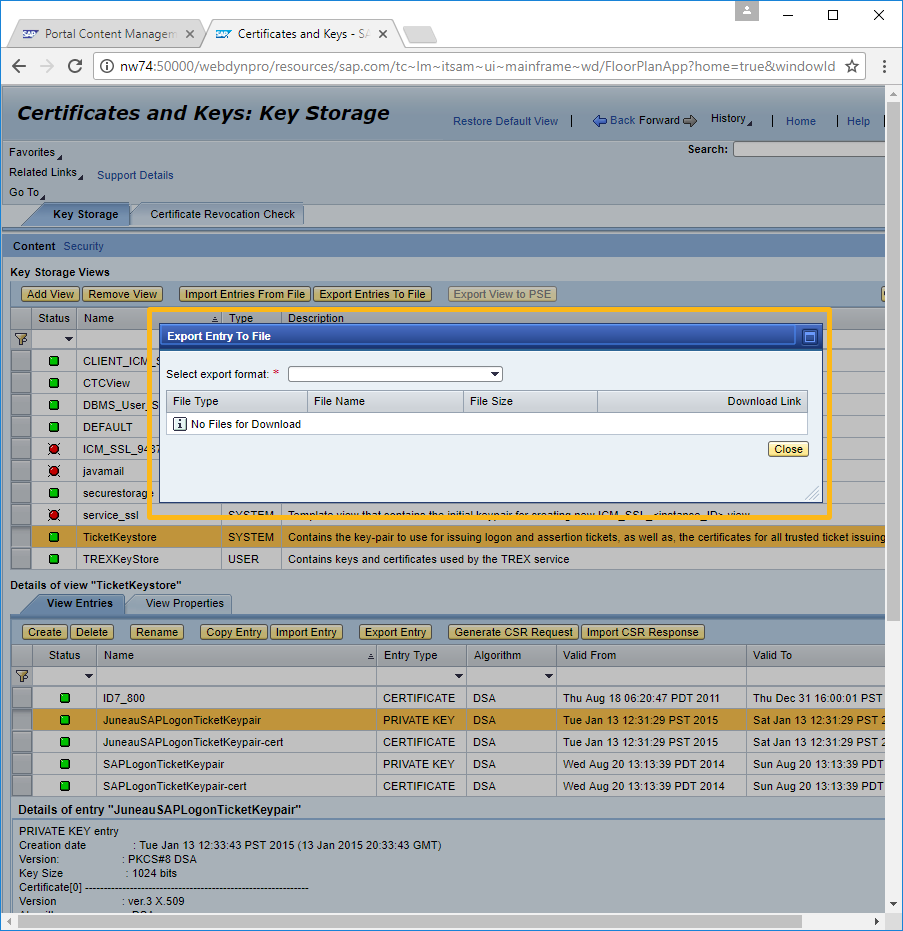
Click on Certificates and Keys. Then, scroll down to the TicketKeyStore.
-
Select the required key pair, and click on Export Entry. A popup window will appear. Enter the password, and click the Generate button.

-
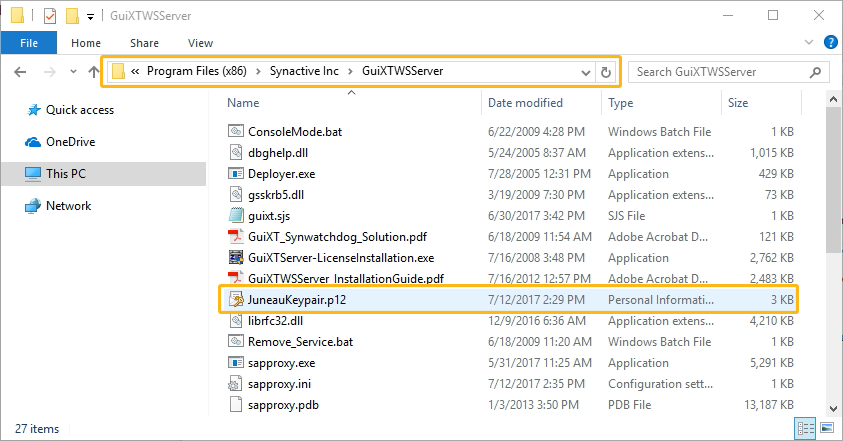
Parallelly, download the p12 file and import it to SAP ERP transaction.
Import certificate into Liquid UI Server and SAP System:
-
After generating the key-certificate pair, move the key-certificate pair into LiquidUIServer (or GuiXTWSServer) folder in your system and SAP System.
-
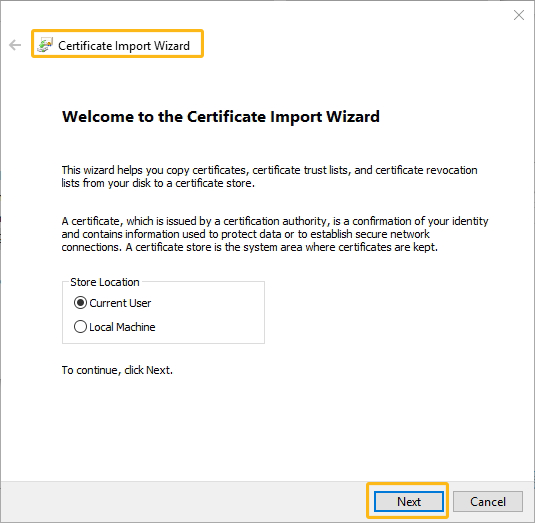
Double click the key-certificate pair to import the certificate into the SAP system.
-
Click Next to specify the file you want to import. You will get the following window:
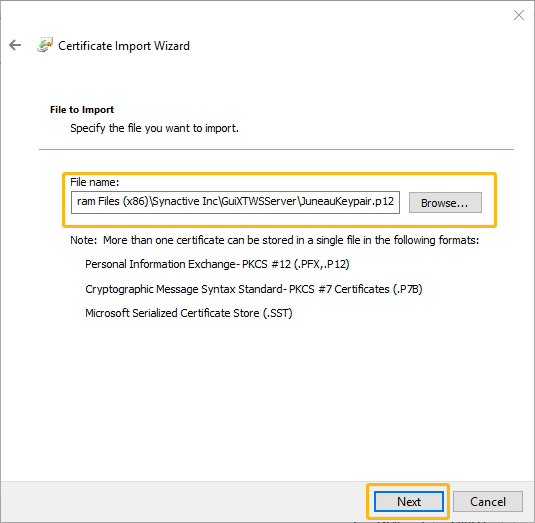
-
Click Next and provide the password for the private key.
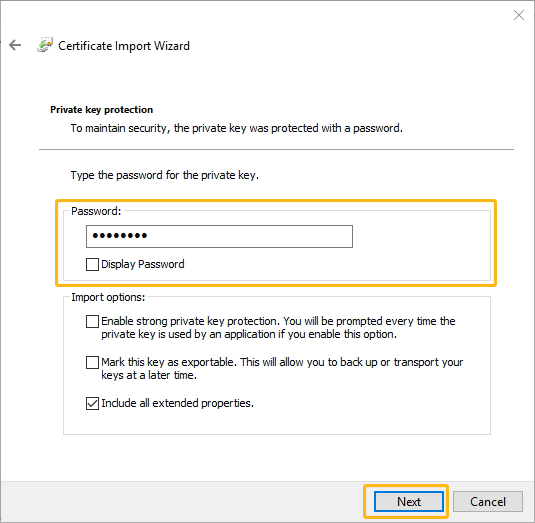
-
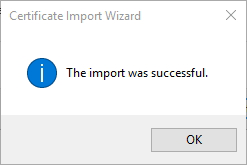
Click Next and then the Finish button to complete the certificate import wizard. On success, you will receive the following message:
Import key-certificate pair to SAP access control list
-
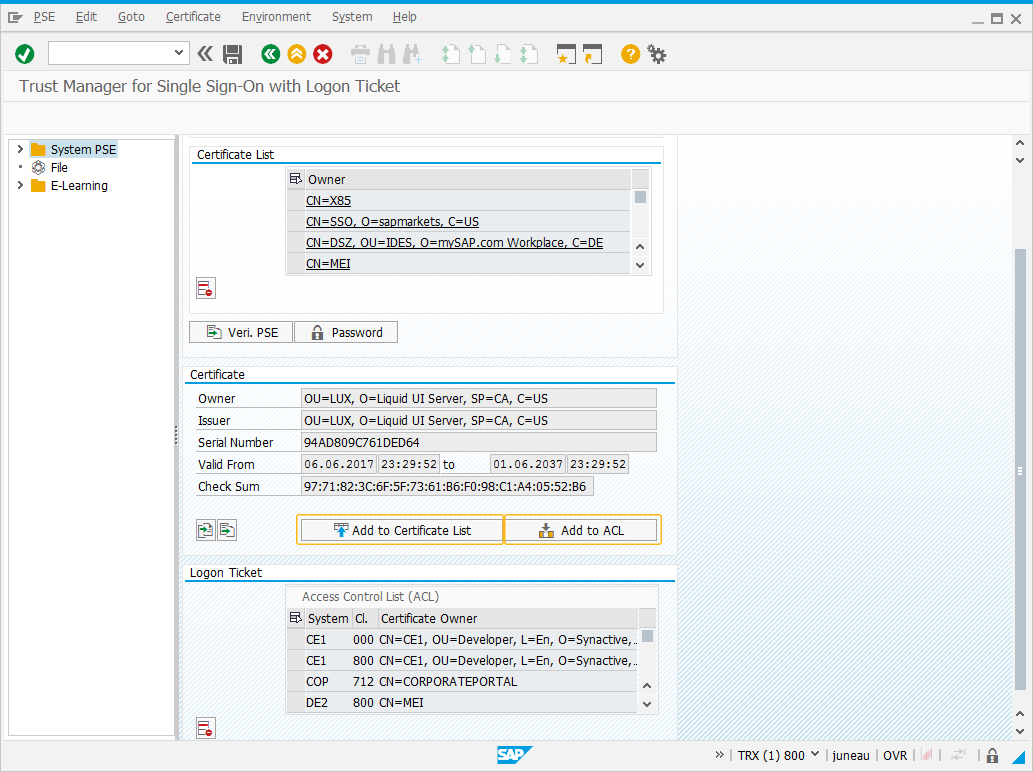
Navigate to STRUSTSSO2 transaction, and select Import Certificate.
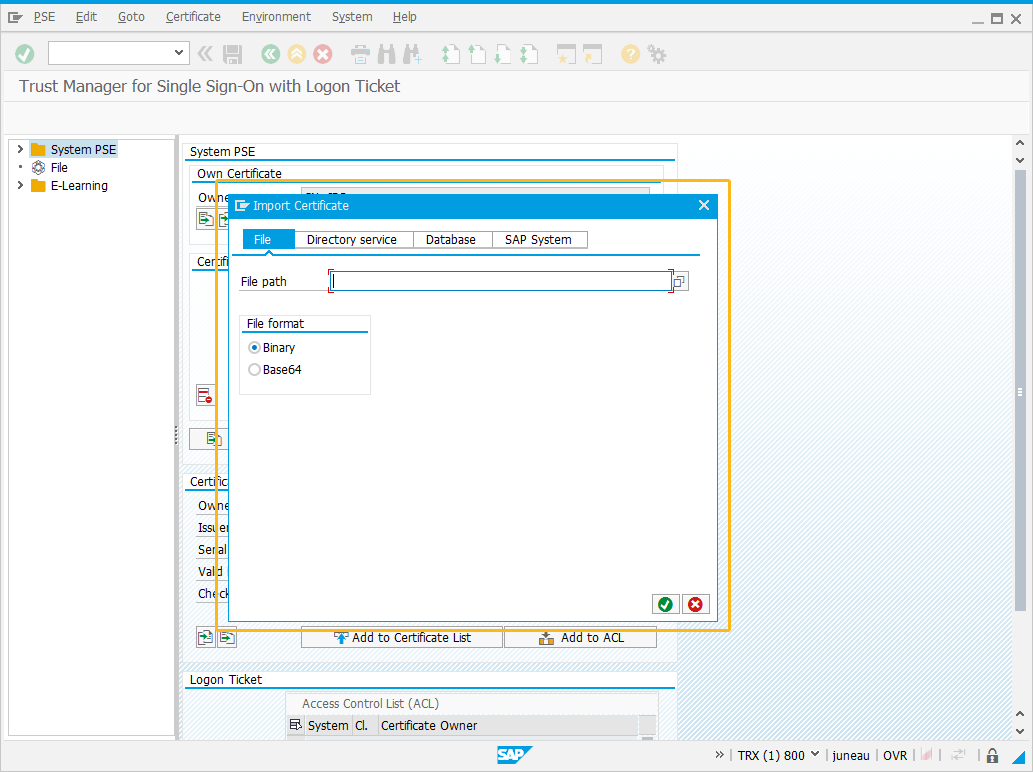
-
Once imported, you will see the complete details of the Certificate as follows:
-
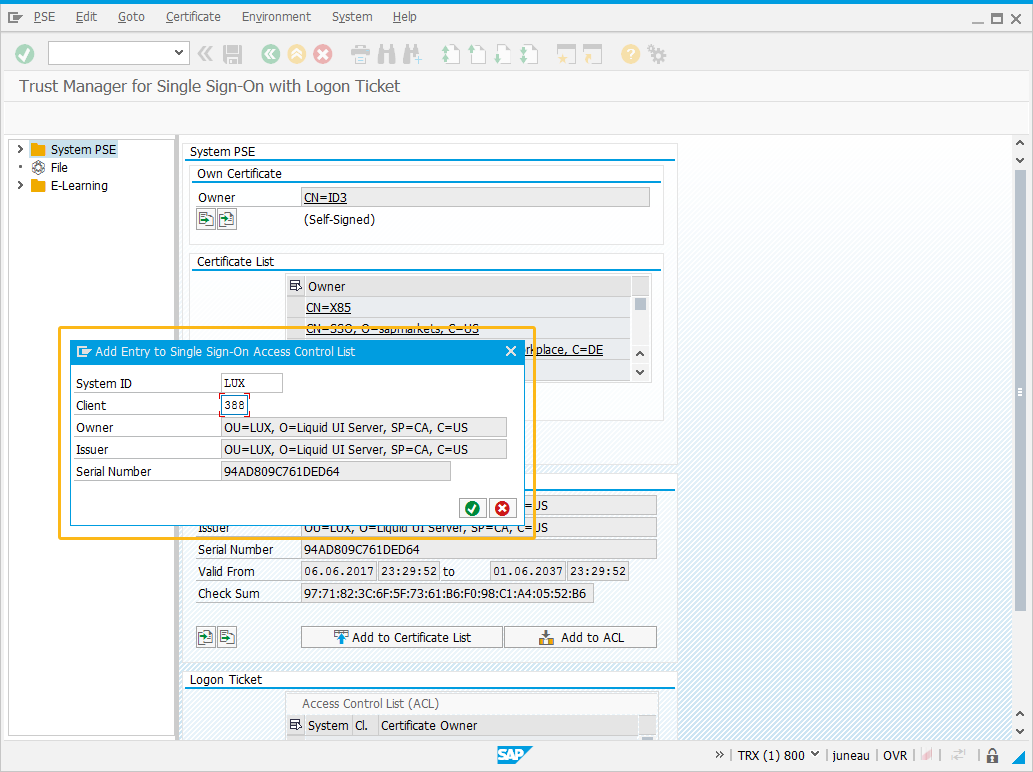
Now, click the Add to ACL and the Add to Certificate List. When selected Add to ACL button, a popup will appear. Here, enter the client number and system id of the Liquid UI Server.
-
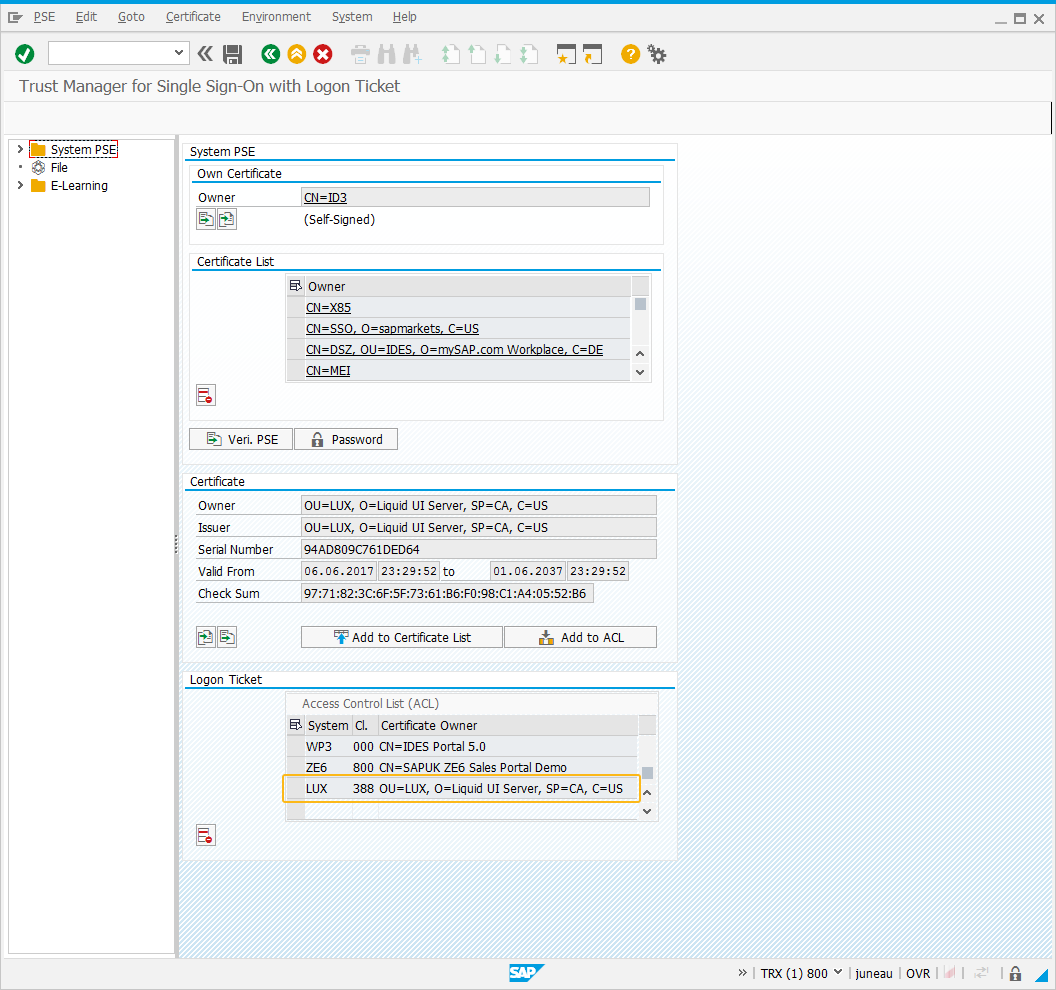
After adding the entry to the Single Sign-On Access Control List window, verify whether the certificate is appearing on ACL or not. If visible, then the SAP ERP setup is successful.
-
Finally, connect your Liquid UI Client to the Liquid UI Server, and enter “domain\username”, and enter your domain password.

Note: Make sure that your username matches the SAP username, and you will be logged in.
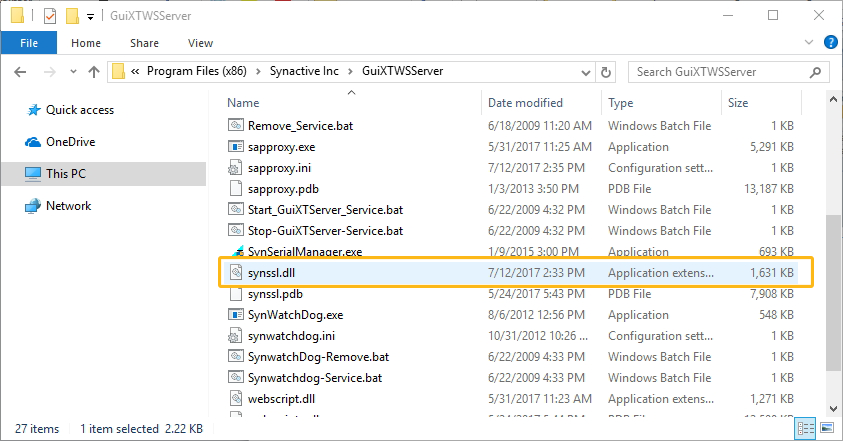
Import Synssl.dll
Import the synssl.dll file into your SAP server folder, viz., GuixtWSServer folder.
Configure Liquid UI Server with sapproxy.ini file
Set up the trust and activate with this key, strustsso2, in the sapproxy.ini file:
[proxy1]
ListenPort=3200
TargetServer=juneau
TargetServerPort=3200
GuiXT = 10
strustsso2=msad,388,LUX,r:\synactive\sapproxy\LuiKeyPair.p12,p12password
defaultdomain=syndom
The “strustsso2” options are specified as:
- Msad – to signify authentication through Microsoft Active Directory. (Future versions may support LDAP)
- 000 – is the client number of this Liquid UI Server. It can be any 3 digit number, but this same number must be used to set up in the ACL in the ERP transaction.
- LUX – a 3 character system id of this Liquid UI Server. This will be set up in the ACL of the STRUSTSSO2 transaction.
- The encrypted p12 file, containing the private key (this can be exported from a Portal that has an existing trust)
- The password for the p12 file.
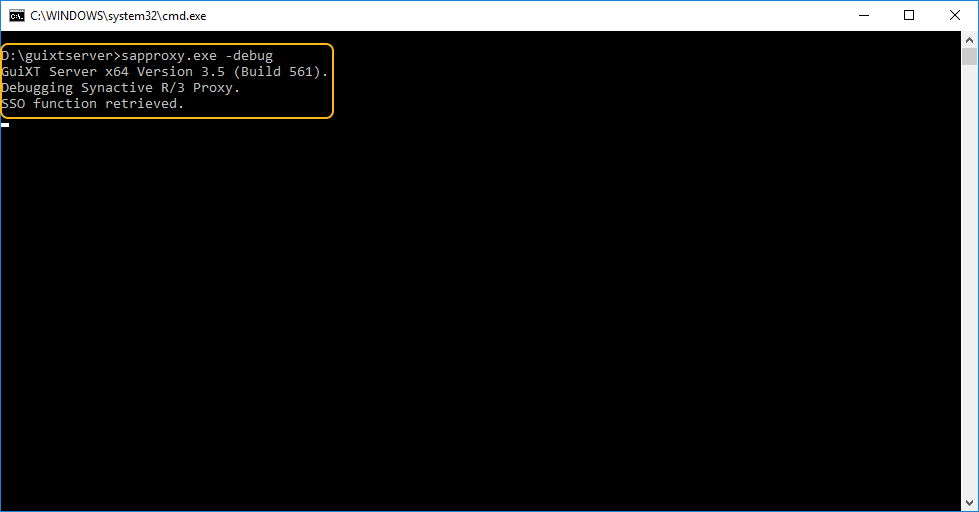
To confirm that SSO is turned on and configured properly, run your sapproxy.exe file. You should get the following message:
Once this is all set up, now connect your Liquid UI client to the Liquid UI Server, and enter “username”, and enter your domain password. Once you are authenticated, make sure that your username matches the SAP username, and you will be logged in.


